Category

Tools

Category

Previously, I reviewed the smartphone DMM, Mooshimeter. It is a great meter. One feature I didn’t spend much time on in my review was the ability to graph. Some see it as an “oscilloscope alternative.” The past couple of weeks, I’ve been using Aeroscope. It is a Bluetooth-based oscilloscope about the size of an older active probe. The Aeroscope runs $199 direct from Aeroscope Labs. The question I address in this Aeroscope review: is it better to buy this, a USB-based, or standalone scope for about the same money. How does it measure up?

My Aeroscope review looks at the specifications, the App that runs it and breaks down the key features. Let’s probe deeper.


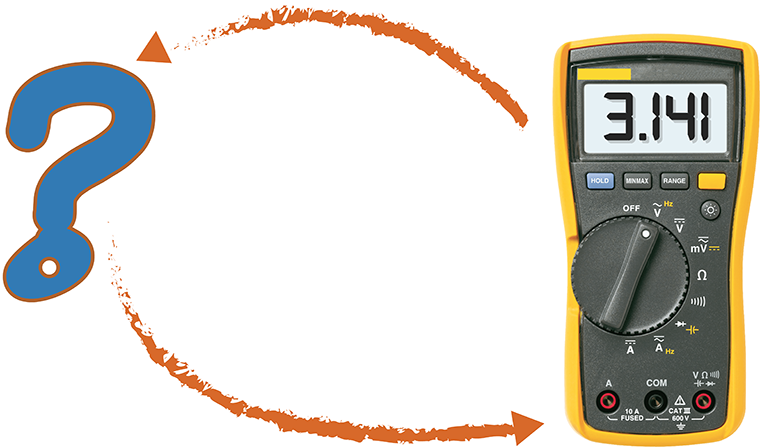
A couple of weeks ago, I asked my subscribers for their favorite test equipment alternatives. The reason I asked, was because I recently picked up a Mooshimeter. It is a modern take on the multimeter. However, I will cover that in more detail soon.

While I am fortunate that my bench has the usual equipment like an adjustable power supply, oscilloscope, multimeter, and function generator, I know that not everyone else does. I also had to think back to before I had this equipment, what did I use to troubleshoot my circuits.

Sometimes when working on a project, whether hobby or professional, you just don’t have the tools you need on hand. Or worse, you cannot afford it. So here are some of the responses you all sent me.

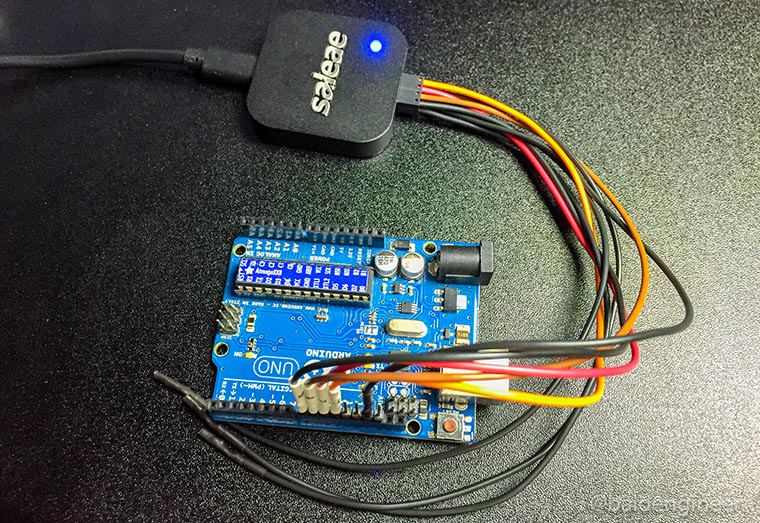
Recently I picked up a device called Logic from Saleae. It’s a 4-channel USB-based logic analyzer. While learning how the simple, but effective, UI works I ran some timing benchmarks on my Arduino Uno. The subject? digitalWrite(). I wanted to know how fastdigitalWrite() could turn on two (or more) pins.

Almost all Arduino users start out with the simple “blink” sketch. Turn pin 13 ON, delay, turn it OFF, and delay again. The heart of this version of “Hello World!” is the digitalWrite() function. Many Arduino users never even think about all of the stuff this single function call hides.

In this post, let’s compare the speed of digitalWrite() to direct port manipulation, using a logic analyzer.

Behind-The-Scenes of AddOhms #14

After moving from learning a new tool to mastery, the resistance for me to switch becomes very high. This can apply to hardware tools like a drill, saw or CNC milling machine. It can also apply to software tools like EAGLE, Programming Languages or video editing software. In AddOhms #14, I gave an overview of the VirtualBench from National Instruments which I’ve covered on this blog as a hands-on, written review and video review.

[featured-image size=”featured” single_newwindow=”false” alt=”learn a new tool” title=”learn a new tool”]Photo courtesy of smuay/Shutterstock.com[/featured-image]

For this AddOhms Behind-The-Scenes look, I talk about my experience with changing my tool set, the most critical tool in fact, I use for creating AddOhms Videos. If you’ve ever wondered how I do those hand animations, keep reading for the deepest look yet into my workflow.

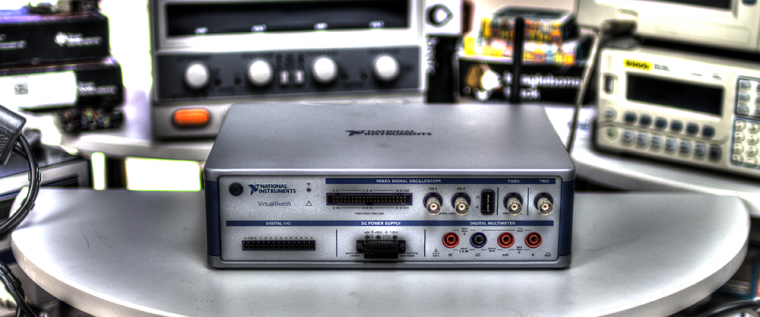
The first time I saw the VirtualBench from NI, I was amazed by its shear size—or lack of size.  At the time, the unit I had access to an uncalibrated pre-release unit at the Austin TechShop.  So I didn’t think it was fair to do a full review.  Fast forward to today.  Now that I’ve spent a week working with the VirtualBench I have some comments and thoughts.  What follows is a review of this “All-In-One Instrument” that runs $1999 USD.