Recently I received three packages from Elegoo Industries. They are a company based in Shenzhen China. Before those packages, I noticed their name several times on various electronics kits on Amazon. They asked me if I’d help them with a video that shows how to assemble their latest creation: Penguin Bot.
There is not much point in sharing that video with you unless you’ve purchased one. So instead, here is my review, or hands-on, of the kit. I will, however, show you a short Instagram video I made to show off Penguin Bot’s cuteness.
https://www.instagram.com/p/Bn0MbnzHCYj
What is Penguin Bot?
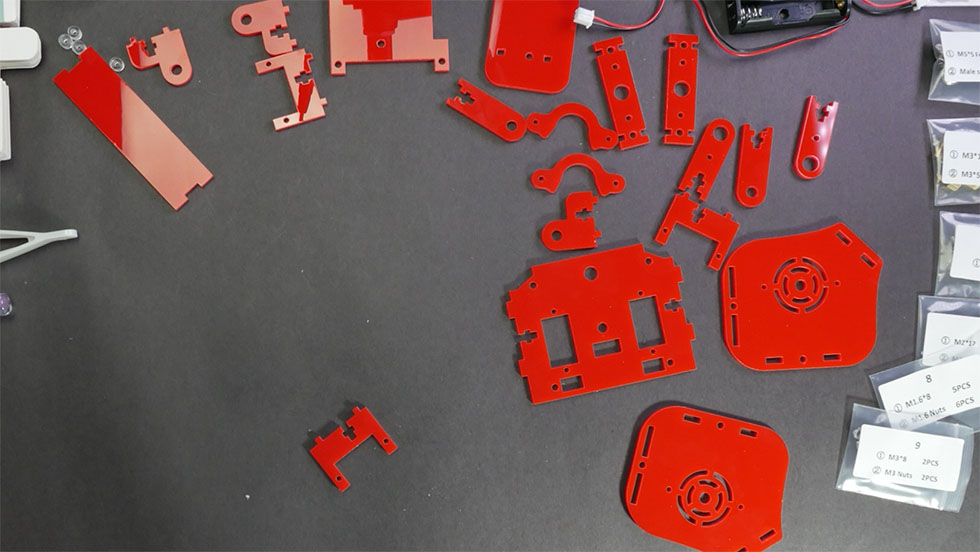
In short, Penguin Bot is an Arduino-based robot kit. You receive a lunchbox-sized package that contains servo motors, screws, nuts, custom laser cut acrylic pieces, and some other various bits.
Regarding electronic hardware, Penguin Bot comes with an ultrasonic sensor, two IR sensors, an IR receiver, speakers, and an ATmega328p-based controller. That is the same controller in an Arduino Uno.
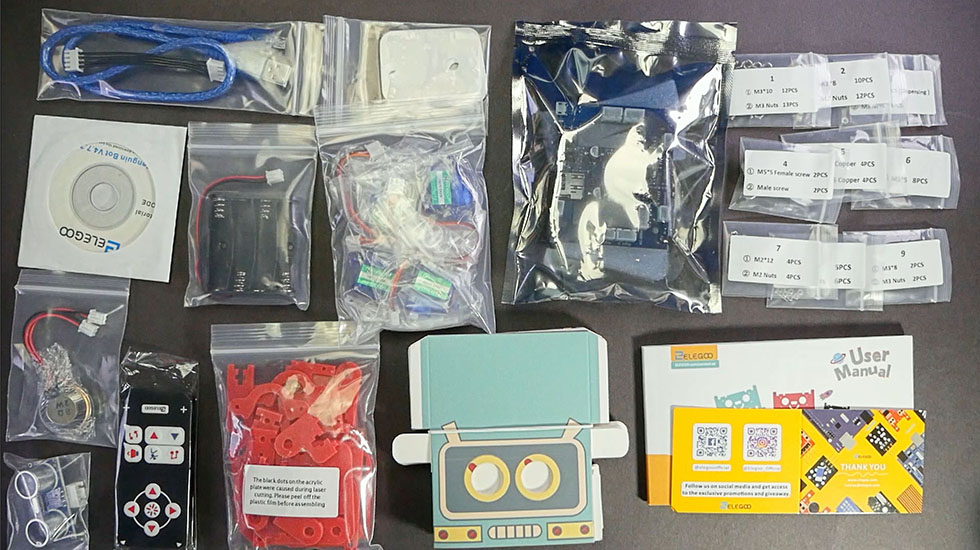
Once assembled, Penguin Bot can play music, dance, walk around avoiding obstacles, and can follow your hand. On top of that, you can download the full source code to see how the robot operates.
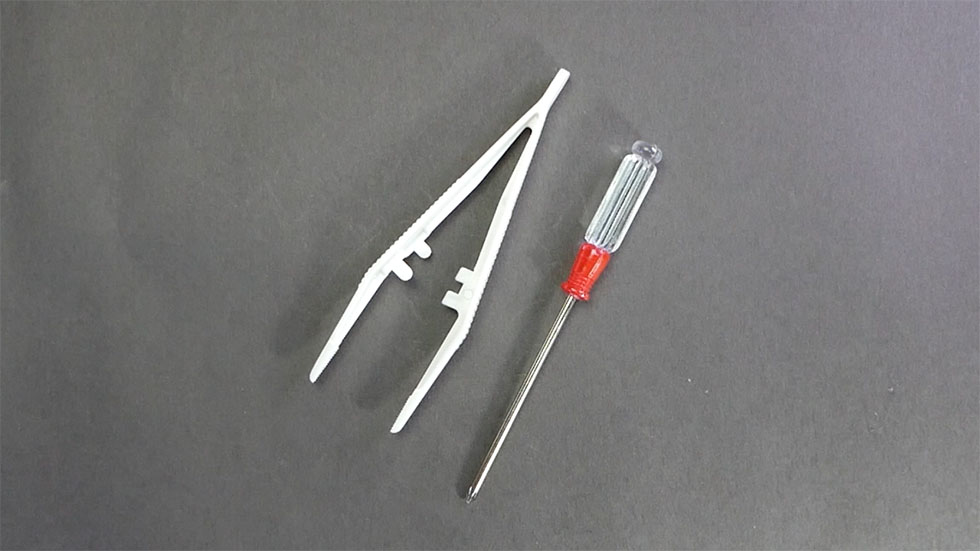
The instructions are quite good. If you have ever assembled an intermediate LEGO kit, you’ll have no problem with this build. There are a couple of steps where you need to pay attention to the drawings. I think anyone who reads my blog would put it together with no problems. Of course, if you get stuck, soon you can watch a video of me doing the entire assembly process! Here is the cool part everything you need is in the box, including the tools.
I’d estimate the total build time is about two hours. I built three kits. The first took three hours, but I took detailed notes. The second took me about an hour, but the recording came out horrible. So the third was closer to two hours, but I was doing many things between steps to make the video better. So I think two hours is a reasonable estimate.
Build Quality
Commenting on the build quality of a kit build feels strange. A big part of the quality comes from the person doing the building. Electronics-wise, I’ll be blunt. They are inexpensive and what you’d expect from an Amazon seller. That said, I am happy with the controller board. All of the connectors are clearly labeled and laid out logically.
The laser-cut pieces are all cleanly cut. There is a note on the parts bag about black spots or burn marks. Which, I did not see any burn marks on any of the pieces. The majority of the acrylic pieces had clear protective plastic. It took almost 30 minutes for me to remove the plastic from all of the acrylics. It is time-consuming because there are no tabs to scrape. And if you use anything sharp, it will damage the pieces. I recommend removing all of the plastic before starting so that the build steps go faster.
Some of the washers, or spacers, had brown masking. Those did show signs of laser burn. However, it isn’t an issue even if you see it. (I know from years of laser cutter experience.) Also, there are a couple of pieces that can break easily. So elegoo included extras of those pieces which are great for anyone who has never assembled an acrylic frame using t-slots.
What ages can build Penguin Bot?
Building Penguin Bot and playing with Penguin Bot target two different groups of people. First are young kids who love to watch Penguin Bot dance around to music. You can load your favorite audio files. (The controller board includes an MY1690 module to play the sound.) Second, are kids at heart who want to program Penguin Bot to do something more interesting. (Also, the second group probably likes to make Penguin Bot dance as well. Just saying.) I do not think a child under the age of 12 can (or, well, should) build Penguin Bot unsupervised. There are a few frustrating parts with tiny nuts that requires some patience. I know that 10 years old me would have struggled.
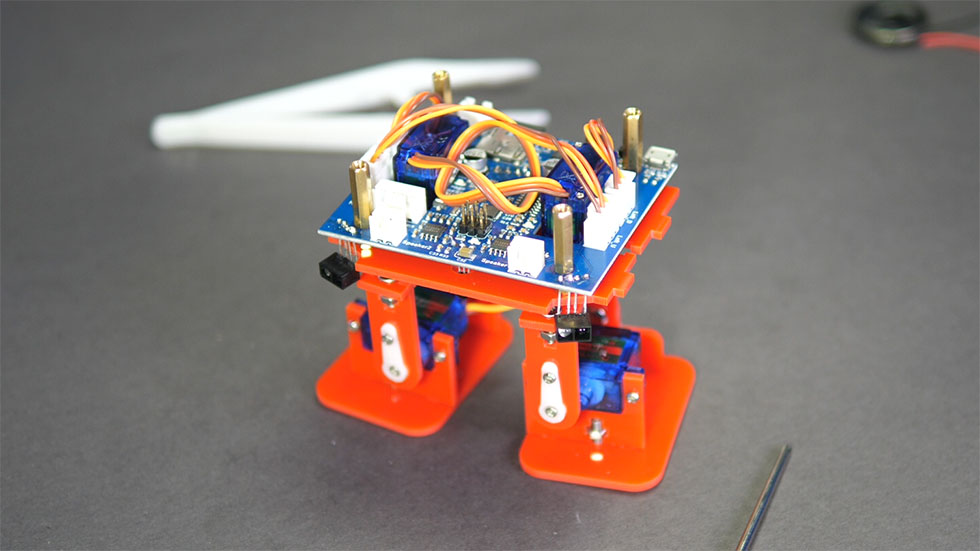
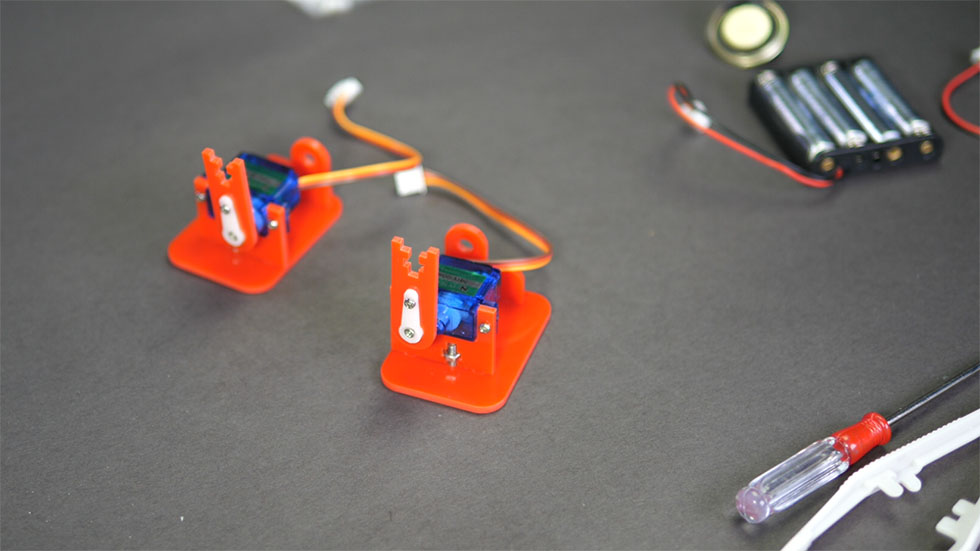
For example, calibrating the servos for the feet requires some care. You turn on the control board, let the servos move to their home position, and then you remove the legs from the motor. That step requires the servo not to rotate. I had to re-do that on my final build to make sure the leg assembly was straight.
Controlling Penguin Bot
The included remote control accesses all of the primary modes for the robot. The only thing that puzzled me was the dance mode. When you first press the dance button, the bot plays music. However, the idea is that you can use the up/down buttons to change the song. Then pressing the dance button again starts the dance routine.
Programming the robot
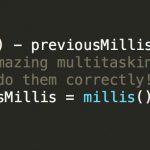
From elegoo’s website, you can download the Penguin Bot’s Arduino files. I give them props for providing a complete project. However, I have a couple of issues. First, the code isn’t well documented. There are significant sections of code that have titles, but you still have to work out a lot of what is going on. Second, there are cases where millis() is used but does not correctly handle millis() rollover.
// line 592
for (int i = 0; i < 3; i++) {
   pause = millis();
   moveNServos(t * 0.15, move1);
   moveNServos(t * 0.15, move2);
   moveNServos(t * 0.15, move3);
   moveNServos(t * 0.15, move4);
   while (millis() < (pause + t));
}
Adding to a variable and then comparing against millis() fails when millis() is close to rolling over. The variable it is compared against rolls over first, resulting in false triggers. The only safe way to handle millis() rollover is with subtraction. That said, I doubt anyone’s Penguin Bot is going to run for 47 days on AAA batteries. So rollover is probably not much of a concern. I’m just a jerk about using millis() correctly.
Customization
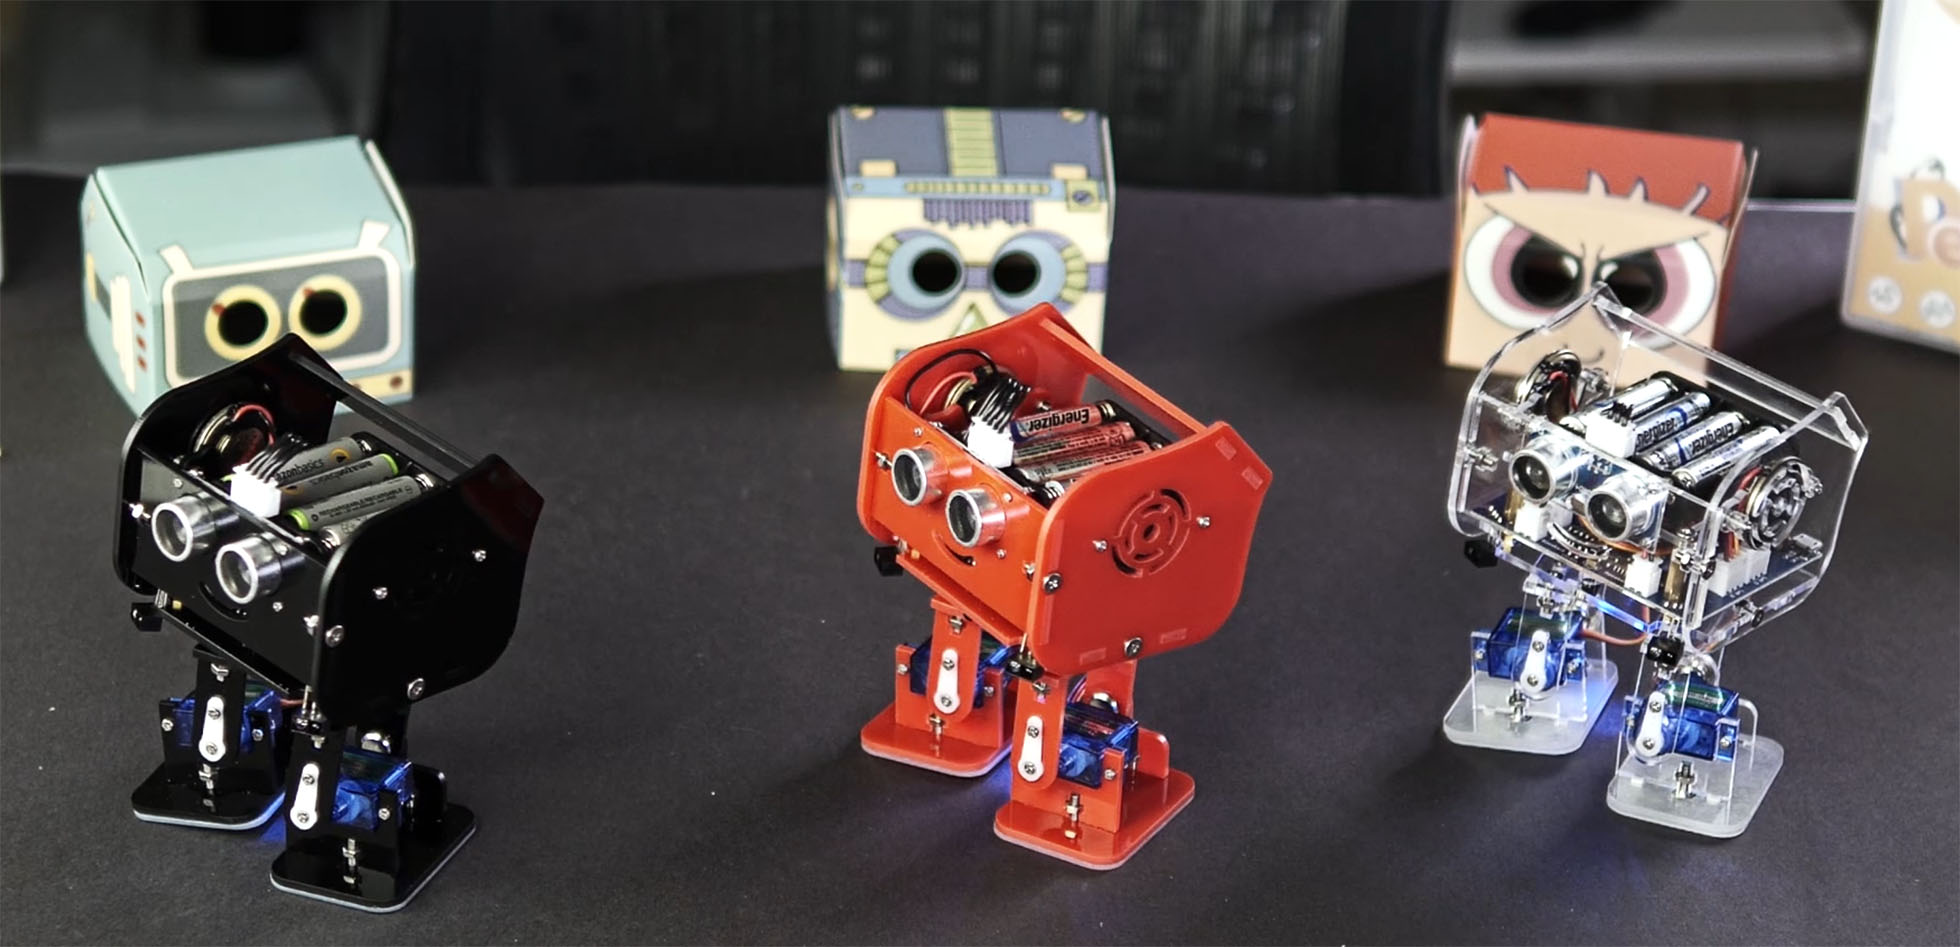
I think some work could be done by the community to make the code a bit more modular so that inexperienced programmers could customize their robot. For now, the included faceplates customize the look of the robot.
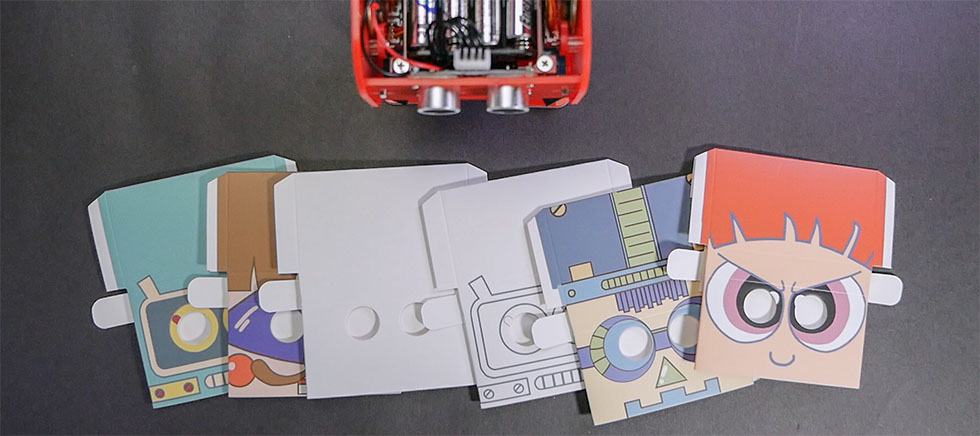
There are four pre-decorated faces, along with two that allow for more imagination. One is “fill in the color,” and the other is blank. Of course, an option is not to use a face at all! The engineer in me likes seeing the robot. In my opinion, if you get a clear Penguin Bot, you should leave it naked. What do you think?
Conclusion
In the future, I’d like to break down the code more or even clean it up a bit. I’m just not sure who would use it. So if you pick one up, let me know in the comments.
https://www.instagram.com/p/Bn0MbnzHCYj
Want to buy one? They are available on Amazon. Click below to grab one. It is an Affiliate link for the US store. Alternatively, you can search Amazon for “elegoo Penguin Bot.” Currently, they run $70.
Penguin Bot on Amazon

6 Comments
Shame they are not available.
Just a by the way, Im slowly getting into the Jargon and the controllers which are the same, which are not. If I understand it elegoo make it clear this is a generic Board similar to the arduino uno. In my travels around Alibaba there are boards purporting to be Arduino and R-pi am I right in thinking these are NOT the brand versions? How do I know who is paying royalties to arduino etc and who is not? If there an official list somewhere? Oh I do wish this darned site would not reveal facebook addresses long ago abandoned
Their controller board is a custom board specific to this bot, which is based on the same processor found in the Arduino Uno.
Practically nothing sold on Alibaba or eBay is legitimate.
Both websites have links to official stores and distributors.
It doesn’t. It uses Gravitar, which is owned by WordPress. WordPress is the software I use for the site/blog. Gravitar matches email address used on WordPress comments to its database. That’s in your hands, not mine.
Arduino is open source so no one gets royalties. The open source nature of Arduino is one of things that makes it so accessible & has led to the development of the Arduino community, a group of people for whom making money comes second to sharing ideas and helping others learn & develop their own skills.
Just two comments from a complete newbie who has decided that after a lifetime of biology and chemistry that in retirement he should really look at how all those machines he used to use work, via the arduino route and rasp-pi-
Firstly thanks for the general clarity of your site and videos- made even more agreeable by someone who comes over very agreeably- but my second comment is- could you please (I know its a pain, so thank you profusely, in advance) explain EVERY acronym you use? For complete dorks like me Acronyms elicit internal screams of “fool, idiot! Why did you ever think you could even get to grips with any physics electronic and maths that all your life frightened you absolutely sh!tless”. Statistics no problem at all so biology suited me sweetly😁🤪. Like you are probably ok with DNA if I went on and mentioned NADPH or UTP or even B-rhodopsin you would soon get a bad case of the staggers like me!
So think of me wrestling through your past posts and vids while you make sure to put meanings in brackets afterwards.
Now normally I would not have asked but it was this Penguin that did it! I mean, “electronics for engineers” is what you said somewhere just to scare me off. I think that sort of got me thinking I would learn something- and here’s the elegoo penguin just right for over twelves like me so it might be a good starting point (and keep you in elegoo’s good books when I mention your name and that of a fictitious 12yo grandson to whom said penguin will be sent.
I do.
I did not use a single acronym in this post.