In August 2022, Nordic Semiconductor announced its first Wi-Fi product. The nRF7002 is a dual-band (2.4 and 5 GHz) Wi-Fi 6 compatible companion IC. It does not have a general-purpose microcontroller built-in. Instead, Nordic intends for you to combine it with another microcontroller, like one of their nRF52 or nRF53-series system on chip (SoC).
The Analog Discovery 2 combines all the equipment found on a typical electronics workbench into one small package. It packs an oscilloscope, logic analyzer, power supplies, spectrum analyzer, and so much more. As impressive as the hardware is, the Analog Discovery 2’s software, called Waveforms, is fantastic as well. You can configure it for any measurement situation, and it has extensive scripting capability. See if you should be considering adding the Analog Discovery 2 to your electronics workbench.
My day job causes me to travel on a regular basis. Sometimes that means taking my circuits with me. I picked up an Analog Discovery 2 so that I could take test equipment with me. It’s a small enough box that fits nicely into my bag. The one significant trade-off is that it requires a PC to be functional. However, for travel, that works out great.
The key functions the Analog Discovery 2 provides are:
- 2-Channel oscilloscope
- 2-Channel function generator
- Voltmeter (not DMM!)
- 2-Channel Power Supply w/ negative voltage
- 16 Digital Channels for Logic, Protocol, and General Purpose I/O
- Network Analyzer (Bode Plots!)
- Spectrum Analyzer
- Impedance Analyzer
There are probably other functions, but that covers the major ones. Years ago, I reviewed the Virtual Bench from National Instruments. While the Virtual Bench has better specs than the Analog Discovery 2, the difference in price points is staggering. You can get the AD2 for $200-300.
Check out how some of the features work and my thoughts on this device in this Workbench Wednesdays review.
See show notes on element14When it comes to transistors, there are only so many things a multimeter can measure. The DCA Pro from PEAK Electronics makes short work of testing parts like a transistor. This small device can determine pinout, component type, and essential parameters in a matter of seconds. Not only that but it can be connected to a (Windows) PC and draw parameter curves.
Check out the video review to see how the device and software work. Then head over to the element14 page where you can download a zip file full of example parts I measured for you. Use the free DCA Pro software to open them.
You might also want to check out this MOSFET Curves post, which complements this video tutorial. Another resource you might find helpful on semiconductors, or transistors, is this post on MOSFET Myths.
See more on element14[guestpost]My friend Pablo recently upgraded his firestarter iron to a Hakko FX-888D. Because of its popularity and his relative newness to the iron, I asked if he’d like to write up a review for it. You can follow him on twitter.[/guestpost]
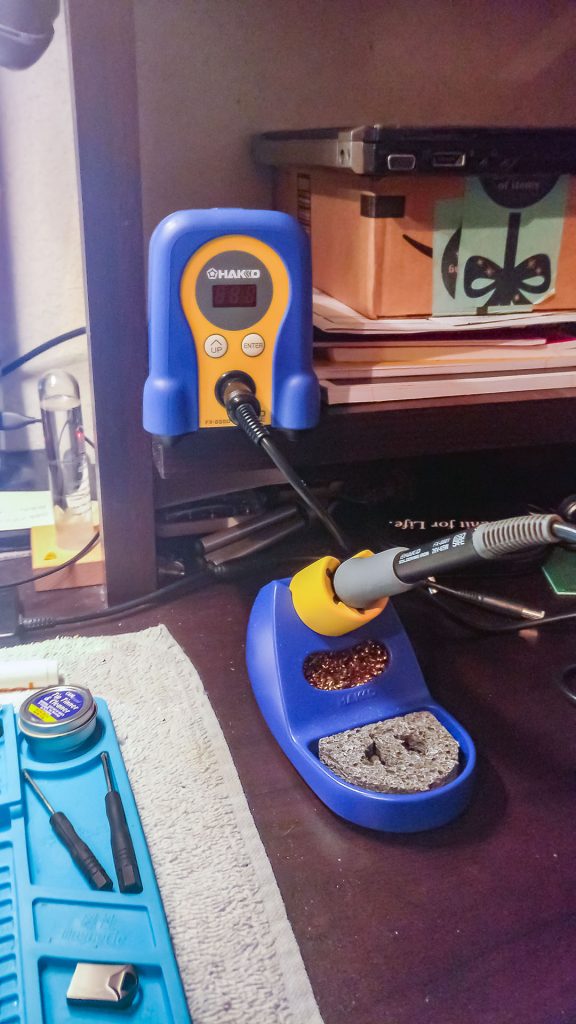 Just based on the color, the Hakko FX-888D seemed, at first, like it was a toy compared to other electronic tools and equipment. The color does make it easy to spot even if you are buried in a project. You can quickly find it because it stands out. The outside seems like plastic, but it is made from or encased in metal. Knowing that it was only a plastic enclosure made me feel like this will be with me for a long time.
I love how the iron holder is separate from the base. It easily can be placed anywhere in the work area. Also, keeping the base unit in one spot makes life so much easier. It gives the iron itself enough room so nothing nearby can accidentally be melted or burned by the iron.
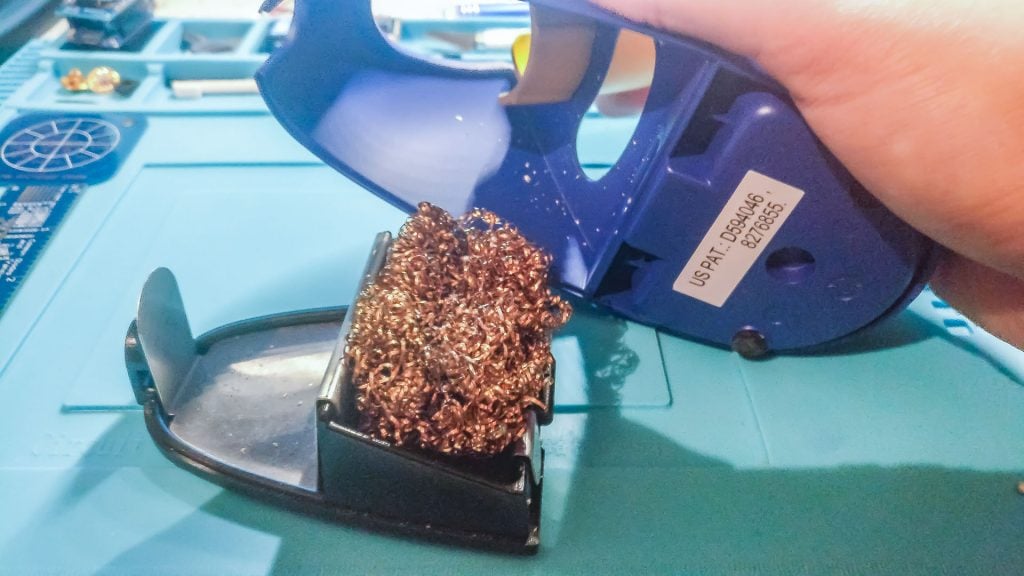
The iron holder also has a convenient area for a cleaning wire and a cleaning sponge. I only wish that the opening for the cleaning wire was a bit bigger. As is, I regularly clean the tip using the same spot. Having the removable bottom makes it so easy to clean all the solder junk that collects at the bottom from the cleaning wire. If only the rubber legs were a bit wider, they would help keep the iron holder from sliding around my desk. (This could be just because of the type of tabletop I have it sitting on.)
There are three capacitor measurements you need to know how to make: capacitance, leakage current, and equivalent series resistance. Capacitance is easy to measure if you have a current limited supply or can use a resistor. Apply a voltage, then time how long it takes to charge up. You might need to use an oscilloscope or even an Arduino for the second part. Leakage current is the easiest of the three, apply a voltage (ideally through a resistor) for a few minutes, and then measure the current. ESR requires some special tricks. Since it is the resistance of the “wires” connecting to the capacitive element’s anode and code, you have to measure resistance without charging up the capacitor. (Otherwise, you get leakage.)
In the post Measuring Aluminum Electrolytic Capacitor’s ESR, I go through those methods in more detail. I also introduce the PEAK Electronics ESR70. It’s a pocket-sized instrument that measures both Capacitance and ESR. There’s a button you can touch, or it detects when a new capacitor is connected. Check out my Workbench Wednesdays review where I go into depth about how the meter works (and whether or not I like it.) Oh one bonus feature, it works while in-circuit!
As of this post, it has been almost six years since I first wrote about capacitors on my blog. The article was the Arduino GSM Shield’s capacitor has a serious design flaw. Wow, how time passes.
More info on element14