Category

Arduino

Category

In the past, I’ve covered how to reset Arduino millis() and have provided a growing list of examples using millis(). While reviewing the code for the elegoo Penguin Bot, I was reminded of a millis() mistake I see often: addition. The only way to properly handle millis() rollover is with subtraction. Let’s look at why (and how.)

What is Arduino millis()

The Arduino library has a function called millis() which returns the number of milliseconds the processor has been running. On other platforms, you might see references to a “tick counter.” It is the same idea. A hardware timer keeps incrementing a counter at a known rate. In this case, that rate is milliseconds.

A mistake new programmers often make is trying to “reset millis().” A better method is to compare two time-stamps based on millis(). So this if-statement is comparing a previous timestamp to the current value of millis().

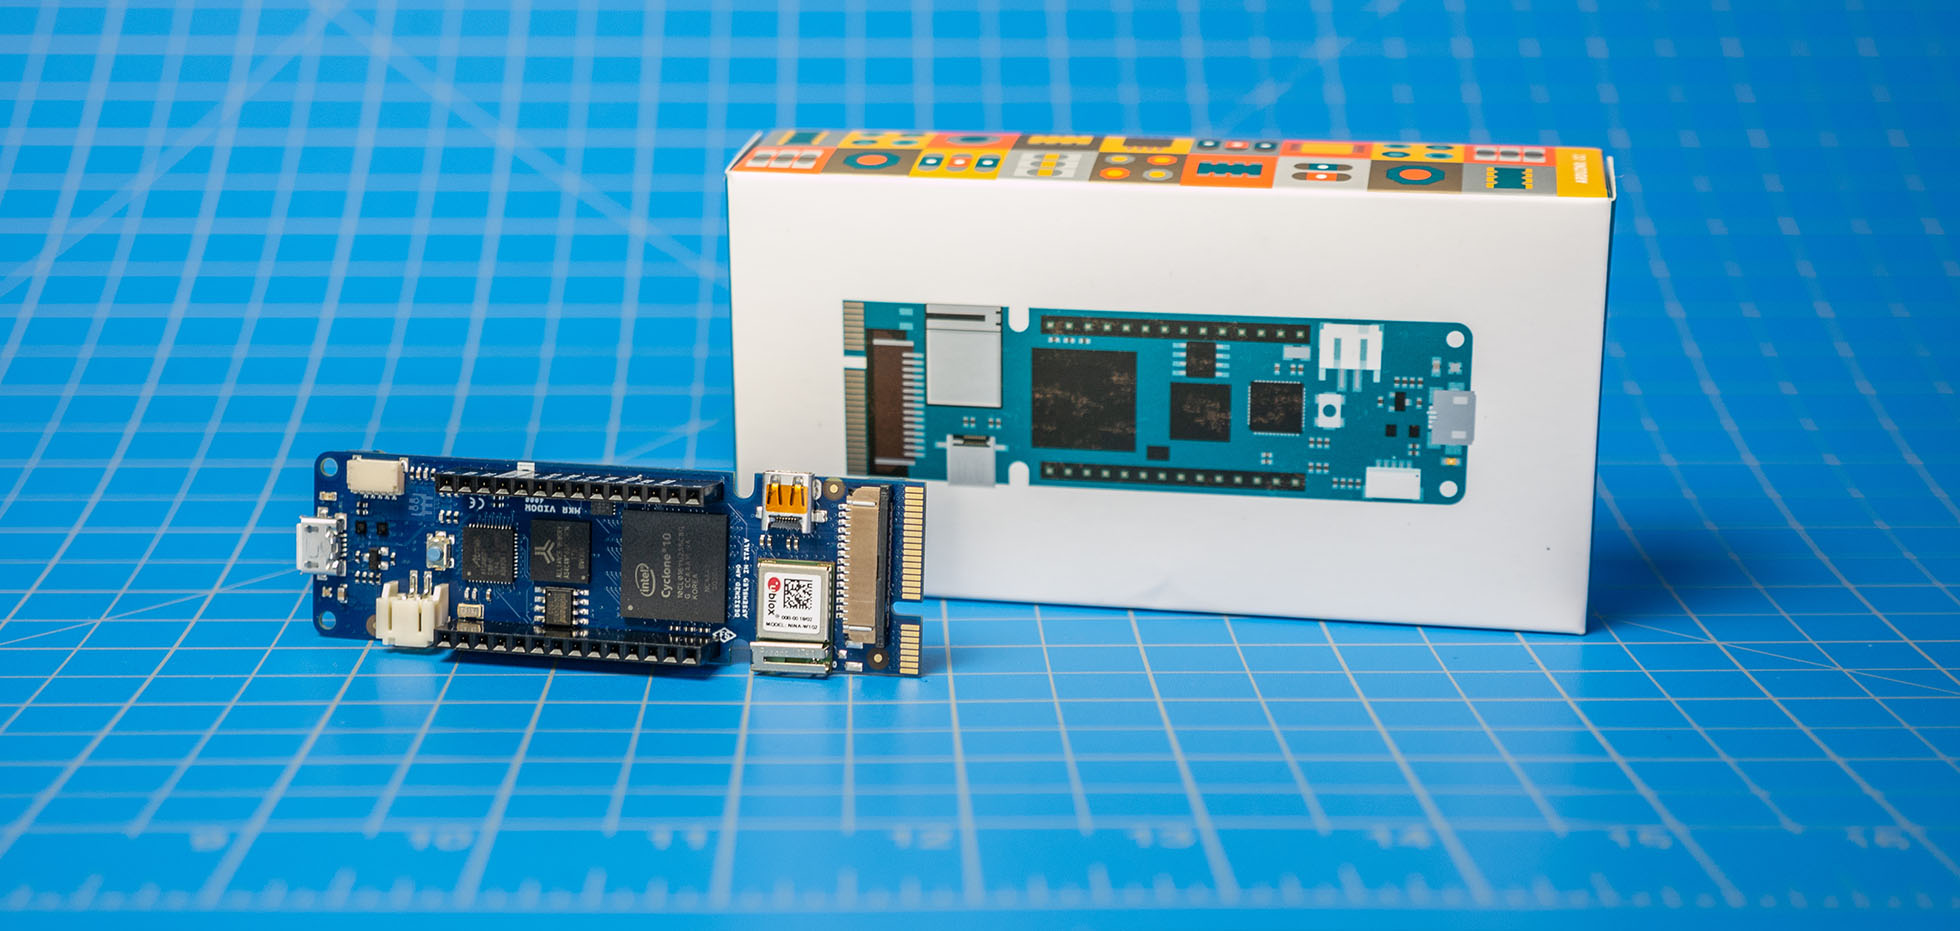
Earlier this week, I looked at the Arduino MKR Vidor 4000 during an AddOhms live stream. My goal was to understand the Vidor better. It is the new FPGA-based Arduino which started shipping this month. It runs about $60. You can learn more at the Vidor Product Page on the Arduino website.

In this post, I briefly touch on the difference between an FPGA and a microcontroller. Then I walk you around the MKR Vidor 4000’s board. Using one of the examples, I talk a bit about how the various chips communicate with each other. This section also highlights what makes the Arduino FPGA board different from other development boards. Lastly, I answer “should you buy an Arduino MKR Vidor 4000?”

This AddOhms episode is part 3 of the “design your own Arduino” series. In this one I populate a bare PCB, reflow solder it, debug a few issues, and load the Uno bootloader. Originally, I designed 2 versions of the board. One version contained an error that I planned to fix in the episode. Well, turns out, the “correct” board had two issues which were more interesting. Check out the #27 show notes for links…

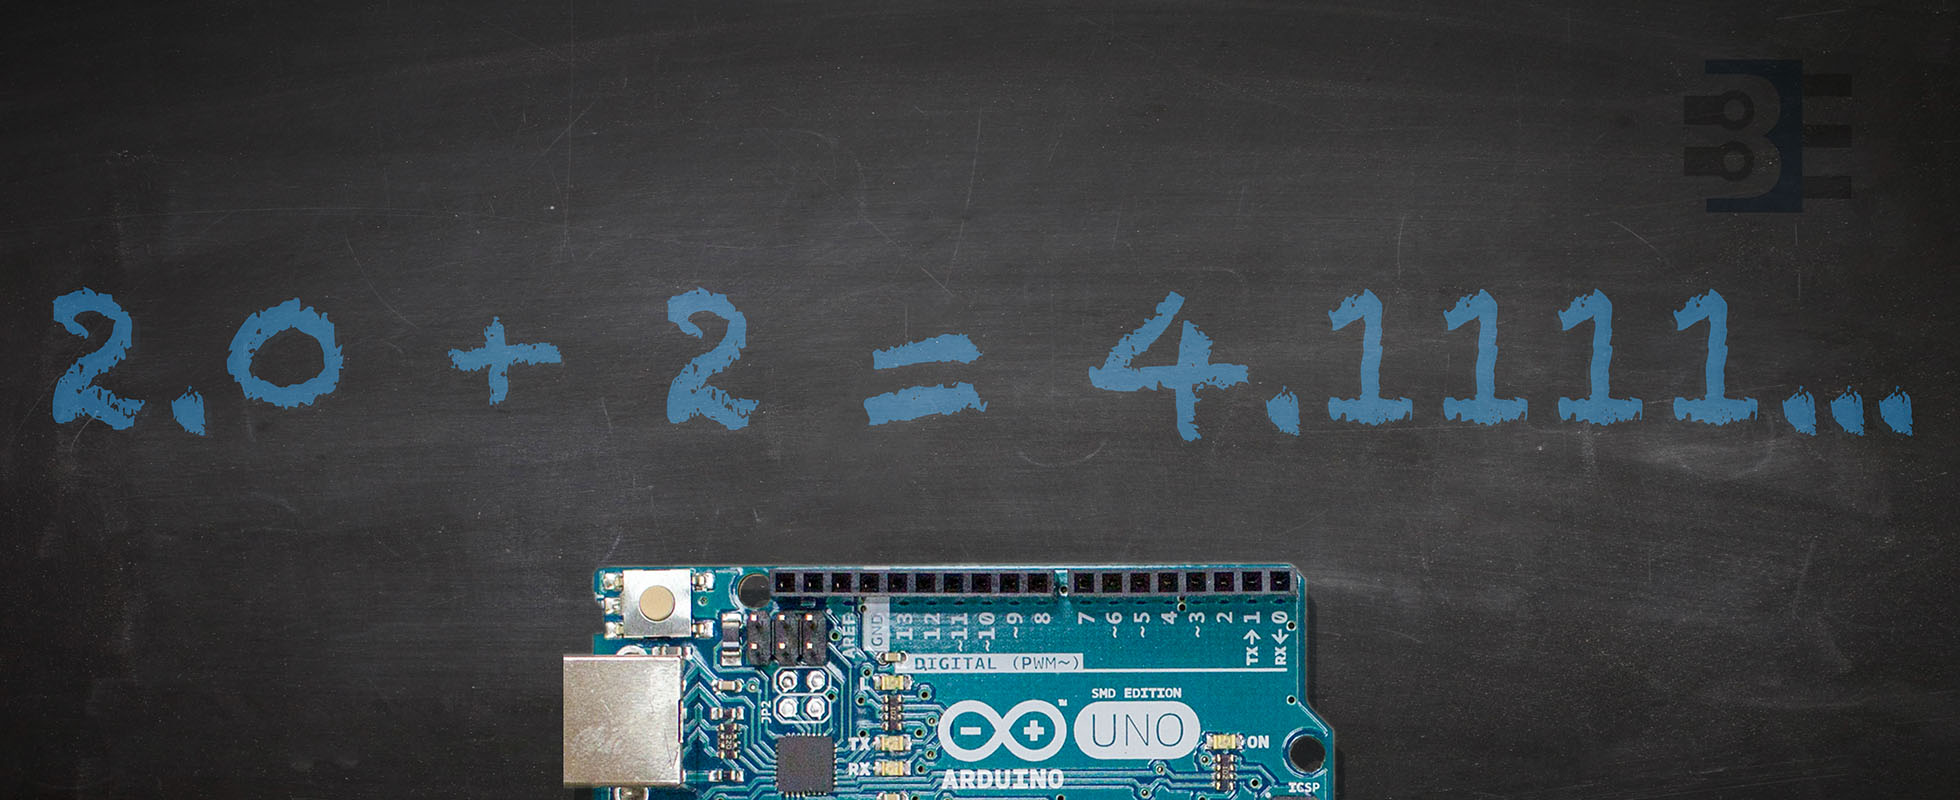
While the Arduino library does an excellent job of hiding some of C/C++’s warts, at the end of the day, it is still just C/C++. This fact causes a few non-intuitive issues for inexperienced programmers. When it looks like Arduino math is wrong, it is probably one of these reasons.

When people ask me for help with their programming, I check each of these Arduino math mistakes. If your code seems to be hitting a bug, check to make sure it is not how the compiler handles math.

Funny how a simple idea can spider out into multiple paths. Arduino EEPROM seemed like a straightforward concept. A few a years ago it was as easy as having either 512 or 1024 bytes of flash memory. The Arduino IDE offered an EEPROM library which let you read and write a single byte. Today, however, with many different processor architectures saving data to EEPROM varies. It is now possible to save any datatype to EEPROM but not on all boards and not all using the same method.

While programming an coin accepter sold by Adafruit on an AddOhms live stream, I discovered two “new” methods in the Arduino library. At least, these functions are new to me! A couple of years ago EEPROM.get() and EEPROM.put() appeared. Using these functions, you can store any datatype in EEPROM.

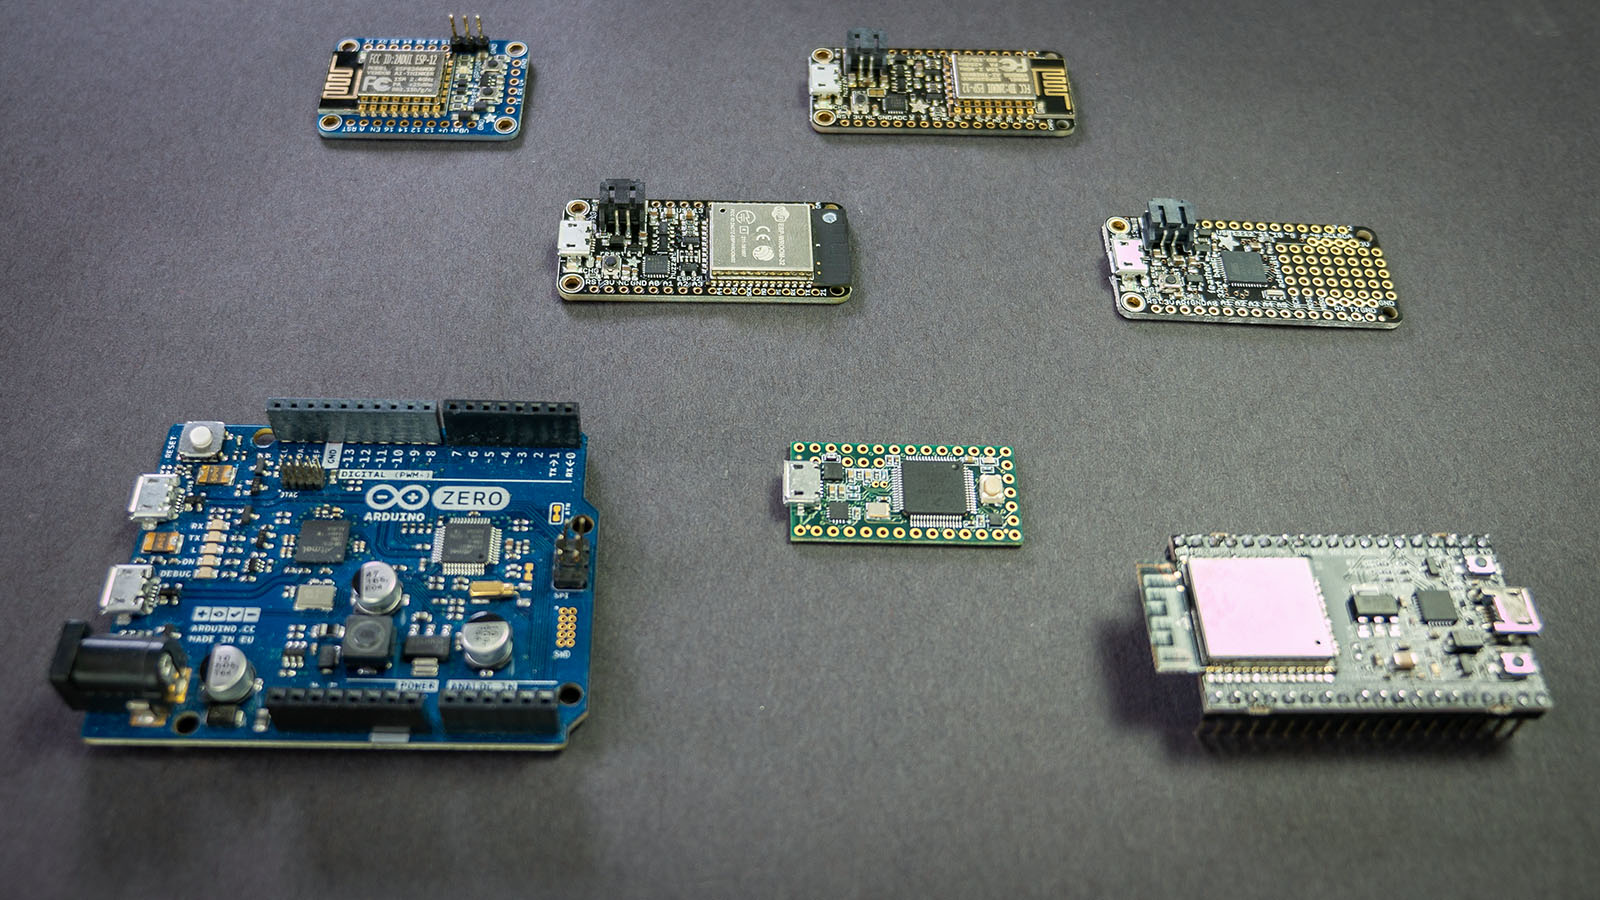
This post covers tidgets related to using Arduino EEPROM to store any value across multiple boards, or platforms. Specifically boards such as the Uno, Nano, Mega, and Zero are covered. Additionally Arduino-compatible boards from Espressif, PRJC, and Adafruit are covered as well.