Category

Tools

Category

Behind-The-Scenes of AddOhms #14

After moving from learning a new tool to mastery, the resistance for me to switch becomes very high. This can apply to hardware tools like a drill, saw or CNC milling machine. It can also apply to software tools like EAGLE, Programming Languages or video editing software. In AddOhms #14, I gave an overview of the VirtualBench from National Instruments which I’ve covered on this blog as a hands-on, written review and video review.

[featured-image size=”featured” single_newwindow=”false” alt=”learn a new tool” title=”learn a new tool”]Photo courtesy of smuay/Shutterstock.com[/featured-image]

For this AddOhms Behind-The-Scenes look, I talk about my experience with changing my tool set, the most critical tool in fact, I use for creating AddOhms Videos. If you’ve ever wondered how I do those hand animations, keep reading for the deepest look yet into my workflow.
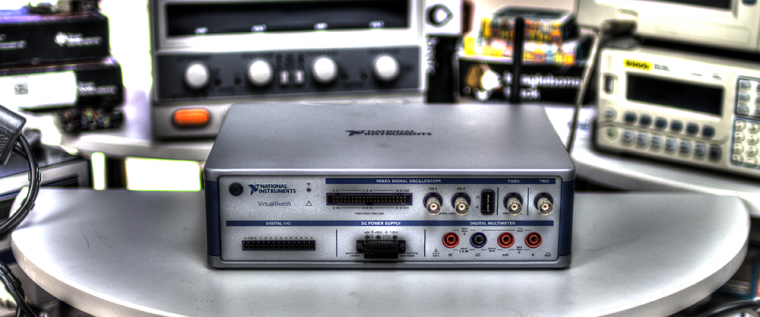
The first time I saw the VirtualBench from NI, I was amazed by its shear size—or lack of size.  At the time, the unit I had access to an uncalibrated pre-release unit at the Austin TechShop.  So I didn’t think it was fair to do a full review.  Fast forward to today.  Now that I’ve spent a week working with the VirtualBench I have some comments and thoughts.  What follows is a review of this “All-In-One Instrument” that runs $1999 USD.

Active Probe Setup (via xellers)

Back when I worked for an Oscilloscope company, we were pretty proud of our differential probes.  Even the “low-bandwidth” probes were still around 1GHz of bandwidth.

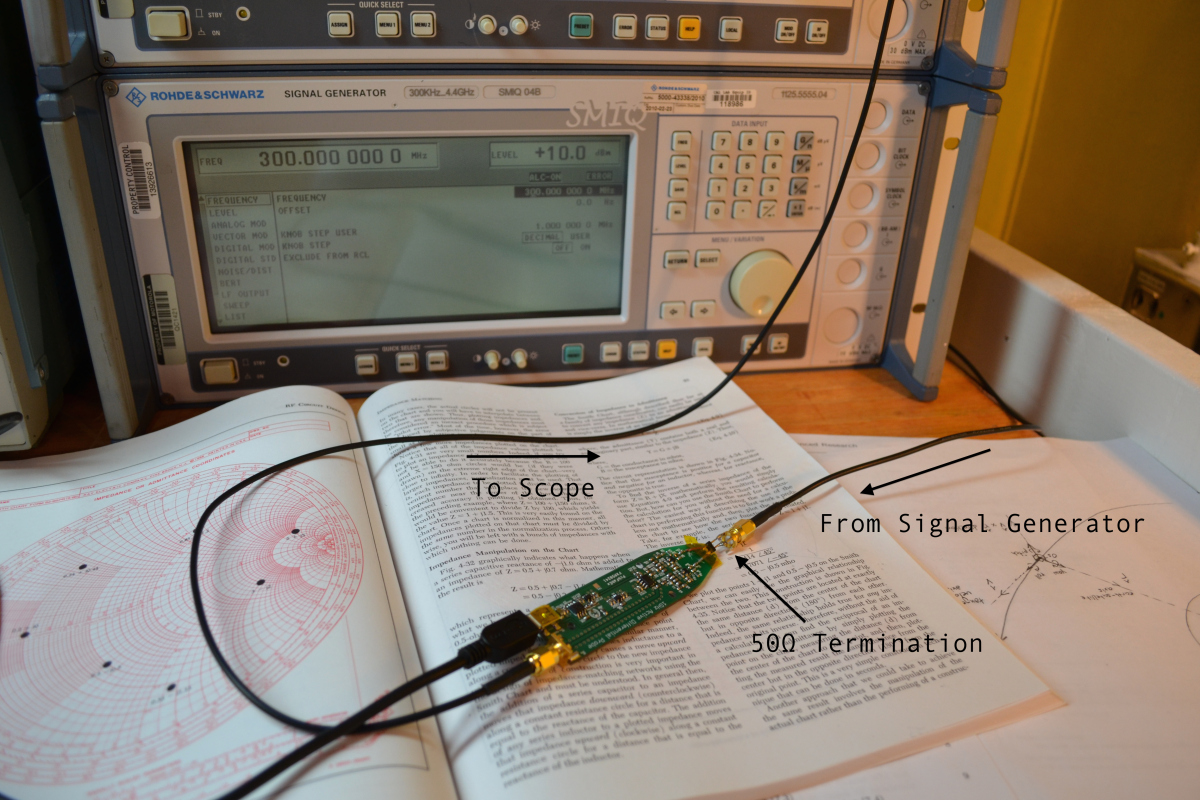
Daniel Kramnik built an active differential probe and looks like he is seeing about 400MHz usable bandwidth.  And really, it looks relatively flat.  Not bad for a DIY effort.  I’m impressed.

Pretty amazing to think about the possibility of building your own (active) scope probes.

Read his full writeup.

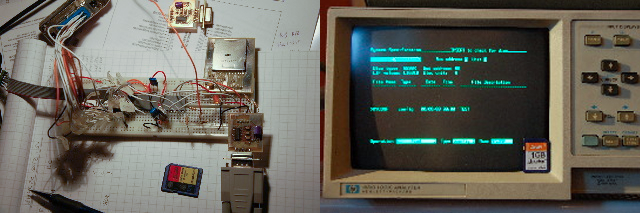
Images from http://www.dalton.ax/hpdisk/

Popular on eBay are old test equipment like Spectrum Analyzers, Oscilloscopes, and Multimeters. HPDisk by Gustafsson Anders creates a virtual GPIB interface that stores data to a SD-Card.This is done by emulating a special HP disk drive, that some HP instruments know how to write to when connected. (As Anders points out, this is not emulating a built-in floppy drive.)

Keep reading if you aren’t familiar with GPIB.

What’s GPIB?

Long before USB became the standard I/O interface in the computing world, bench-top instruments used HPIB. This was the “HP Interface Bus” used by Hewlett-Packard in the early days of their test equipment. It enabled instruments to share data and be automated by “desktop computers”.

Eventually HPIB evolved into GPIB and the IEEE-488 standard was created. Until about 2000, most instruments supported a true GPIB/IEEE488 hardware connector. Slowly that evolved into USB-based virtual connectors (like a virtual serial port).

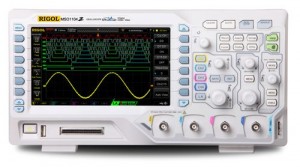
MSO1104Z

Oscilloscopes are the most critical tool when it comes to debug and analysis of electronic circuits.  In recent years, digital oscilloscopes finally surpassed their analog equivalents.  (10 years ago I would still make an argument for analog, but not anymore.)

The most innovative change to digital scopes came with “Mixed Signal Scopes.”  In addition to the high-resolution analog channels, you get 16+ digital channels time-correlated.  Digital channel in this context means only seeing a 0 or 1, kind of like a logic analyzer.

Rigol’s MSO1104Z combined 100MHz of Analog Performance on 4 channels along with 16 Digital Channels for $1000 (MSRP: $997) USD!  That’s an amazing package.  Full specs and Quote request available here.