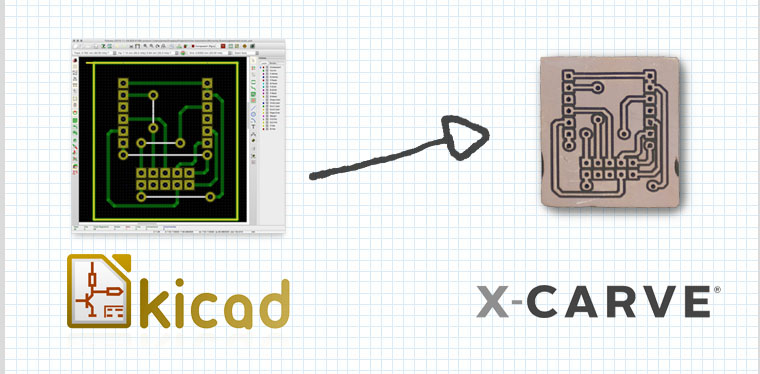
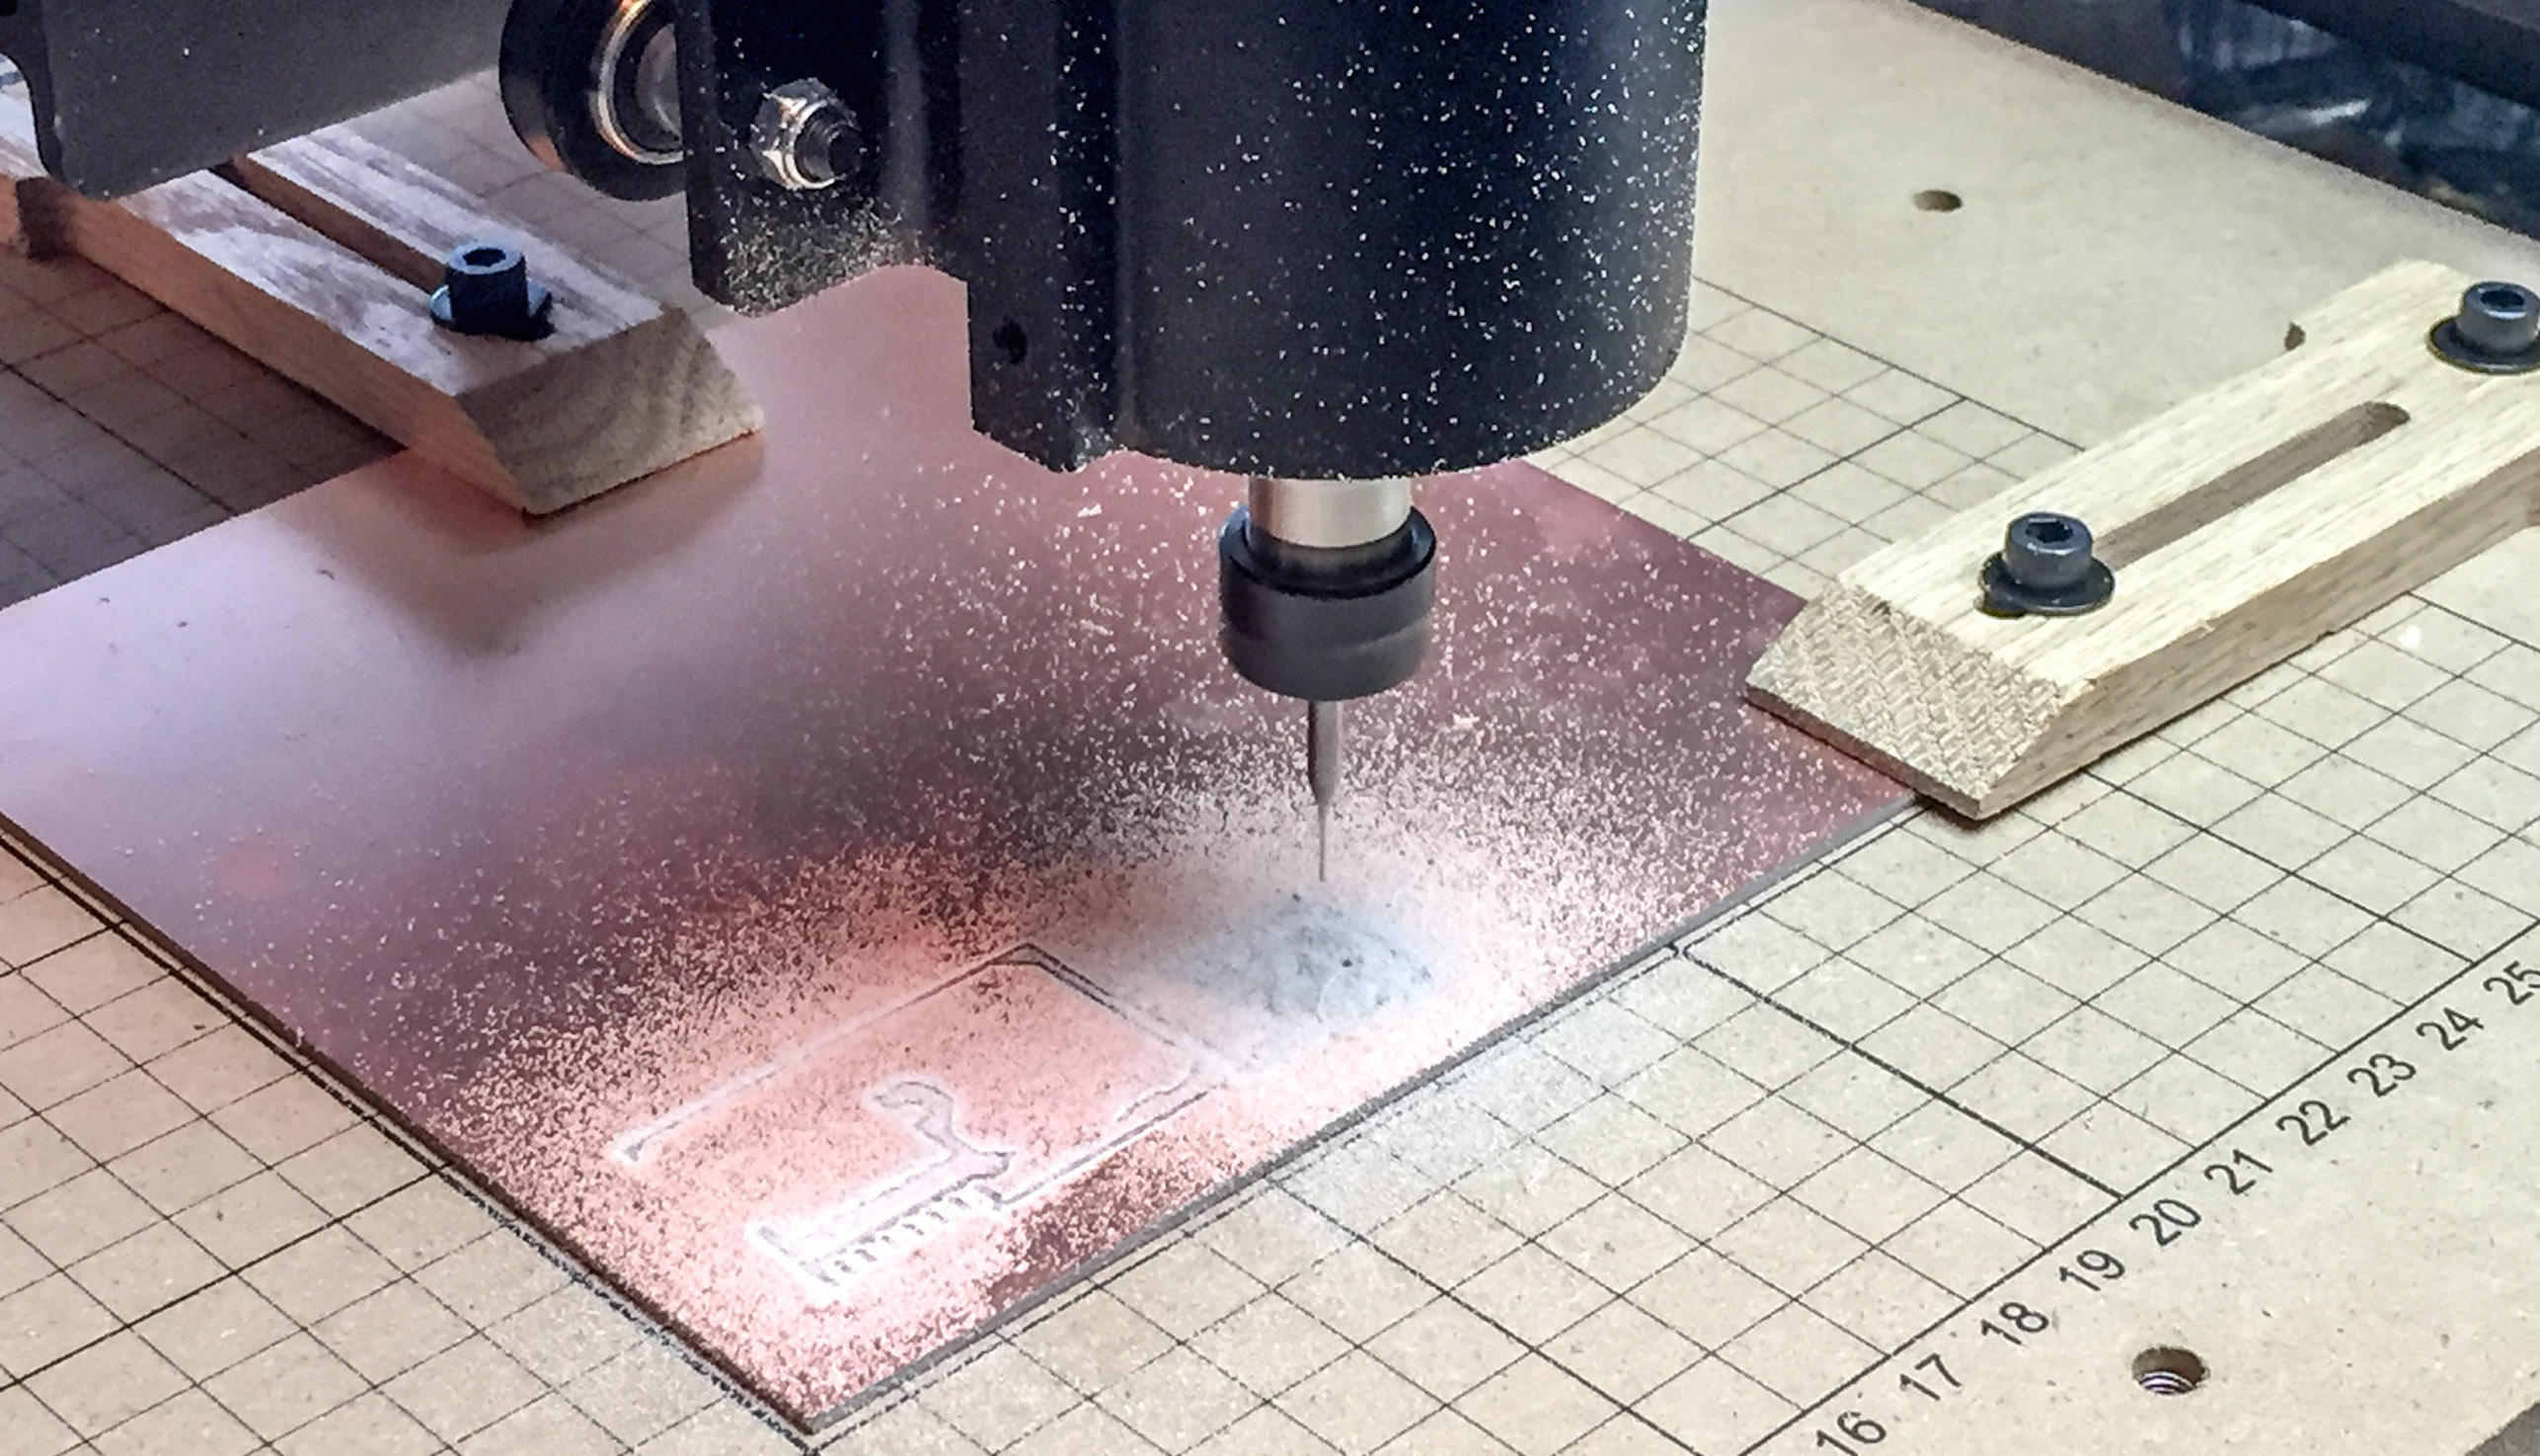
The last time I looked at using an X-Carve for Printed Circuit Boards (PCBs), I created a demo board with EAGLE. Since then, I have learned more about using KiCad, the open source electronics CAD suite. While not a step-by-step tutorial, here is my rough KiCad to X-Carve PCB workflow. These are just the high-level steps, the tools necessary, and the settings I’ve discovered for each—so far.
Eventually, I will make this a more detailed KiCad to X-Carve PCB tutorial, so make sure you subscribe to my RSS feed for updates.
Here’s the Basic Steps:
- KiCad: Draw Board
- KiCad: Plot Gerbers
- KiCad: Generate Drills
- pcb2gcode: Generate G-code
- Text Editor: Clean Up G-code Files
- Camotics: Simulate G-code
- ChiliPeppr: Send G-code and control X-Carve
- X-Carve: Make the boards!


