Tag

Raspberry Pi

Browsing

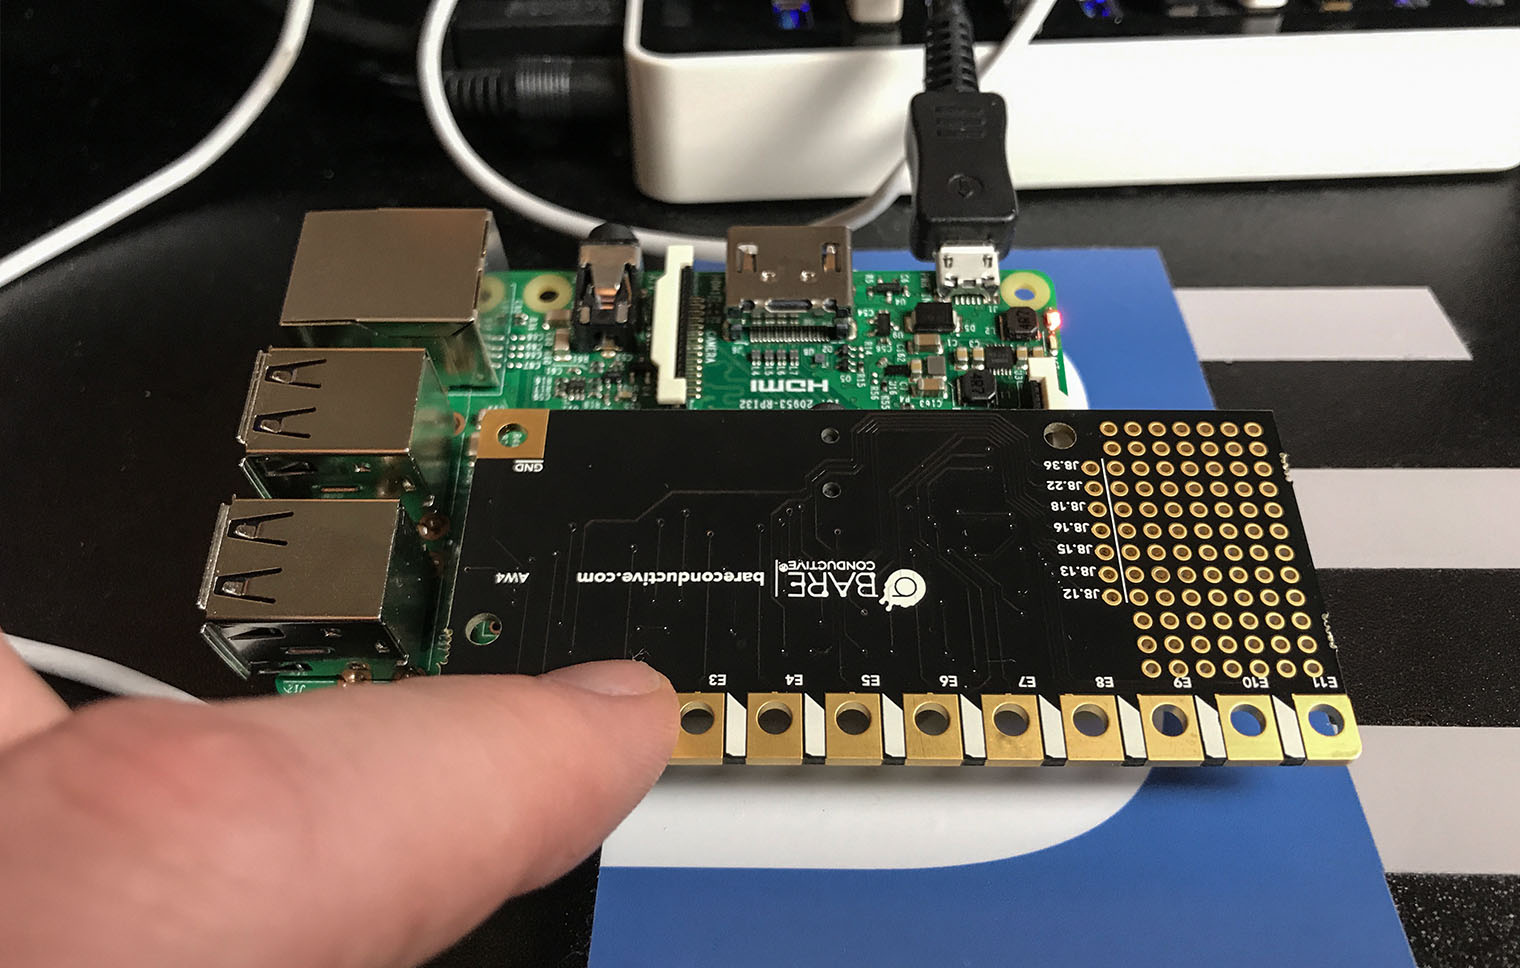
The Pi Cap adds capacitive touch buttons to your Raspberry Pi. Bare Conductive was kind enough to send me one. I do not have a project in mind right now, so here are my first impressions.

What is the Pi Cap?

Arduino tends to call daughter cards shields, while the Raspberry Pi community calls them hats. The Pi Cap is a hat. It plugs into the GPIO header of a Raspberry Pi and provides 13 capacitive touch pads. There is a traditional push button, an LED, and a prototyping area. While the Pi Cap does consume all of the GPIO pins, several are broken out near the GPIO header.

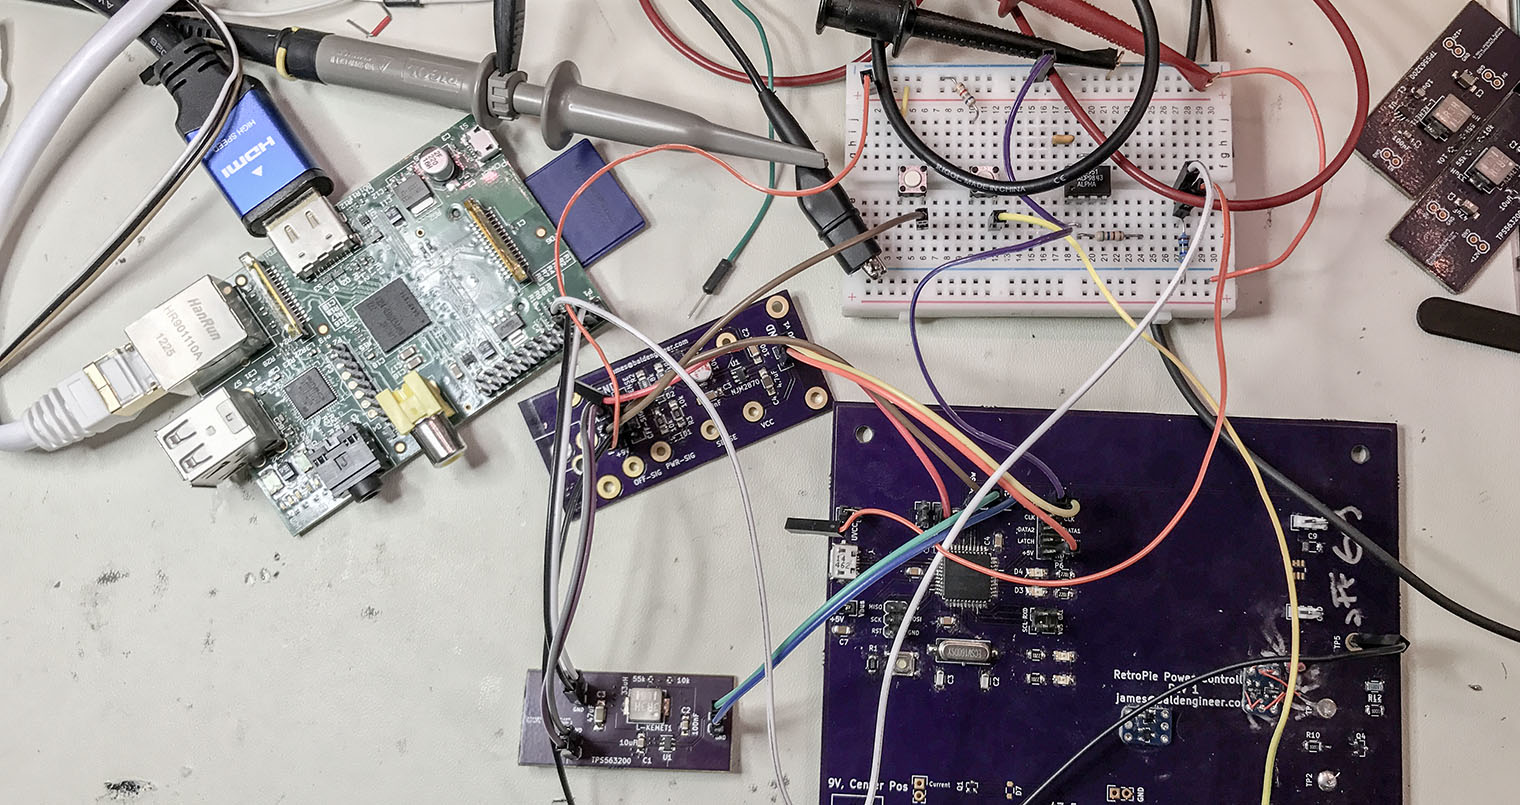
The RetroPie project enables retro-gaming with a Raspberry Pi. All of the Pi models have enough computing power to emulate the major 8-bit and 16-bit computers of the 80s and 90s. With the Pi 3 I have even been able to play PS1 games with no problem. My current project is to put my Raspberry Pi running RetroPie into an old Super Famicom (SFC), or SNES, case. The catch? I want the original SPST power switch to work. And by work, I mean allow the Raspberry Pi to shutdown properly when the switch goes into the off position.  To accomplish this task, I am building a Raspberry Pi soft power controller.
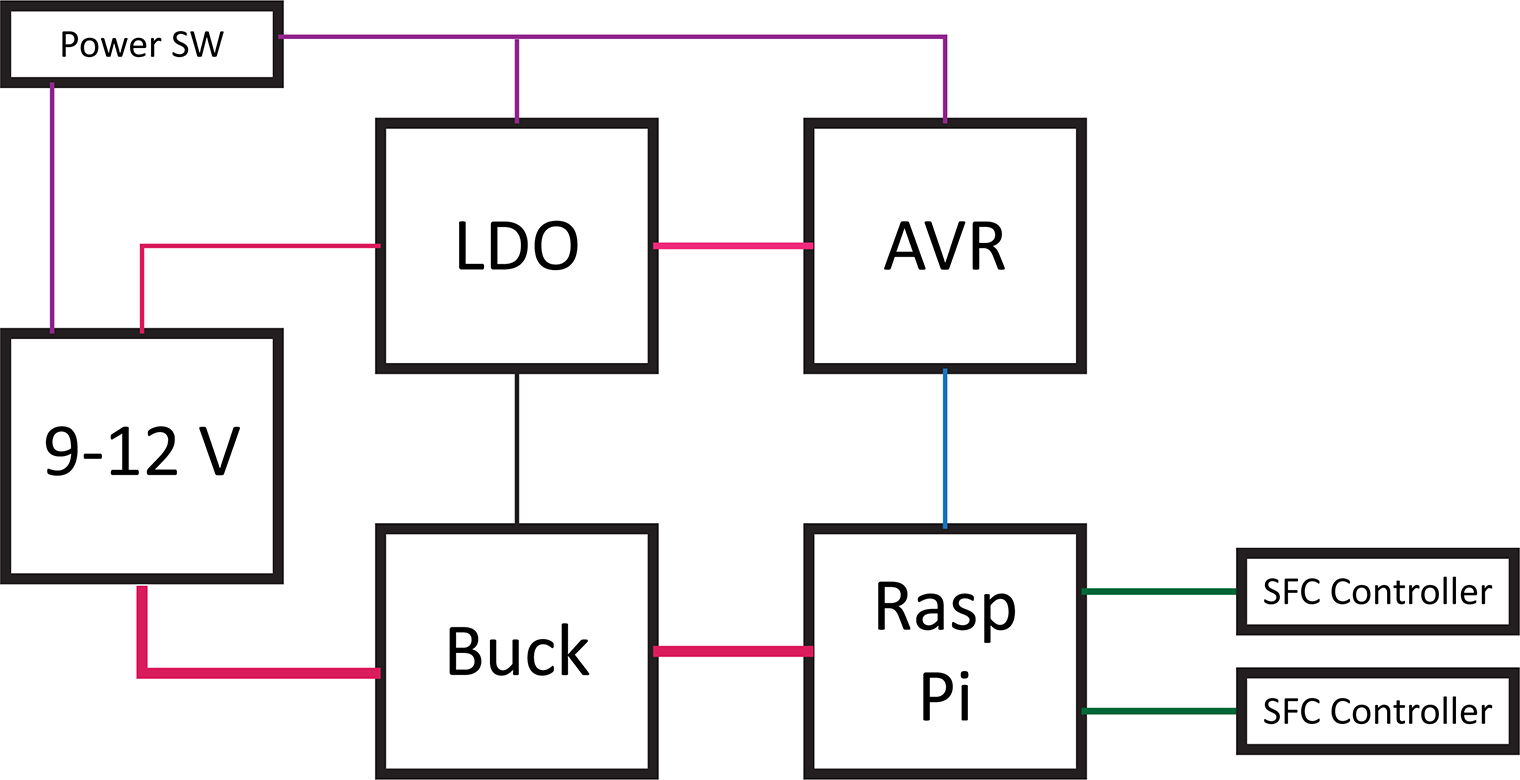
Raspberry Pi Soft Power Block Diagram

Here’s a block diagram of the power controller. The basic blocks in a Raspberry Pi soft power controller include the LDO, a switching supply for the Pi, an AVR-based microcontroller, and the Raspberry Pi. This post will describe each of these hardware blocks.

One design objective was to draw as little current as possible when off. For my RetroPie, I will not be running on battery. However, I do not like the idea of wasting energy when something is turned “OFF.”

This overview is a multi-post write-up. This first part is on the hardware. In the next post, I will explain the AVR’s firmware. Later, I will come back to the Raspberry Pi side of the project.

Last week’s post was on Project Sharing Sites. I’m using two for this project. Hackster.io will host the build log while GitHub has all of the design files. And by all of the file I mean the schematics, firmware, laser cutter files (soon), and Raspberry Pi code.

Hackster.io Project Page   GitHub Repo

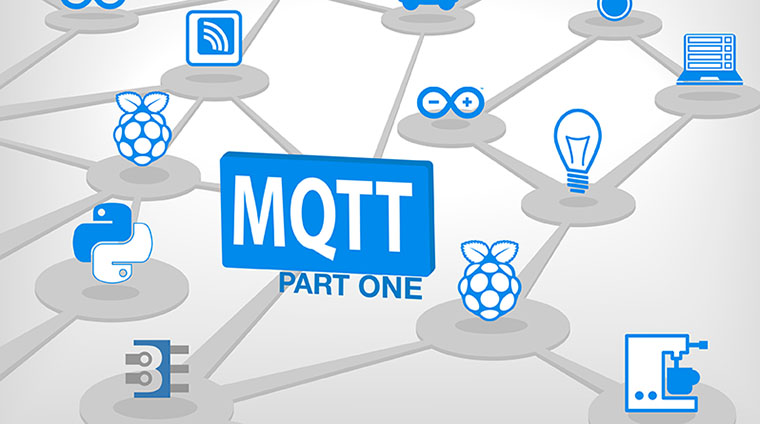
MQTT is an easy way for Internet of Things (IoT) devices to communicate with each other. This light-weight protocol can be used with a simple 8-bit Arduino to a Raspberry Pi to a multi-core PC to Amazon Web Services. It is that versatile.

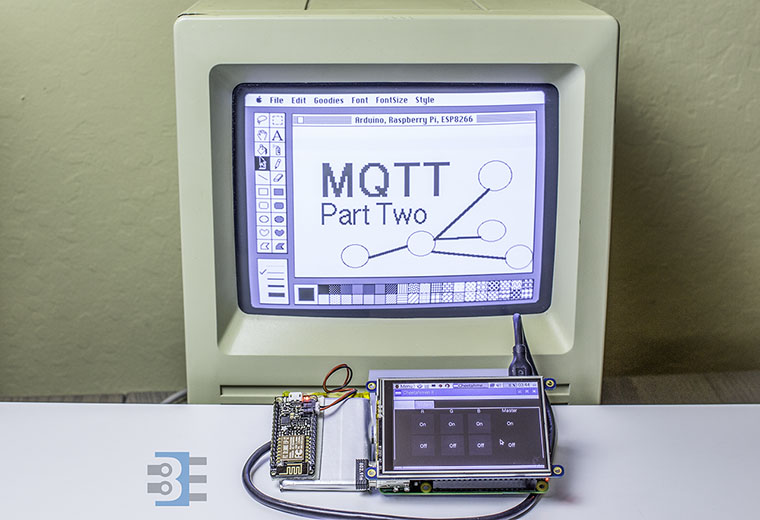
This MQTT Tutorial is broken into two parts. Part one is an MQTT Introduction. You’ll understand how publish/subscribe message brokering works. Next week, Part two will be a tutorial on using MQTT to communicate between a PC, Raspberry Pi, and ESP8266.

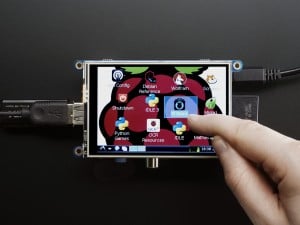
My favorite Raspberry Pi add-on is the PiTFT from Adafruit. With it, you easily get a Raspberry Pi GUI interface and touch screen. The PiTFT software install is just a few things and it is good to go.

Adafruit PiTFT - Click for more info
Image from adafruit.com

This screen is what I needed for my IoT project. The Pi+Screen will act as the primary controller for all of my things. The problem is I didn’t know much about writing GUI applications in Linux. So what could I do to create a Raspberry Pi GUI?

Python is popular in Pi projects, so I decided to stick with it and find out what GUI toolkits are ready to go. “Ready to go” means they install easily on Raspian and work well on the Pi.

Here is how I got Qt5 for Python up and running to create a Raspberry Pi GUI.