Tag

Adafruit

Browsing

A switching voltage regulator is one of my favorite circuits. In school, they were the first circuits I built where I understood how transistors worked. In fact, they were the first circuit I saw an inductor being useful! Switching regulators are incredibly efficient when designed properly. Of course, this detail about design is important. They are not as simple as a linear regulator, which is basically an IC and two caps.

To understand the basics of a switching regulator, I released AddOhms #18 this week. This is video tutorial dedicated the Switching Voltage Regulator. If video tutorials aren’t your thing, then keep reading for my written tutorial.

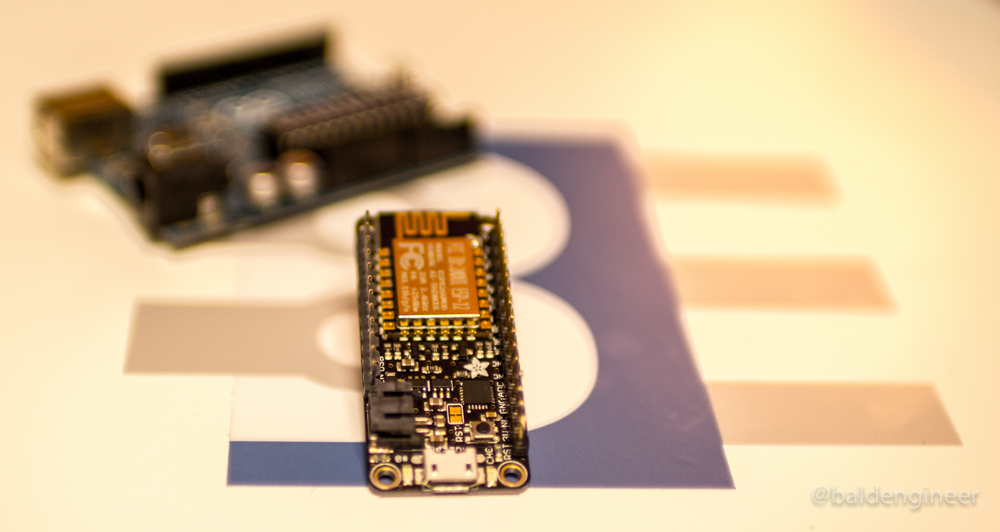
A couple of weeks ago I posted four things to know about the ESP8266 before using one. The biggest surprise from that post is people seem to think I do not like the ESP8266! This idea is not the case; the ESP8266 is awesome. I like them so much that my Adafruit Feather HUZZAH with ESP8266 has become my go-to Arduino board.

Wait what? James uses something other than Arduino? Yes, I do! I have many different boards and have used most of them for one task or another.

However, when it came to day-to-day “make something quickly” type work, I relied on my Uno. But not anymore. Here are the 5 reasons the ESP8266 is my go-to Arduino board.

My favorite Raspberry Pi add-on is the PiTFT from Adafruit. With it, you easily get a Raspberry Pi GUI interface and touch screen. The PiTFT software install is just a few things and it is good to go.

Adafruit PiTFT - Click for more info
Image from adafruit.com

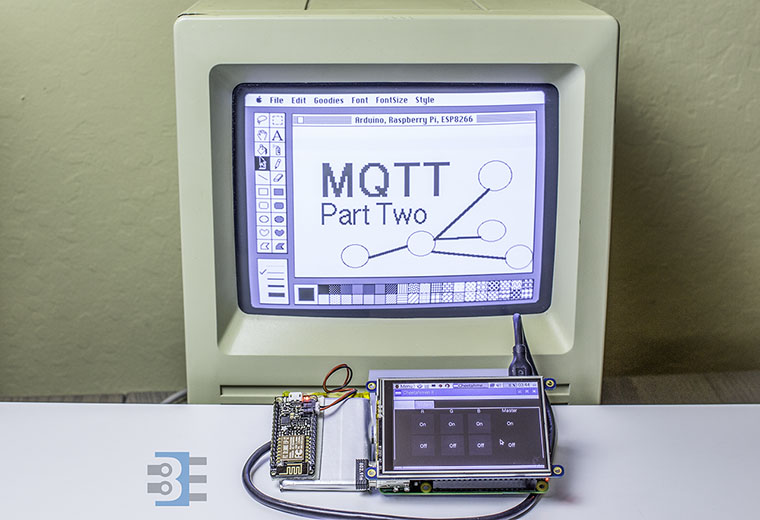
This screen is what I needed for my IoT project. The Pi+Screen will act as the primary controller for all of my things. The problem is I didn’t know much about writing GUI applications in Linux. So what could I do to create a Raspberry Pi GUI?

Python is popular in Pi projects, so I decided to stick with it and find out what GUI toolkits are ready to go. “Ready to go” means they install easily on Raspian and work well on the Pi.

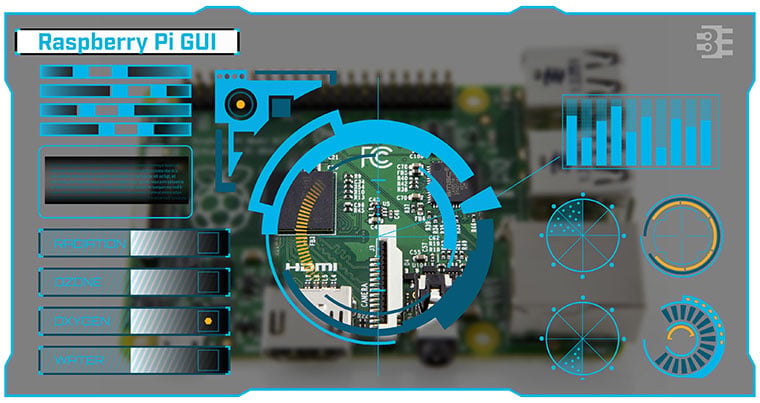
Here is how I got Qt5 for Python up and running to create a Raspberry Pi GUI.

Adding WiFi to any project can be difficult. There are a few off the shelf options that make it easier. One option is the official Arduino WiFi shield. This full-featured shield uses its integrated microcontroller to handle the WiFi protocol, security, and the TCP/IP stack for you. From “plug it in and go” perspective, this is an awesome option for Arduino-based projects. Plenty of example code supports the nicely designed hardware. The main downside to some people is the price.

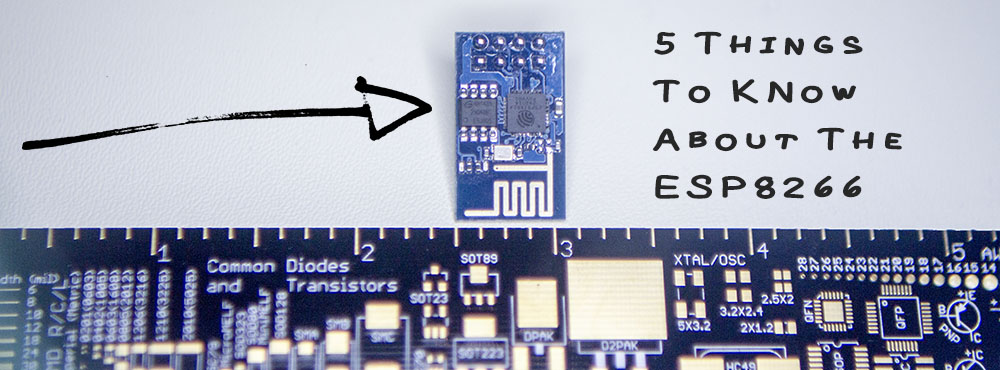
The more popular option these days is the ESP8266, typically advertised around $5US. They are about the size of a TO-220 packaged transistor. How do they get so small? Using a technology known as “System On a Chip”, or SOC, these tiny modules pack everything on the Arduino WiFi shield inside of a single chip! SOCs are great when space is limited. If production volumes are high enough, there can even be a cost advantage.

After spending some time with an ESP8266 I bought on eBay (which I don’t recommend..), I’ve found some things you need to know before building your ESP8266 based project.