
Sending simple serial commands to an Arduino is the easiest way to communicate between an Arduino and a computer. The computer could be a PC, a Raspberry Pi, or any device that communicates with serial.
By sending and “decoding” a single character it is easy to add a simple debug menu or even serial menu. Plus, it is easy to extend.
Single Character vs. Full Words
The mistake I see many people make is that they try to send full-text strings as serial commands. For example, to turn on a LED, I have seen (silly) commands like “RED LED ON” or “RED LED OFF.” While you could use something like strcmp(), as I showed on the Multiple MQTT Topics example, that tends to be overkill for most serial commands.
Humans like words, computers like binary. Just send one character over serial.
switch (variable) {
  case 'a':
	// A Stuff

  case 'b':
  case 'c':
	// B and C Stuff
  break;
}
Serial is asynchronous
It is easy to get caught in the trap of thinking that typing a full word in the Serial Monitor and then clicking Send, means the entire word is sent immediately. However, it is not. Only one character gets sent at a time. Depending on the line ending settings, a few extra characters might be sent automatically.
Asynchronous sending means that to capture multiple character commands requires you to buffer incoming characters. While not difficult, it does tend to start getting complicated.
Using switch statement
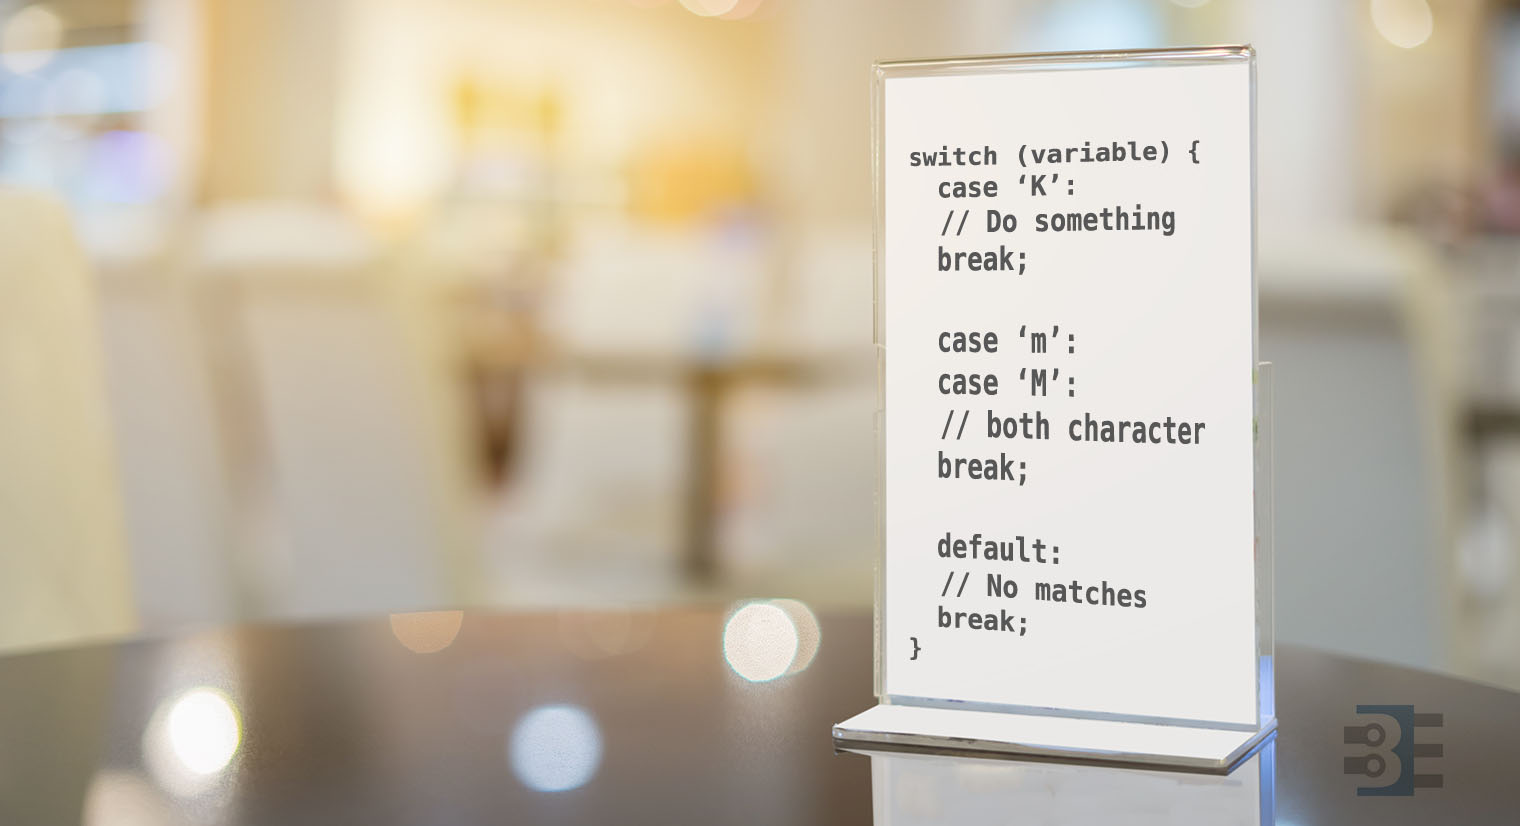
In C, the switch statement executes code based on the value of a variable. The structure is much cleaner than endless if-else statements and even allows a limited amount of “stacking.”
switch (variable) {
  case 'K':
	// Do something
  break;

  case 'm':
  case 'M':
	// Do something with either character
  break;

  default:
	// When all else fails
  break;
}
The conditions for the switch-statement are wrapped in curly braces. Each “case” is like saying “if (variable==case).” Inside of the switch block, any code matching the switch case executes and continues to run until the end of the block or a “break” statement.
Stacking Cases
It is also possible to “stack” case. In the example above both, the characters ’m’ and ‘M’ will execute the same code. You could also repeat cases if you want multiple actions to happen based on a character.
You must include a “break” at the end of the “case.” The code will not check any more conditions until the next time it sees a “break!”
switch (variable) {
  case 'a':
	// A Stuff

  case 'b':
  case 'c':
	// B and C Stuff
  break;
}
In this example, if “variable” contains the character ‘a,’ then the code for “A Stuff” will execute, but so will “B and C Stuff!”
Sending Simple Serial Commands to Arduino
Using a switch-block, sending simple commands is easy. In my code, I always create a function called “handleSerial()” and then in the loop() I call handleSerial() on each iteration.
This bit is a style choice, but I like to put my handleSerial() at the bottom of my code. It makes adding new commands easy since I can just scroll to the bottom of the screen.
void loop() {
   handleSerial();
   // Everything else loop() does…
}

void handleSerial() {
 while (Serial.available() > 0) {
   char incomingCharacter = serial.Read();
   switch (incomingCharacter) {
     case '+':
      pwmValue = pwmValue + 5;
      If (pwmValue >= pwmMax)
         pwmValue = pwmMax;
      break;

     case '-':
      pwmValue = pwmValue - 5;
      If (pwmValue <= 0)
         pwmValue = 0;
      break;
    }
 }
}
First, handleSerial() checks for any received characters. If there is nothing in the receive buffer, then the while-loop exits immediately. Why a while-loop()? Style choice, explained later.
Next, we capture a character from the buffer. You do not need to put the character into a variable; you could put the serial.Read() inside of the switch() statement. However, if you want to do any debugging with the received character, it is easier to have a variable setup ahead of time.
Now the switch-block will execute any code that matches the received character. If none of the code matches, then the character is dropped and the while-loop continues. One critical advantage here is that if you have “line endings” turned on in the serial monitor, this code ignores them!
Why a while()-loop?
For me, it is a style choice. I’d rather handle all of the serial characters at once. However, in a program where I have “time sensitive code”, I’ll only process 1 character each time handleSerial() is called. Just change the while-loop into an if-statement.
Couple of notes
Make sure you call handleSerial() often to check for commands. For example if you have a very long loop, call handleSerial() every so often inside that loop.
One simple trick
One simple serial command trick you won’t believe
Here is a neat little trick when modifying values. In this Larson Scanner Tutorial, I am modifying a variable called pwmValue. So I tend to send multiple characters in a row.
In the serial monitor, I will often put multiple characters in before hitting send.
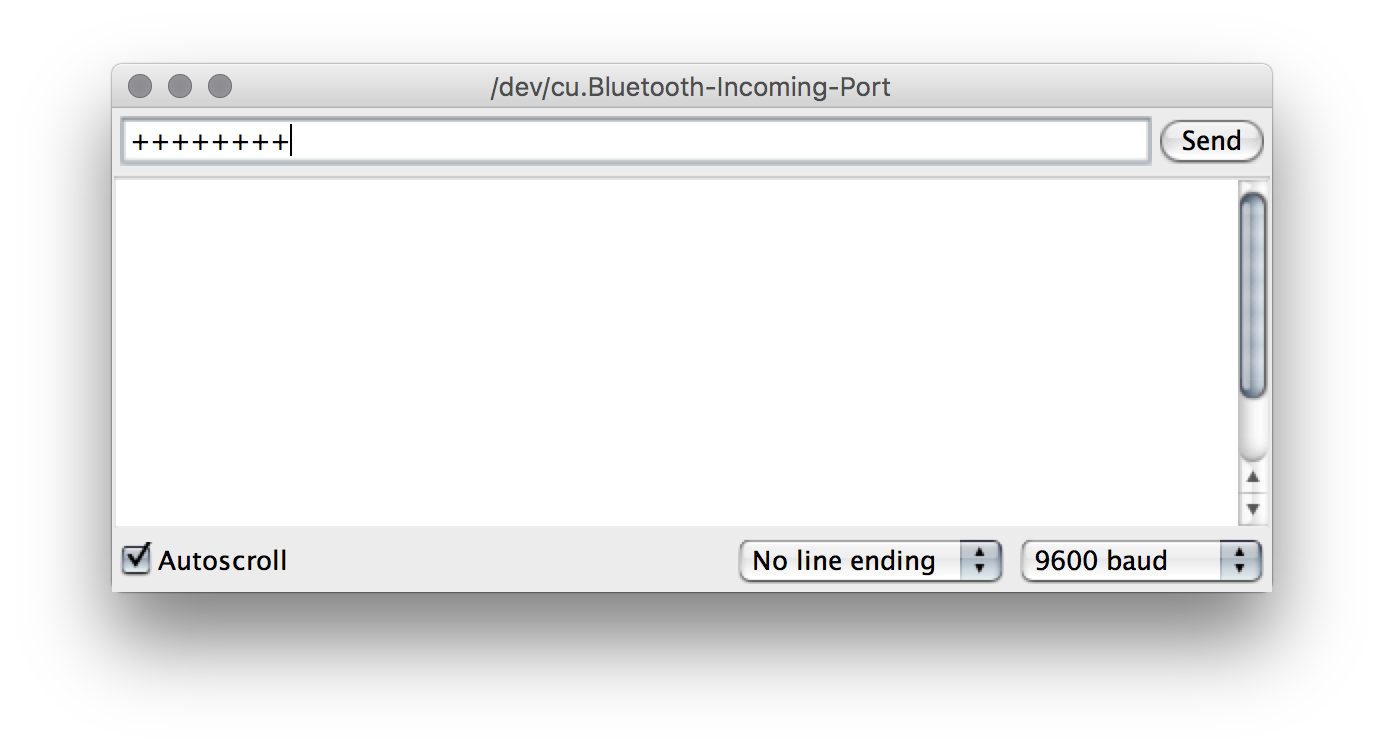
While they will not all send immediately, it just saves me some time.
Conclusion
Limiting serial commands to a single character could mean limiting your commands. However, the tradeoff is the code to handle these commands is very simple. Check out my tutorial on Measuring PWM Current with a modified moving average. I used handleSerial() in that one.