Getting started with electronics always involves a discussion of Ohm’s Law. What is this mysterious sounding law and how can you use it when building electronic projects? One the main uses for Ohm’s Law in your projects is to calculate the resistor value needed for a LED. This article takes a look at what Ohm’s Law is and how to use it with LEDs.

Soldering every circuit you build probably isn’t practical. At some point you are probably going to want to use some type of temporary method to connect different components together. One of the popular methods is using a breadboard. This simple (and cool) looking device only needs a few instructions before you can begin
The seventh AddOhms TutorialCast has gone “live”. (Gone “uploaded” sounds wrong.) Being able to understand difference between an Arduino and a Pi is a critical point for many new electronics hobbyist. The boards seem so similar, but they are so different. AddOhms #7: Comparing the Arduino and Raspberry Pi
The Arduino is fast, humans are slow. When you push down a button, what seems like a single change to slow humans is really multiple presses to an Arduino. This is known as “bouncing.” Figure 1 is an oscilloscope screenshot showing what could happen when a button is pressed.
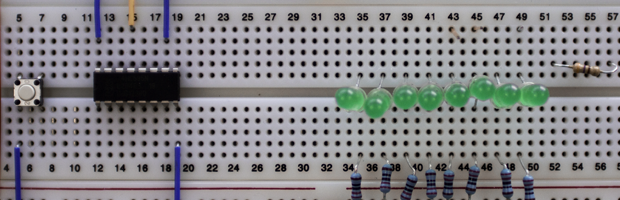
A popular LED project is the “Larson Scanner.” This scanner emulates the effect seen on KIT from Knight Rider and the Cylons in Battlestar Galactica. The code is usually written using “delay()” which means you can’t combine it with anything else. The following code could be put into a function, called periodically and allow your code to scan while doing other things.