Category

Measurements

Category

During the Bench Power Supply basics video, I made use of my electronic load. An electronic load can sink current from power sources such as power supplies or batteries. Loads are useful to test a power supply’s design margin or verify a battery’s capacity. See how three different instrument options from ultra low-end to midrange to high-end compare. After this element14 Presents Workbench Wednesday video, you will understand how to use modes on an electronic load like constant current and constant resistance to make different measurements.

In the video, I compare three different types of tools: a $50 battery tester from eBay, BK Precision 8540 Electronic Load, and a high-end Rohde & Schwarz NGM202. They are all capable of acting as a constant current sink. In other words, you program the current and let the supply under test run. In the case of batteries, this mode is useful to test battery life. The 8540 and NGM202 both feature other capabilities like constant resistance which, as you can imagine, acts as an electronic resistor. The cool thing about using an electronic load as a power resistor is that some of them are capable of sinking up to 10s of amps.

After submitting the video to the producers, I realized I focused very heavily on batteries. More often, you use an electronic load to test power supply boards or modules. I wish I had shown those more, but it didn’t seem like it was missing until the end. So maybe in the future, I can convert tools for measuring DC/DC power supplies? However, I did cover one topic significant to me. I show just how bad 9V batteries are, a topic which I like to come back to often. So I made sure to show off just how bad they work when driven past 100 mA. (It is terrible!)

Learn more at element14
A bench power supply makes powering circuits easy and safe. Learn how to adjust basic controls like voltage. Finally, see how “current limiting” works (and why you should use it.) See how you can use built-in series or parallel tracking to increase a bench power supply’s voltage or current output. Last, if you are in the market for a power supply, do not forget to add some leads like mini-grabbers, alligator clips, and banana plugs.

See more at element14

When it comes to transistors, there are only so many things a multimeter can measure. The DCA Pro from PEAK Electronics makes short work of testing parts like a transistor. This small device can determine pinout, component type, and essential parameters in a matter of seconds. Not only that but it can be connected to a (Windows) PC and draw parameter curves.

Check out the video review to see how the device and software work. Then head over to the element14 page where you can download a zip file full of example parts I measured for you. Use the free DCA Pro software to open them.

You might also want to check out this MOSFET Curves post, which complements this video tutorial. Another resource you might find helpful on semiconductors, or transistors, is this post on MOSFET Myths.

See more on element14

This AddOhms episode is part 3 of the “design your own Arduino” series. In this one I populate a bare PCB, reflow solder it, debug a few issues, and load the Uno bootloader. Originally, I designed 2 versions of the board. One version contained an error that I planned to fix in the episode. Well, turns out, the “correct” board had two issues which were more interesting.

Check out the #27 show notes for links to a bunch of stuff in the episode, including the design files.

Watch on YouTube

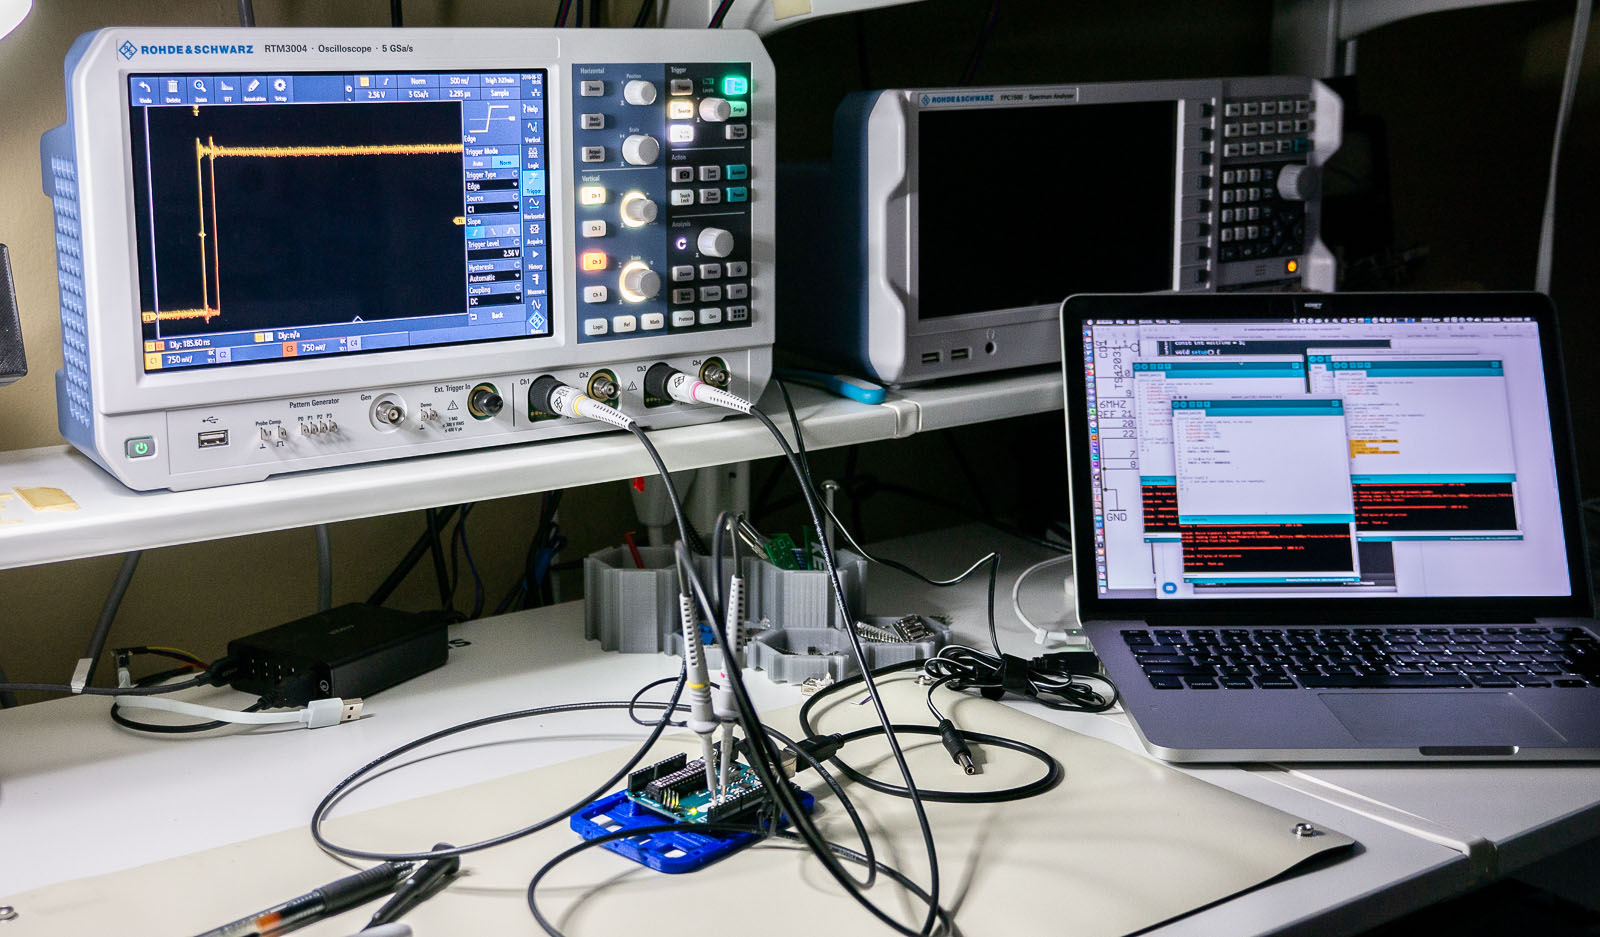
One of the best ways to learn how to use a new piece of test equipment is to use it. Sounds easy, right? The problem is, sometimes when you are in the middle of troubleshooting your circuit, figuring out what the knobs on your scope do is an immense frustration. Use these 6 oscilloscope measurements, and just an Arduino Uno, to learn how to use a new or unfamiliar digital scope.

This tutorial is not a step-by-step guide on how to make each of these measurements on a particular scope. Instead, it is a general explanation on how to setup the Arduino and a screenshot to help identify if you set up your scope correctly. I reference the R&S RTM3004. However, practically any two (or more) digital channel oscilloscope should work.

Between each measurement, I highly recommend using your scope’s default setup (or autoscale) before proceeding to the next one!