Category

Electronics Basics

Category

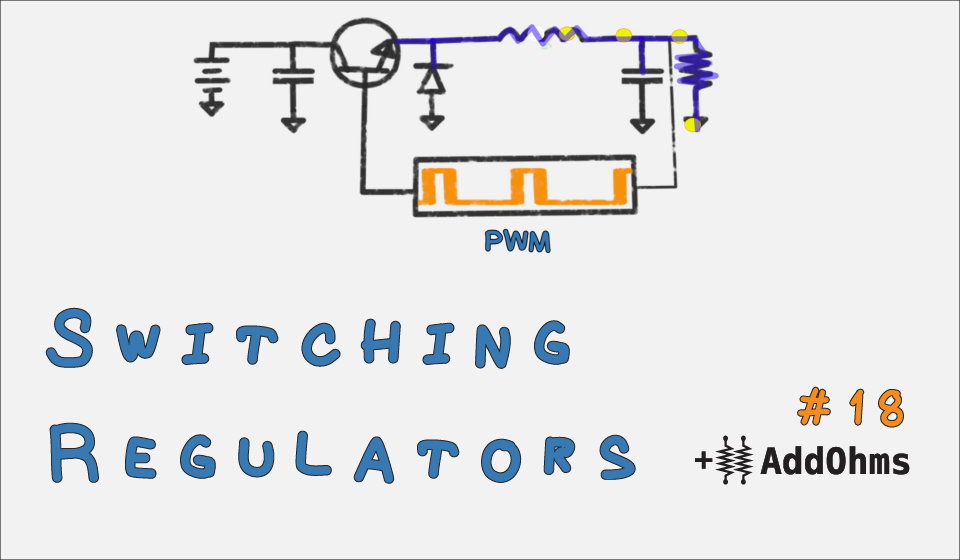
A switching voltage regulator is one of my favorite circuits. In school, they were the first circuits I built where I understood how transistors worked. In fact, they were the first circuit I saw an inductor being useful! Switching regulators are incredibly efficient when designed properly. Of course, this detail about design is important. They are not as simple as a linear regulator, which is basically an IC and two caps.

To understand the basics of a switching regulator, I released AddOhms #18 this week. This is video tutorial dedicated the Switching Voltage Regulator. If video tutorials aren’t your thing, then keep reading for my written tutorial.

The latest AddOhms looks at why you need a pull-up resistor when using push-buttons. This video goes into what happens when you leave a pin floating, what a floating pin means, and how the pull-up works. You can get more information about the video on the AddOhms Episode page.

[shareable]Pull-Up Resistors can be a difficult topic to understand. That’s why I made this video.[/shareable]

This tutorial is the 2nd time I’ve made a video on pull-ups. Despite being a single resistor, it can be a difficult topic for new hardware designers to understand. The pull-up video was the first video tutorial I ever made. In fact, the YouTube version uses YouTube’s “stabilization” algorithm, which gives the video a very warped feel.

AddOhms #15 shows improvements in skill over the past couple of years!

What’s another topic that I need to cover in an AddOhms Tutorial?

The other day my friend called me up. He told me how much he missed building circuits and wanted to start again with the Arduino.

So he asked me “which Arduino starter kit is the best to buy?” At which point, I drew a long breath. Easy question, not always an easy answer.

Picking out an electronics kit depends on a number of factors. You should consider:

  1. Your budget
  2. What you already have
  3. What you want to do

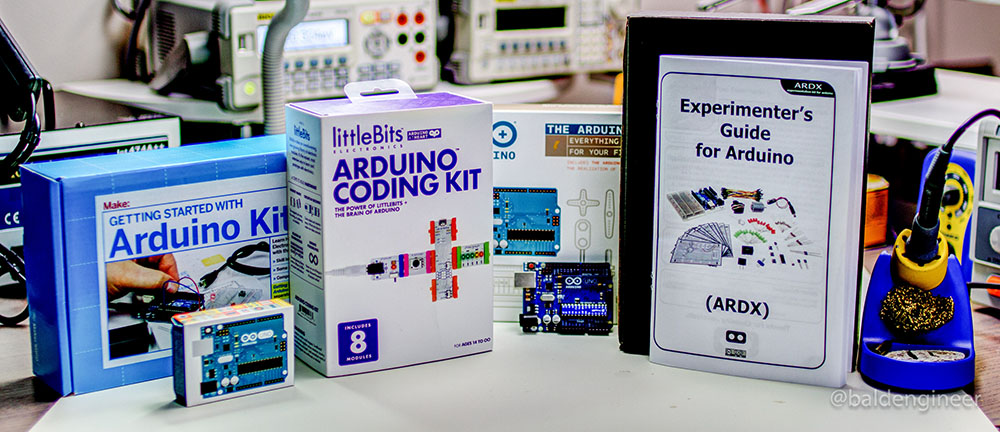
#1 and #2 are probably pretty easy to figure out. For many beginners, it’s “not much” and “nothing.” When you don’t know #3, what you want to do, then it gets trickier. Coming back to my friend, what did I do? Well, I went out and bought each one of the kits in this post. I put myself in his shoes and maybe these are your shoes as well.

Assuming you have about $100 to spend, have no components on-hand now and just want to “get started” consider one of these 4 Arduino starter kits.

Tutorial on schematics basics

The funny thing about schematics is that they are much easier to draw than they are to read. There are many common circuits. When an experienced engineer looks at them, it’s like a second language. When someone less experienced looks at them, it looks like random lines and symbols thrown together at the last-minute. (Or maybe that’s just the schematics *I* draw.)

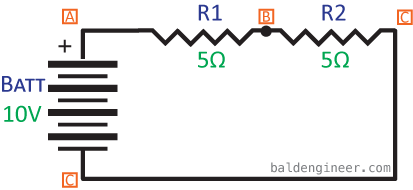
Other than reading Schematic Symbols themselves, one of the basic skill necessary to read a schematic is recognizing series and parallel circuits.

In short if the same current flows through all the parts, they are in series.  While if current has different paths, they are in parallel.  Keep reading to dive into this tutorial on how ohm’s law applies to series and parallel circuits.

Learning to a breadboard is critical when adding electronics to a project. A skill often overlooked is how to use breadboard jumper wires correctly. For example, when I breadboard a circuit I only use Red, Green, or Blue for positive voltages and Black for ground. Other colors, it depends on the functions of the wire. The idea is to keep it clear when I look at the board, what each wire is doing.

This video from Make is a great overview of how to develop a skill, or habit, around using breadboard jumper wires in your circuit.

For more information, there is a short writeup on their web site as well.