
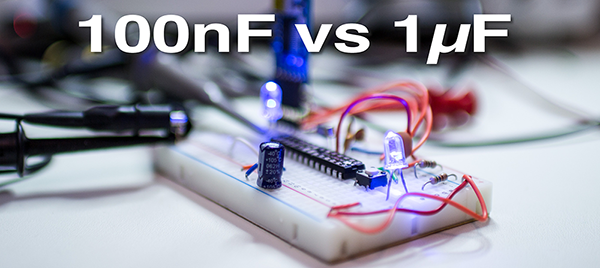
To save time, breadboard pins or just lack of knowledge people try to skip adding even one decoupling capacitor to a circuit. Either on IRC or in Forums you can almost always see it coming: “randomly, my circuit stops working” And then, “what do you mean a decoupling capacitor?” question.
While working on breadboard Arduino, I came across some unexpected measurements. Initially, the only capacitors on the breadboard were the two 22pF from crystal to ground and the capacitor connected to RESET for Auto-RESET.
Keep reading to find out what happen when I added a 100nF and a 1µF cap. A bunch of scope traces and surprising results follow.
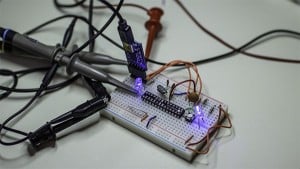
Breadboard Arduino with no Decoupling Caps
I powered the chip from an FTDI adapter plugged into a Macbook Pro running on battery. From there, I flashed a “blank” sketch. This program is the “Bare Minimum” sketch from in the Arduino’s Examples folder.
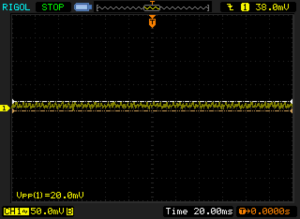
Scope Shot of Noise Floor
Figure 1 shows the noise floor while holding the Uno’s RESET button. Figure 2 illustrates the noise on the 5V line with the “blank sketch.” It’s in quotes because it is an endless for()-loop.
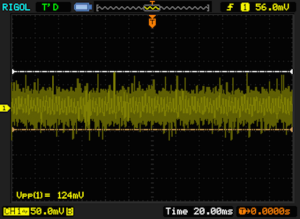
Figure 2 - Blank Sketch
With the baseline established, the code was changed to toggle Pin 13 as fast as digitalWrite() could toggle it.
void setup() {
   pinMode(LED_BUILTIN, OUTPUT);
}

void loop() {
   digitalWrite(LED_BUILTIN, HIGH);
   digitalWrite(LED_BUILTIN, LOW);
}
Visually, the LED I added didn’t seem to flash. It was toggling at 94 KHz, so, of course, I wouldn’t see it change. Look at Figure 3 to see how the noise on the 5V line is now over 300mV! Also, check out those noise spikes!
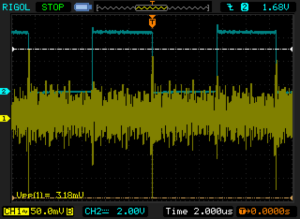
Figure 3 - Toggling Noise
Channel 2, the Blue channel, is measuring Pin 13. The waveform shows the pin is switching on and off. Notice what Channel 1, the Yellow channel, is showing. When Pin 13 switches on or off, there is a noticeable noise spike on the 5V pin.
A decoupling capacitor can eliminate that noise!
100nF Decoupling Capacitor
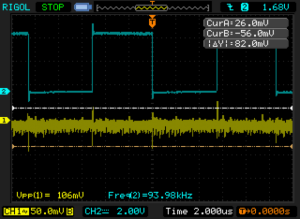
The first capacitor added is a 100nF ceramic capacitor, shown in Figure 4. It was attached as close as possible to pins 7 and 8. On the ATmega328, this is the VCC (7) and GND (8) pins. Amazingly, the noise and spikes dropped significantly. Even though I don’t suggest changing connections while powered, this is a pretty fun change to watch in real-time.
100nF Decoupling Capacitor
So.. if 100nF worked well, adding more will work even better, right? Look at what happens when I add the 1µF aluminum electrolytic capacitor.
1µF Decoupling Capacitor
Now check out Figure 5. The noise from before is worse now! Granted at these low levels would it matter? Maybe not. However, this short experiment makes a point. Smaller decoupling capacitor values are just as important as bigger values when it comes reducing noise spikes on a voltage rail.
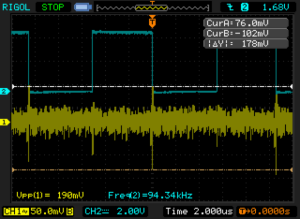
Figure 5 - 1uF Decoupling Capacitor
Conclusion
Hopefully, these simple experiments illustration that bigger isn’t always better. In other words, don’t be in a hurry to add a 470µF capacitor, without some measurements. Also, make sure you put a smaller 100nF in parallel with the big ones.