Recently TechShop opened up one of their shops in Round Rock which is just a few minutes from Austin, where I live.  TechShop is an awesome membership based workshop with a huge variety of tools useful for making things.  On this holiday Friday I decided to spend some time with the MakerBot Replicator.

For some time I have been looking at a mini-tripod for my camera/iPhone so I could get pictures of projects while working on them.  While browsing Thingiverse, I came across design files for such a thing.

Since this was my first time using ReplicatorG and the first time I made a 3D print, I decided not to make any modifications.  As it turned out I used the latest version of ReplicatorG (0040) which appears to have a bug.  When I extruded using the Replicator’s left extruder  the MakerBot started off the platform (as if it was using the coordinates for the right extruder).  After down-reving to 0037, things worked fine.

It also appears my Patroit-branded 2GB memory card is not compatible with the MakerBot’s reader.  Bummer.

Leveling

During the safety and basic use class we spent quite a bit of time on how to level the build platform.  It seemed like a simple enough procedure, so I didn’t fully understand why we spent so much time on it.  The first two pieces of the tripod I printed had a bit of a mess on the first layers above the raft.  After going through the leveling procedure a 2nd time, parts came out much (much) cleaner.
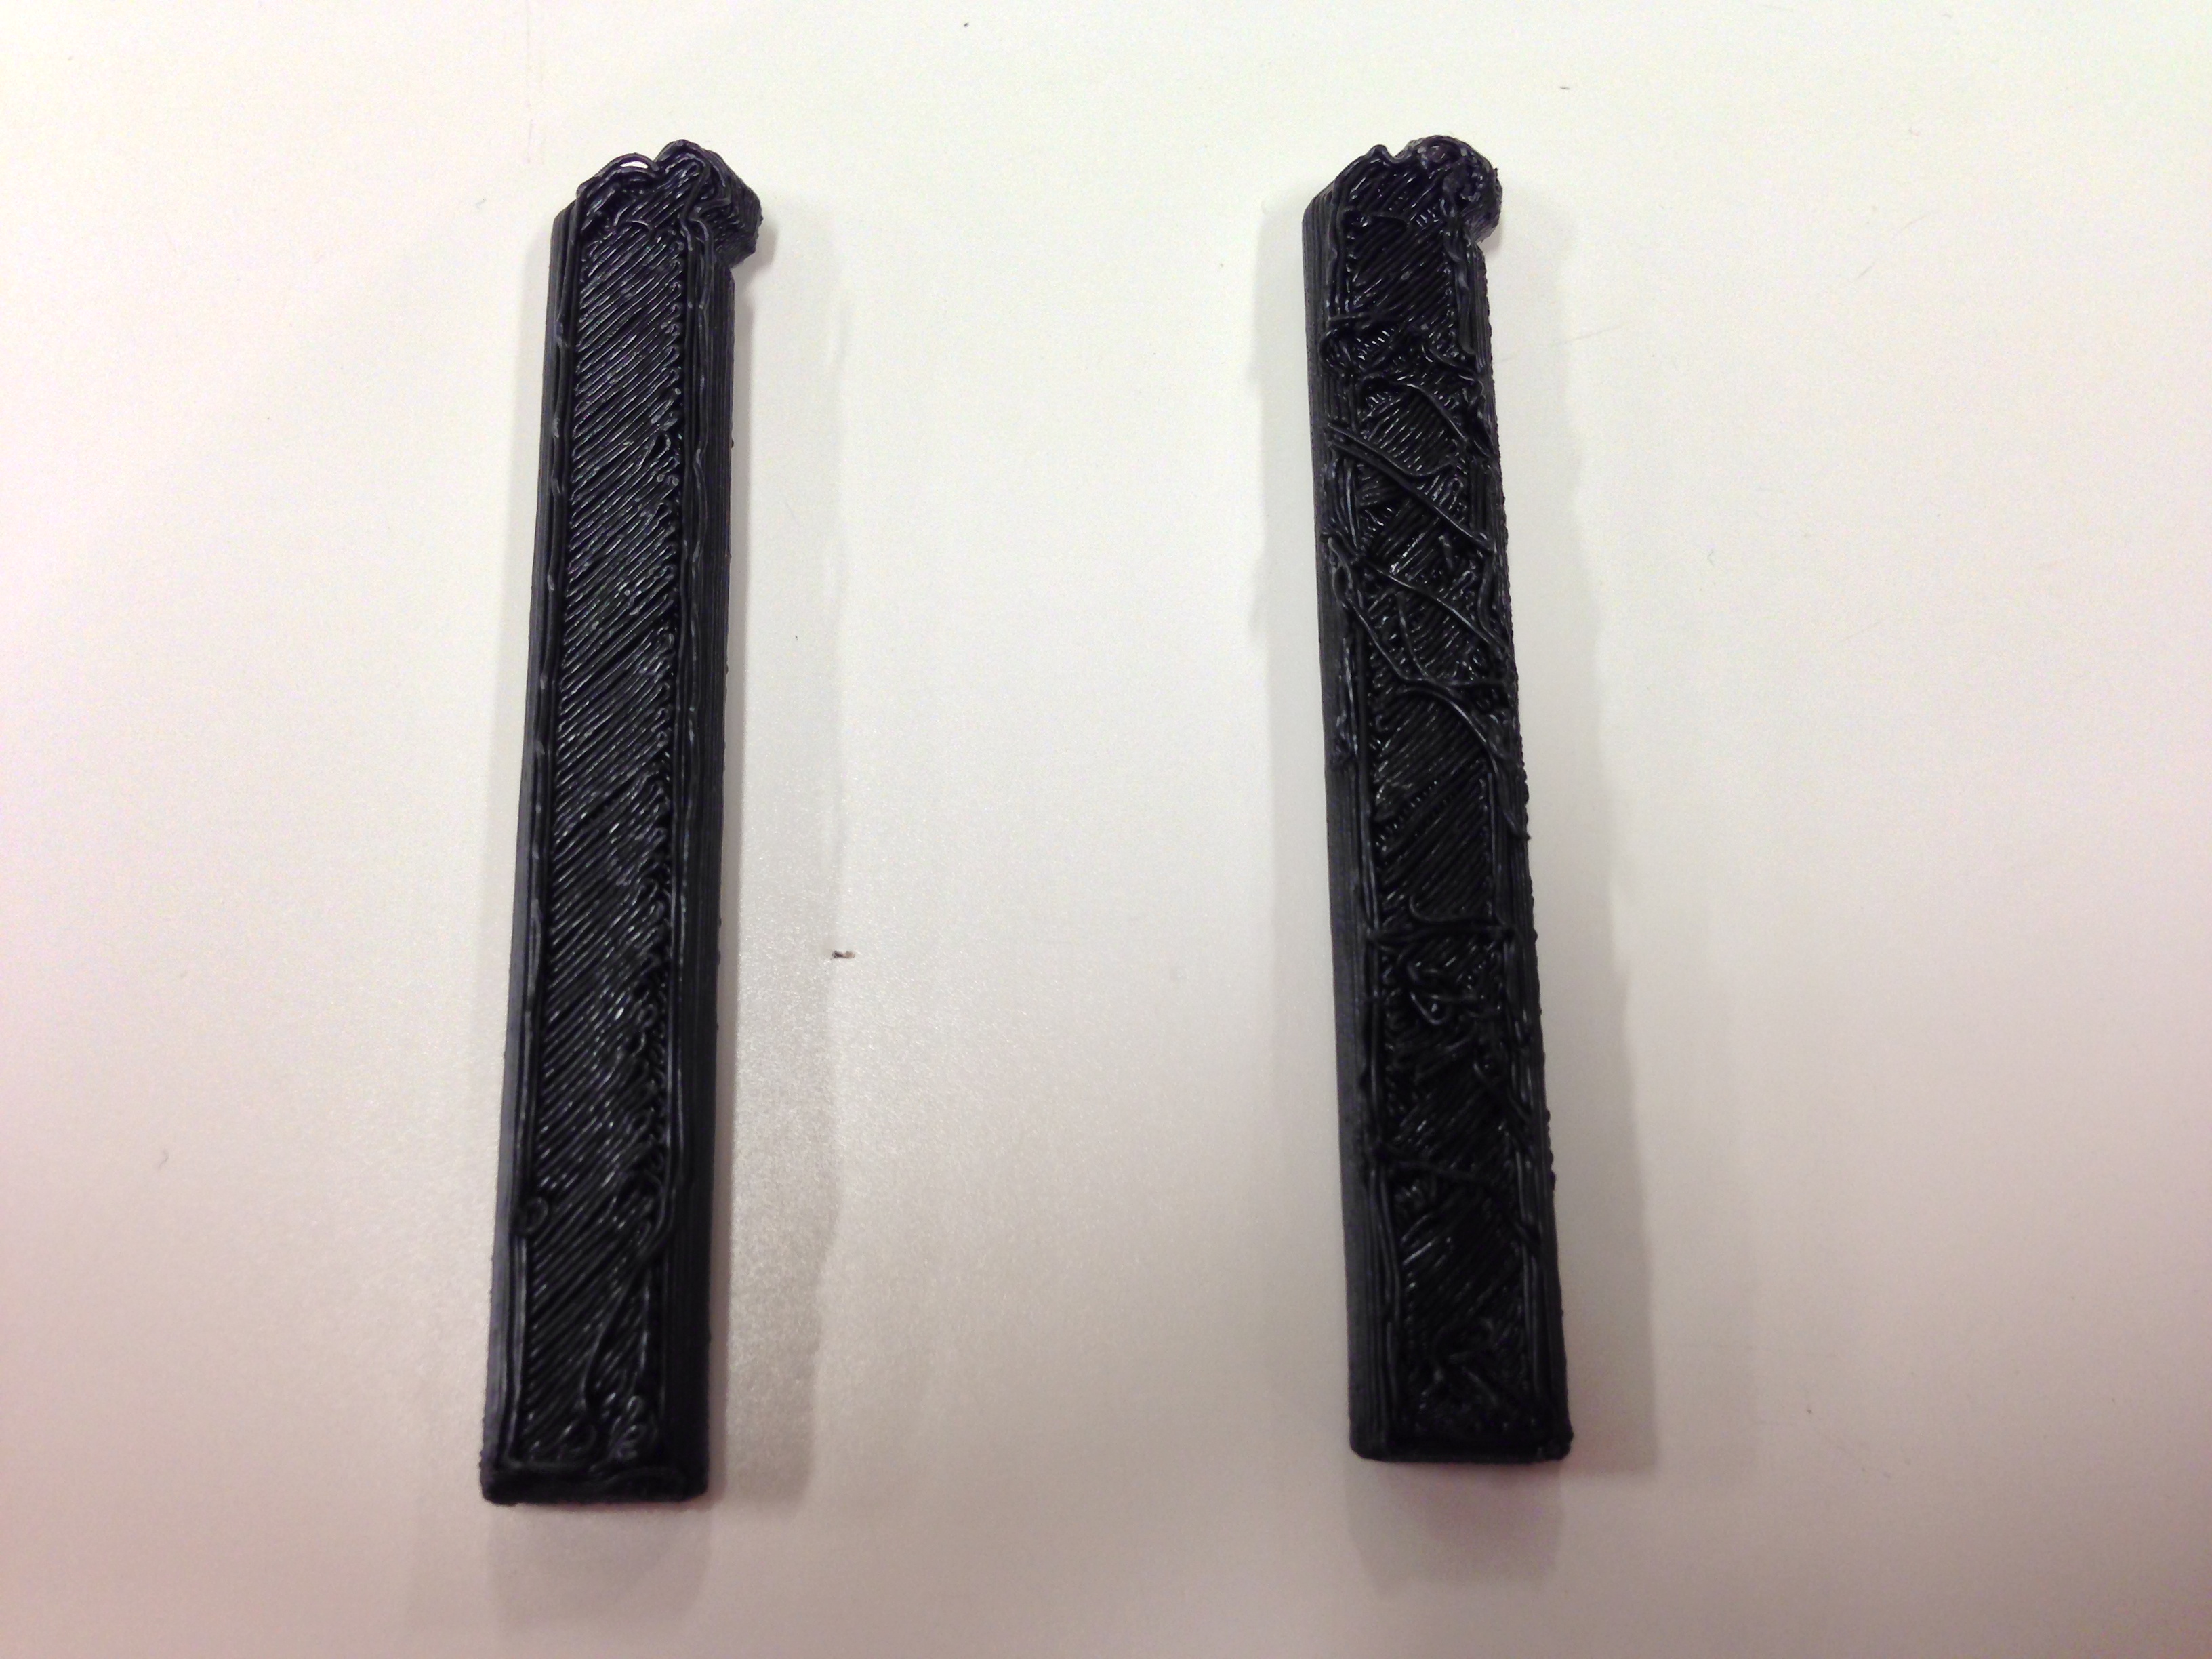
Left is Poor Leveling, Right is Better Leveling

Completion

This particular design took 6 prints of 5 pieces to be completed.  The total print time was around an hour to an hour and a half.  In order to attach to a camera a screw is necessary.  On the Thingivere project page, at least one individual has tried printing their own screw.  My TechShop is partnered with a Lowe’s, so i went for the pre-made screws.
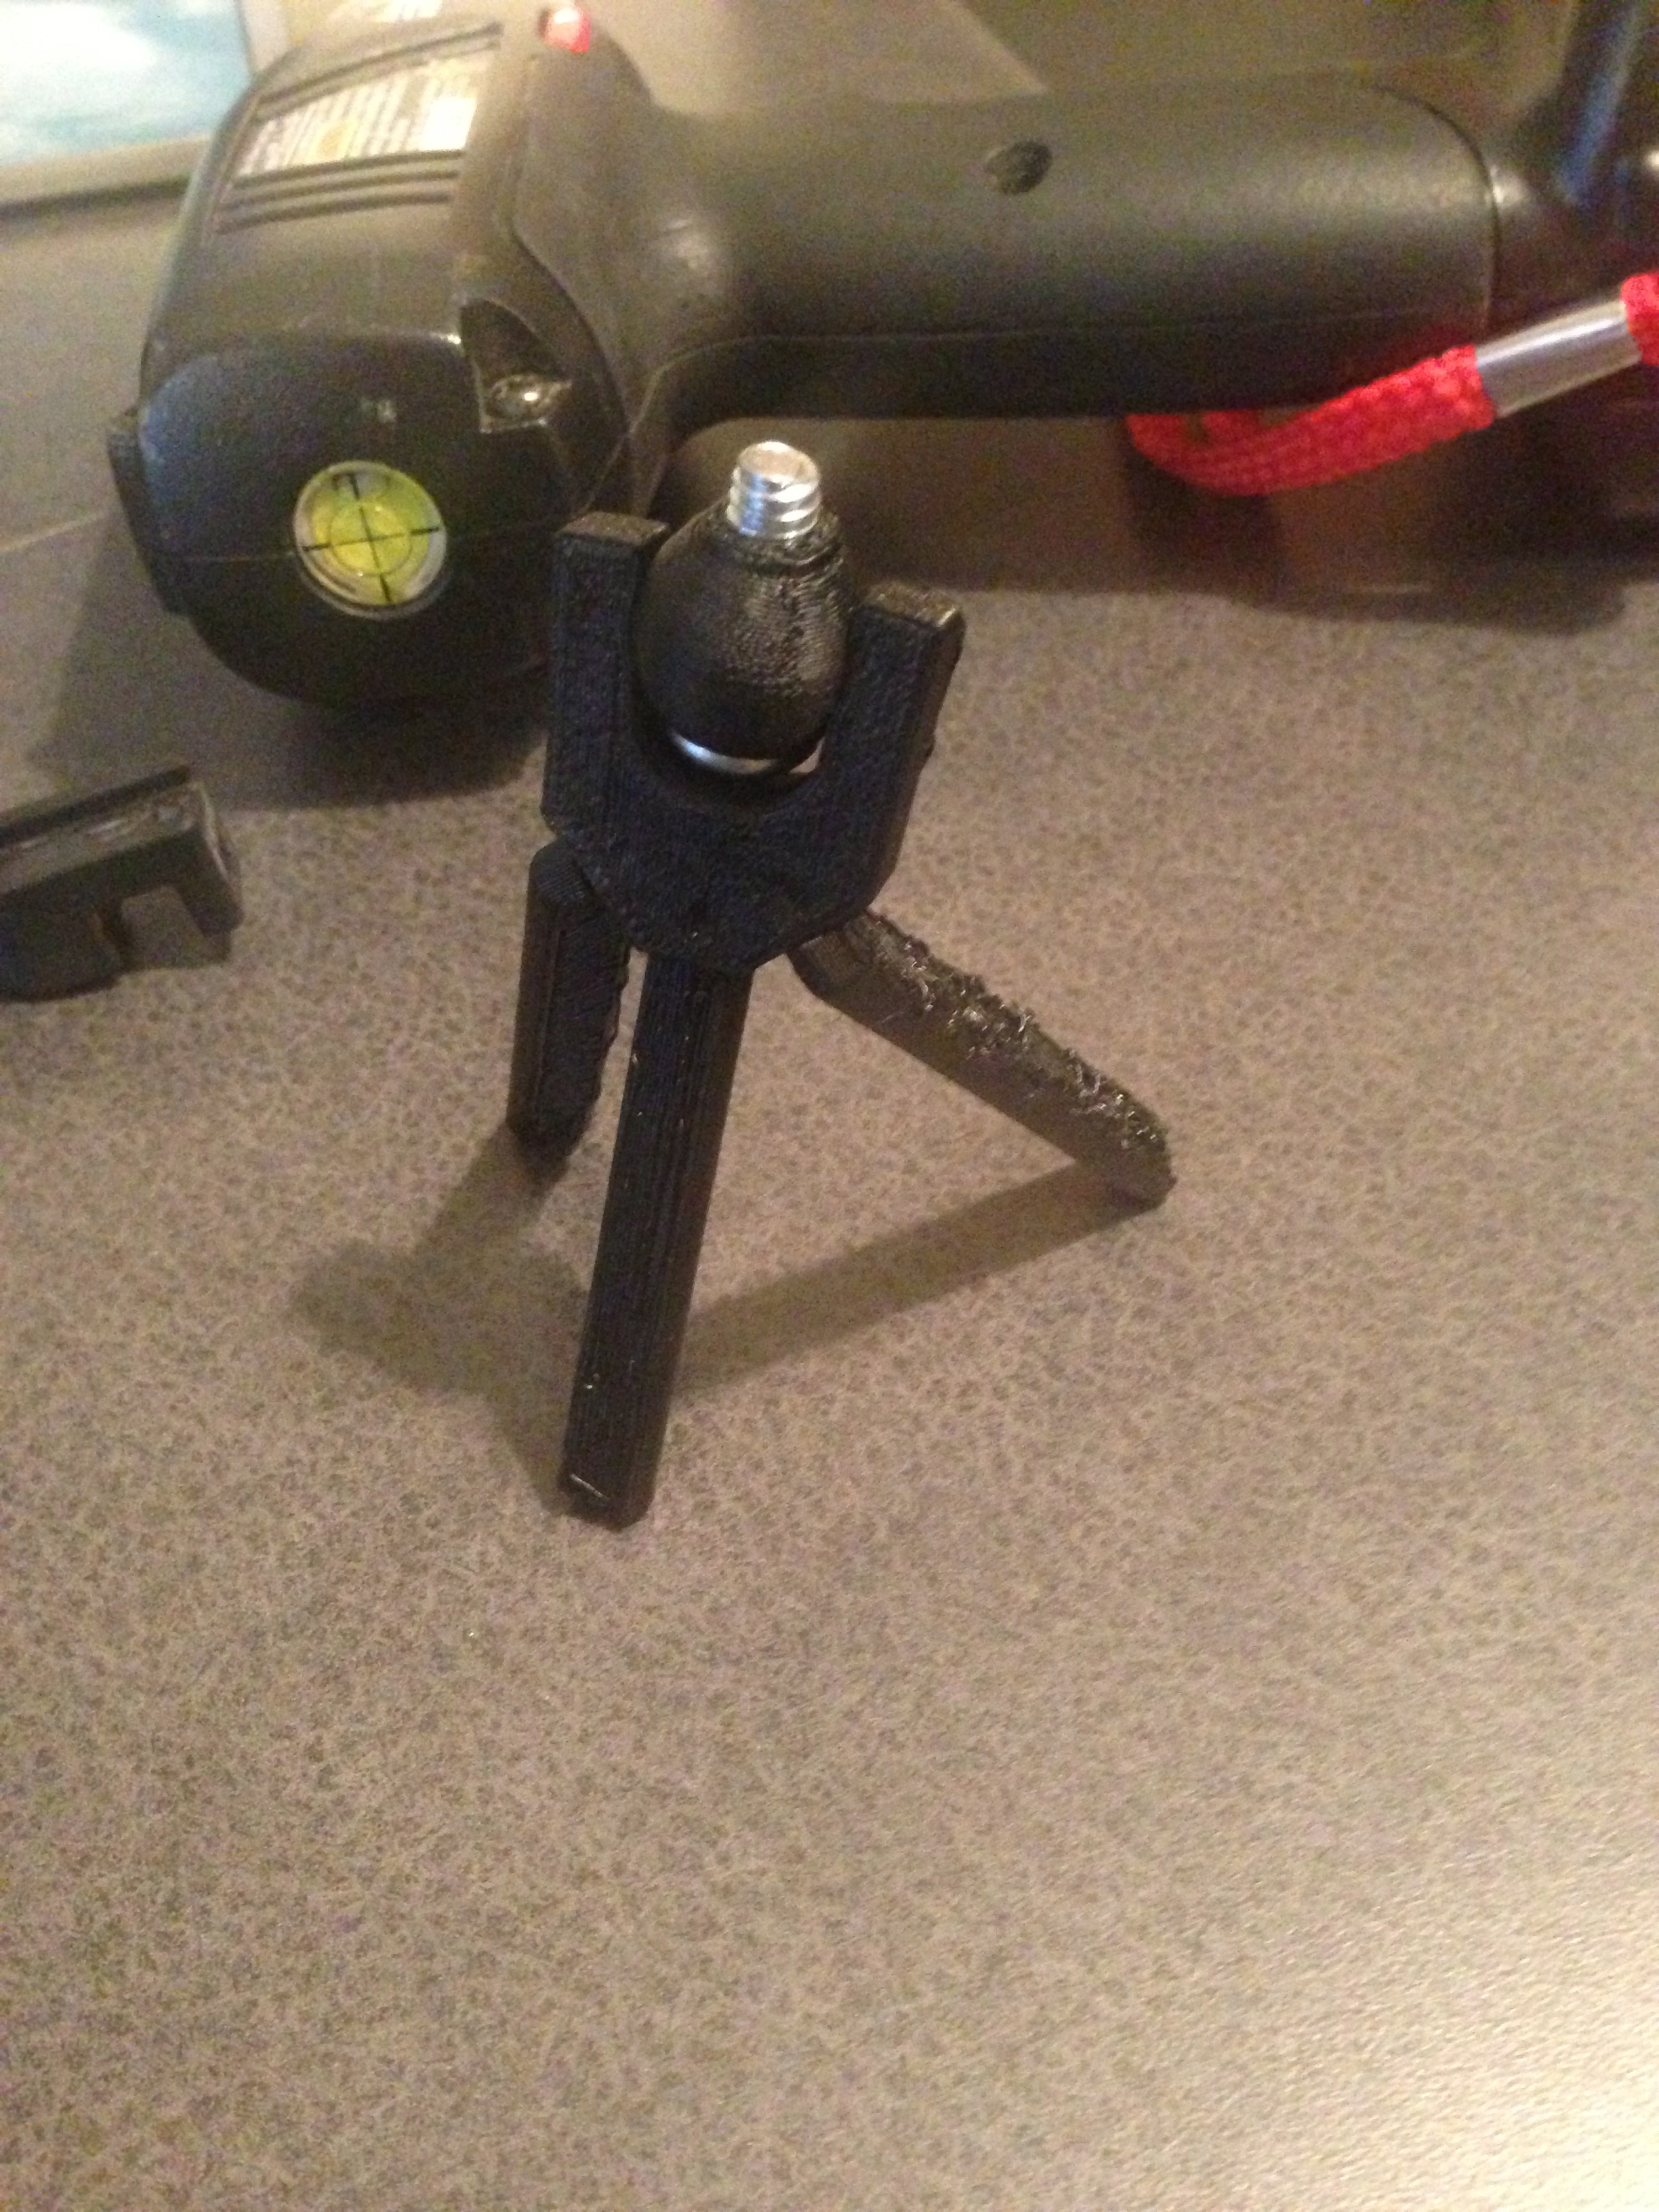
Fully Assembled Mini-Tripod

Overall the tripod doesn’t really withstand much weight.  However, I think it will work for the couple of times went I want to use my camera to shoot some video or get a clear macro shot of a project.
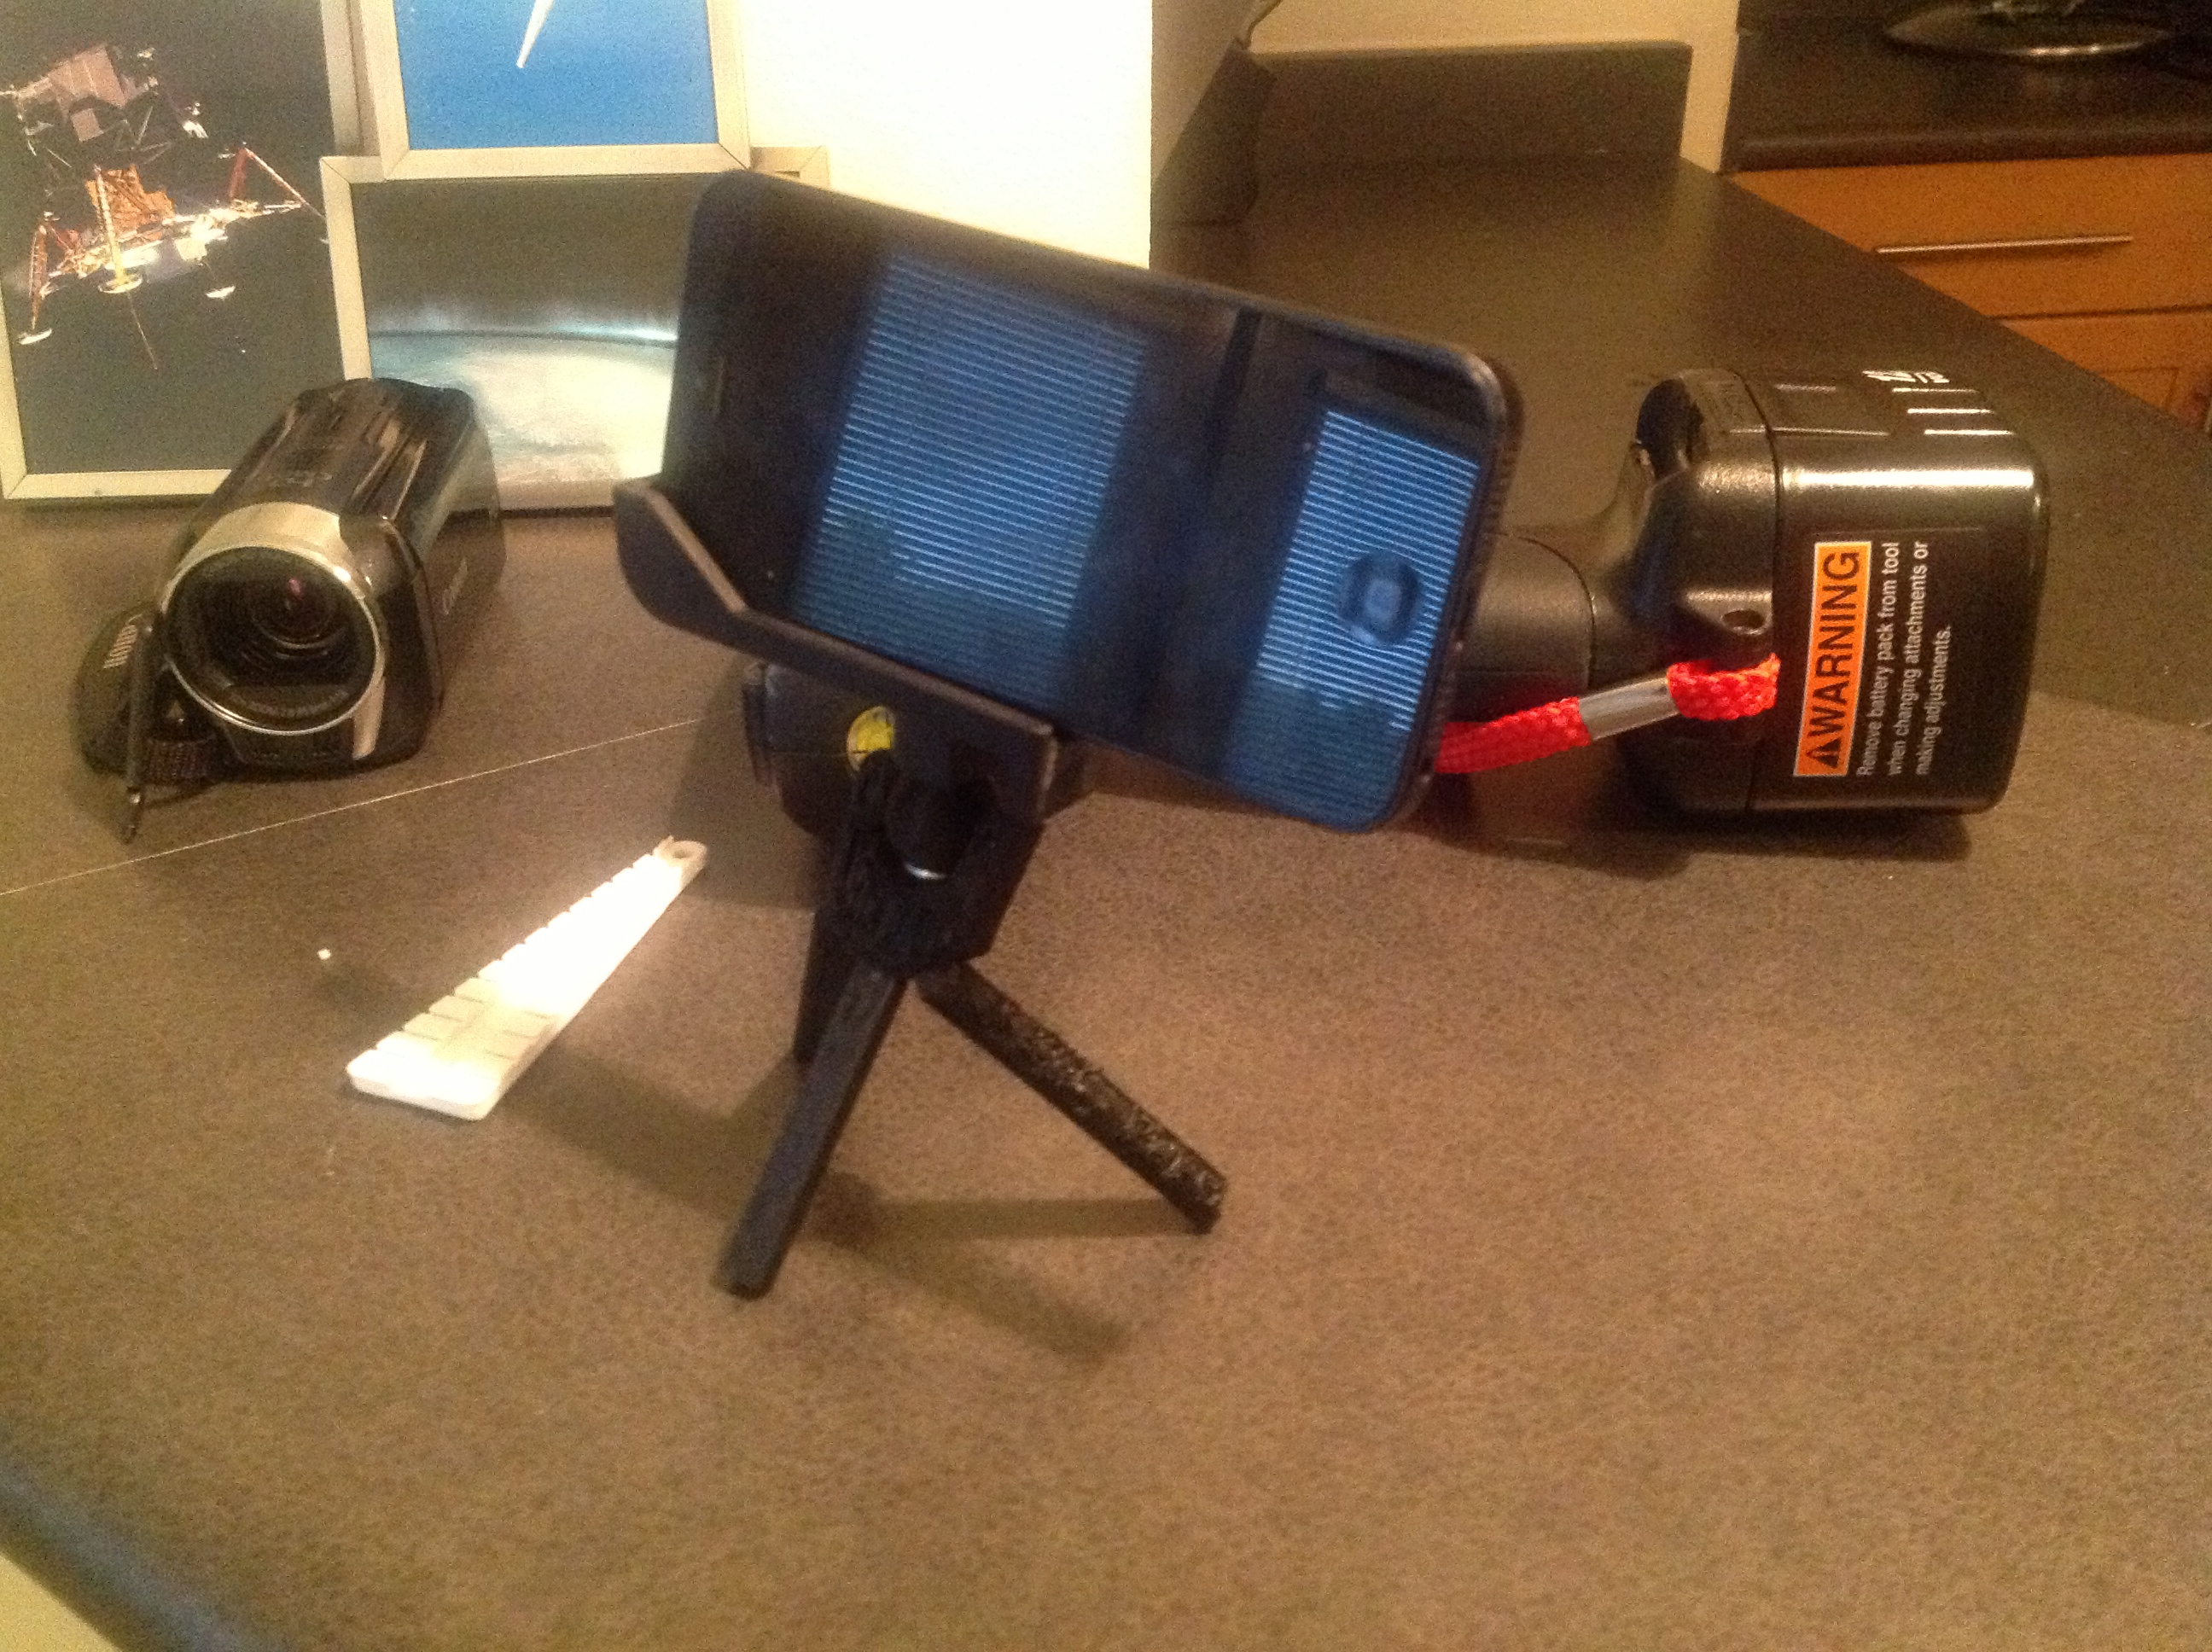
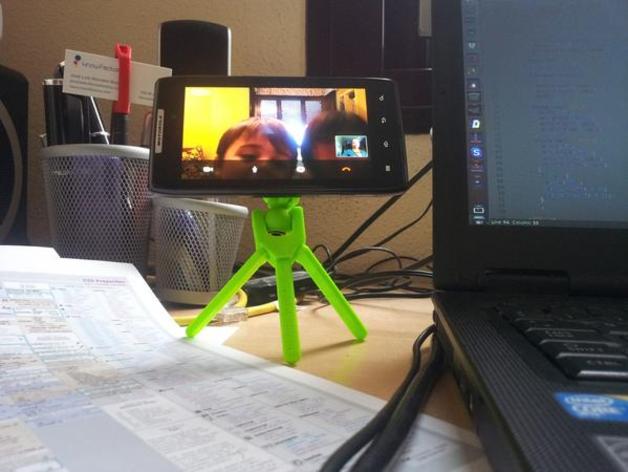
Ready for Action!

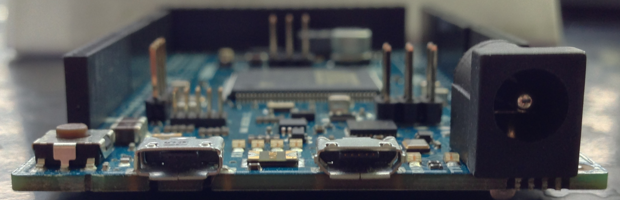
I’ve been working with Arduino boards for a number of years, as shown by the dates on some of my older blog posts.  In that time I’ve only used boards based on the ATmega8 (like the Duemilanove or Uno).  The Due is the first Arduino board I have used in what I would call the Mega form factor.

The other night I happened to see a tweet come across my twitter stream from Joe Walnes (@joewalnes) about a resistor color code tool he created.  You can find it at the clever domain resisto.rs.  Type in a value and see what the proper color code should be.  This is great for when you need to go searching through a pile of resistors and want to make sure you have the code right.

http://resisto.rs/

Nice job @joewalnes!

Also, you can fork the code from github.

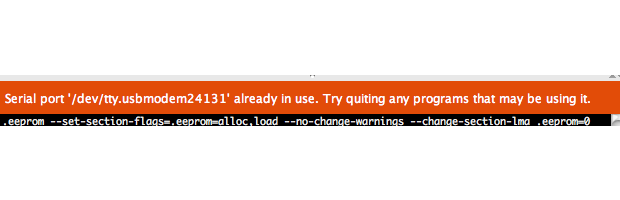
Here’s a couple of quick tips to get around the Arduino IDE error message “Serial Port in Use.”  These mostly apply to OSX, but since it is UNIX based, they may make sense for Linux as well.

List Open Files

Applies to:  OSX, Linux.

The check to see if another process (like a previous run of avrdude) is holding the serial port open is easy on both Linux and OSX.  Just open a terminal and run the command: lsof.  The command will report back all files that are currently open by the operating system.  UNIX-based operating systems do everything through files, so this command is useful to see what is keeping a serial device open.  Since lsof gives a list of everything that’s open, and there are a lot of “files”,  use grep to only list what is relevant.

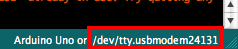
Take a look at your Arduino IDE to see the device name assigned to your Arduino’s virtual serial port.  This name will change based on what USB to Serial chip and operating system you are using.  While you can use the full name like “/dev/tty.usbmodem023432” to search for the open device, I suggest just using a substring like “usbmodem“.

The format of the command is:

[bash firstline=”0”]lsof | grep <device substring>[/bash]

If nothing is returned, then that says no other processes are holding the file (or device handler) open.  If one (or more) processes are returned, you can do some further investigation.

James-MBP2b:~ james$ lsof | grep usbmodem
screen   68202 james   5u   CHR   33,16   0t3418   783 /dev/tty.usbmodem24131
James-MBP2b:~ james$

Here we can see that the process “screen” currently has the serial port open.  (Which I would expect, because I use screen in place of the Arduino Serial Monitor.)  Which, by the way, looks like this on OS X:

JavaAppli 6570 james   48u  CHR  33,16    0t562    783 /dev/tty.usbmodem24131

If you know the process shouldn’t have a hold on the device anymore, you can always make use of the kill command.

/var/lock

Applies to:  OSX.  (Maybe Linux)

If your installation of OSX is missing a writable lock file, you will get a Serial Port in Use error from avrdude, even though it isn’t.  So if you run the lsof command from above and don’t see anything holding the port hostage, then do this quick check to see if the lock file is writable (or exists):

[bash firstline=”0″]ls -l /var/lock[/bash]

If no file exists then run these two commands:

[bash]sudo mkdir /var/lock
sudo chmod 777 /var/lock[/bash]

You’ll be asked for your system password the first time (and then it is remembered for the second) because of the sudo command.  You need temporary admin (root) privileges.  The mkdir comamnd creates a directory or folder while the chmod command will set permissions.  Feel free to click on the each of those links to verify what those commands do.

To be honest, I’m not entirely sure why this works.  Personally, I do not have a lock folder and avrdude connects to my Arduino boards just fine.  However, this simple fix has helped several people in the forums.  Since it is pretty innacious, it might be worth an attempt!

What if it is Still Broken?

These two fixes won’t always solve the Serial port issue.  If you still get the “Serial Port in Use” error even though you verified nothing else is using it, then you might want to post in the Arduino Forums for a bit more help.