Category

IoT

Category

While the buzzword “IoT “is relatively new, there has been a long time “internet of things” in operation. Those devices are called the far less sexy term “M2M” or machine-to-machine. These devices, around since the 90s, contain a microprocessor, some sensors, sometimes electromechanical hardware, and a cellular radio. These M2M devices were (and still are!) the early “Internet of Things.” Thanks to Hologram.io, you can join this new/old trend for free.

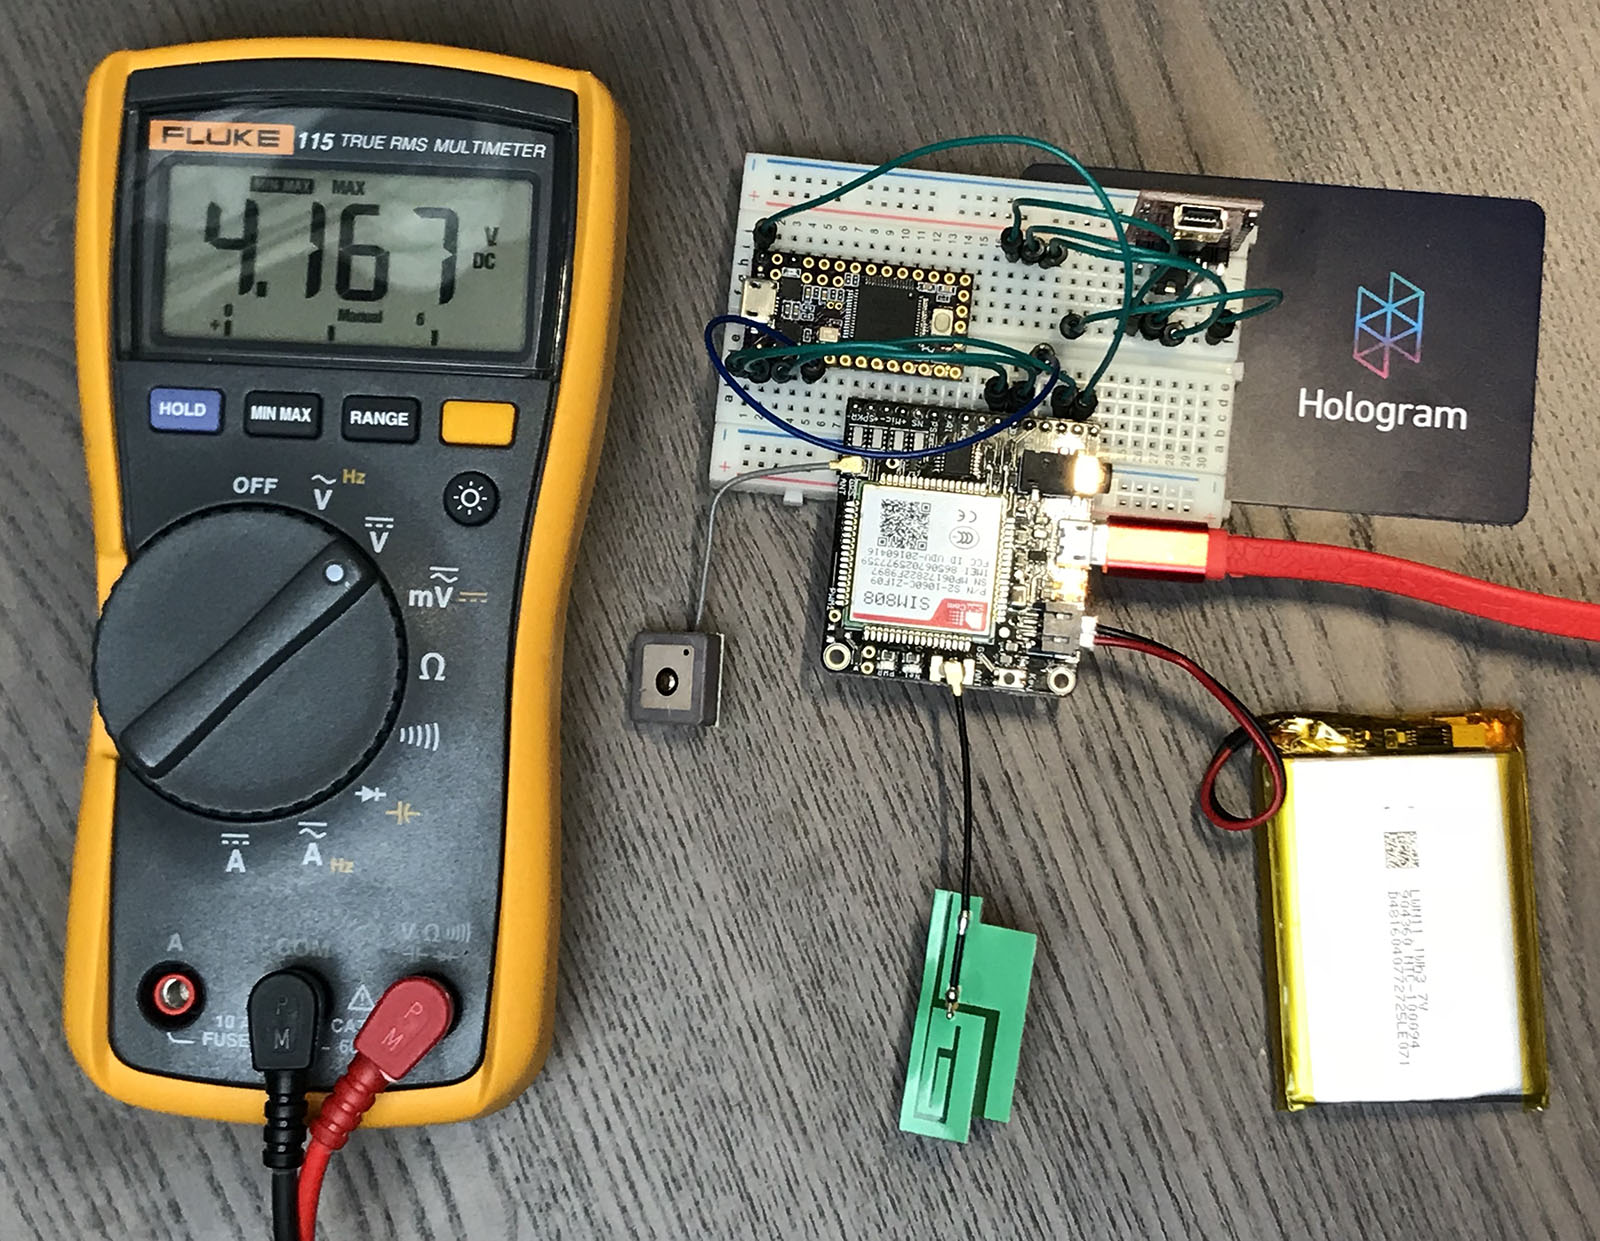
I decided it was time to up my IoT game with a GPRS, or 2G, data radio. In this post, I show the hardware I am using to create a 2G-based GPS tracker. It includes a Teensy 3.2 (Arduino) connected to a SIM808 Module (FONA) using a Hologram.io Developer SIM. It transmits GPS coordinates to an Adafruit.io Dashboard, which displays them on a map.

This post is not going to be a tidy tutorial. Instead, it is all the steps (and notes) I went through. I will cover:

  1. Hardware pieces I am using
  2. How to verify SIM808 (FONA) module is connected through Hologram via Serial Commands
  3. How to send HTTP/POST requests (including SSL) with the SIM808 (FONA)
  4. My (brute force) changes to the Adafruit FONA Library
  5. Code for sending MQTT payload (GPS Coords) to a dafruit.io dashboard

When done, you will be able to build something like a battery powered GPS Tracker, that updates over cellular. If you are in a rush, grab all the code from the FONA GPS Tracker Github Project.

In my Arduino MQTT Examples, I kept things simple by only subscribing to a single topic. One of the strengths of MQTT is that a device can subscribe (or publish) to multiple topics. The broker will sort things out. Even though my first example only showed one, it is straight forward to get the Arduino PubSubClient library to subscribe to Multiple MQTT topics. The quick answer is that you need to look at the MQTT response to find out which topic sent the payload.

tl;dr version

If you’re looking for a quick answer, here’s the magic code we’ll add to the callback() function.

void callback(char* topic, byte* payload, unsigned int length) {
if (strcmp(topic,"pir1Status")==0)
  // whatever you want for this topic
}
Keep reading for a more detailed explanation of how to Subscribe to Multiple MQTT topics with Arduino’s PubSubClient. Obviously, this code will work on Arduino boards with a TCP/IP interface and, of course, the ESP8266 based boards.

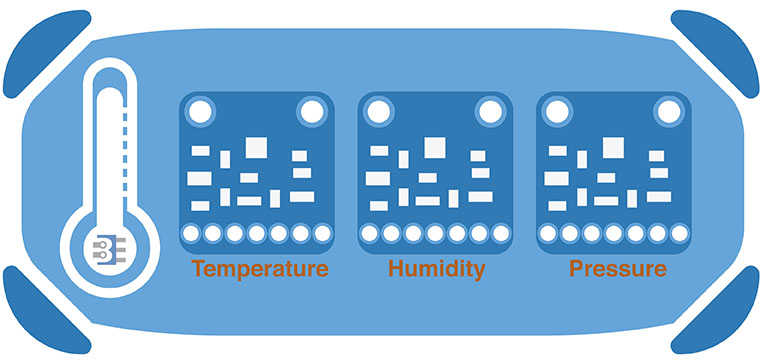
Getting back to my IoT projects, I decided to pick up a temperature sensor. While looking through the Adafruit breakout boards, I found they offered nine different digital temperature sensors! This list is in addition to the analog TMP36 temperature sensor, so that’s ten. I needed an Adafruit Temperature Sensor comparison.

With so many options, I quickly found myself getting lost between the various modules. The 10 I found all measured temperature and provided an I2C interface. Except for the MCP9808 board, they all made at least one other type of measurement. The MCP9808 is the cheapest digital temperature sensor breakout that Adafruit offers, and also the most accurate.

I couldn’t find a comparison in my quick search, so I built my own comparison table. Here’s my chart for an Adafruit Temperature Sensor comparison of their breakout boards.

adafruit temperature sensor comparison chart
Updated: 2016-JUL-27

This past weekend Arduino fans celebrated Arduino and Genuino Day 2016. In classrooms, maker spaces, and impromptu meet-ups around the world enginerds got together to learn and create with Arduino. At the Jacobs Institute for Design Innovation on Berkeley’s Campus, I first heard that Arduino Create had been launched.

In addition to hands-on learning workshops, there was a display of Arduino/Genuino projects by students. In the afternoon, three Arduino co-founders gave a short talk. David Mellis spoke on Machine Learning. Tom Igoe did his first talk on Technology and Humanities. Lastly, Massimo Banzi talked about IoT.

Arduino Day, Mellis, Igoe, Banzi

Massimo’s IoT discussion related to the earlier announcement that day of Arduino Create. This new platform has a web-based IDE, Arduino Project Hub, and Arduino IoT.

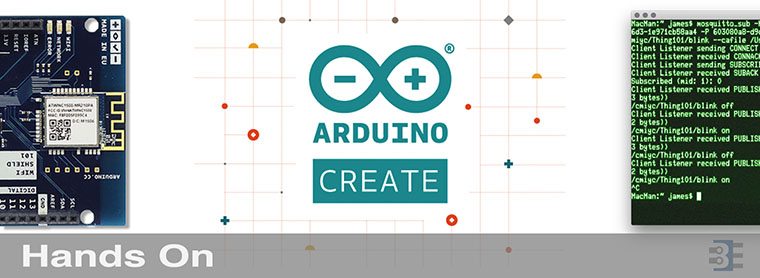
Excited about the announcements, I spent some time with the hackster.io powered Arduino Project Hub and the Arduino IoT.  Here’s my hands-on with Arduino Create.

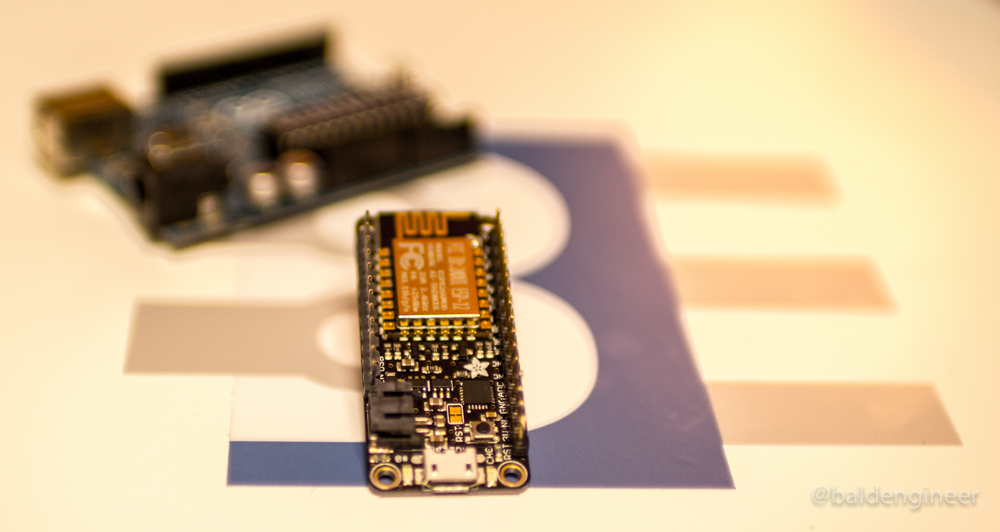
A couple of weeks ago I posted four things to know about the ESP8266 before using one. The biggest surprise from that post is people seem to think I do not like the ESP8266! This idea is not the case; the ESP8266 is awesome. I like them so much that my Adafruit Feather HUZZAH with ESP8266 has become my go-to Arduino board.

Wait what? James uses something other than Arduino? Yes, I do! I have many different boards and have used most of them for one task or another.

However, when it came to day-to-day “make something quickly” type work, I relied on my Uno. But not anymore. Here are the 5 reasons the ESP8266 is my go-to Arduino board.