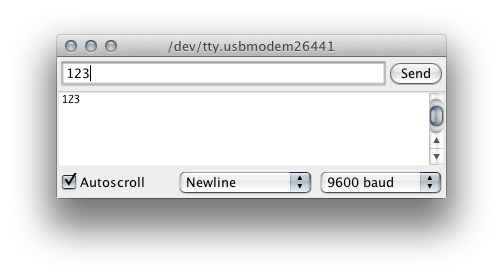
When Serial data is transmitted to an Arduino, it is sent one byte at a time. Even though you might type “123” in the Serial Monitor, that’s not quite what is sent. Instead the bytes “1” then “2” then “3” are sent. Once received into a buffer on the Arduino, these individual bytes need to be reassembled into something useful.
Did you know it is possible to toggle the state of a Arduino OUTPUT pin using a single line of code? It’s true! It’s also possible to use digitalRead() on an OUTPUT pin. Assuming pin 13 was set to output, this single line of code will cause the LED to change state (or flash) each time it is called:
digitalWrite(13, !digitalRead(13));
The quick answer to “How do you reset millis()” is: You Don’t! And here’s why: if you did, it would potentially break most libraries and functions that rely on it. Generally the reason people want to reset it, is that they are concerned about rollover. Instead of focusing on resetting millis(), here is how to use it correctly.
Need to brush up on how millis() works? I’ve got a tutorial on how to effectively multi-task with millis() and another line-by-line tutorial on blink Without delay
Avoiding rollover and checking how much time as passed is done in a single line:
if ((unsigned long)(millis() - previousMillis) >= interval)That single line of code is all that is really needed, to avoid rollover! Pretty simple, huh? So let’s go into more detail about how this works and what each of those variables does.
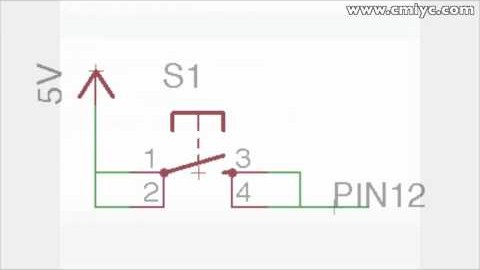
When hooking up switches or buttons to an Arduino I/O pin, sometimes the results might appear completely random. Sometimes it will appear as though there is a delay from when the button is pressed until the state of the pin actually changes. Other times the pin’s value will seem to randomly fluctuate from HIGH to LOW. Even more maddening might be as your finger gets closer to the switch, the pin’s state changes! The fix to these problems is simple: use the Arduino Internal Pull-up Resistor. Here’s how they can fix this problem and how you can use them with an Arduino board.


