189 Results

Arduino

Search
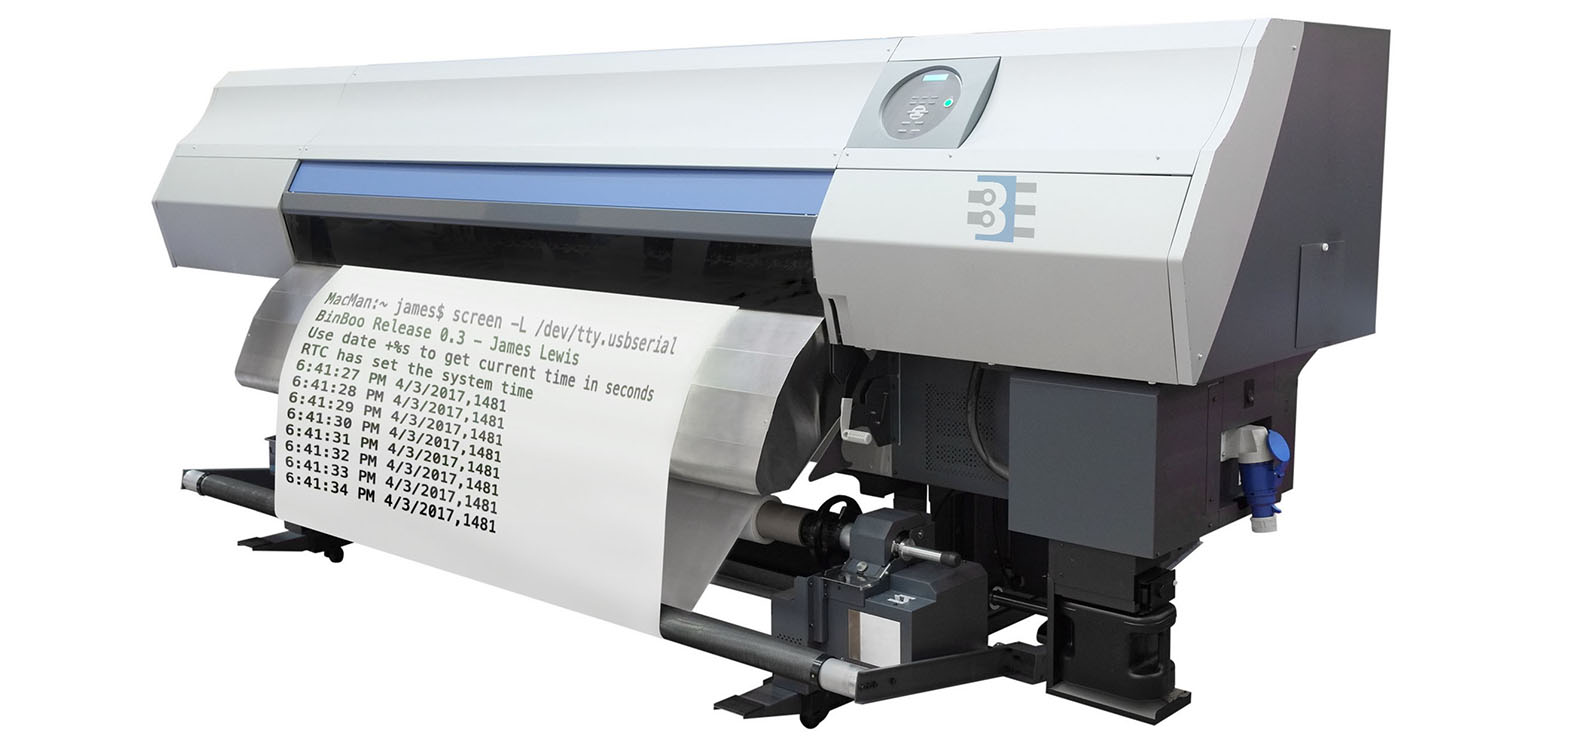
The Arduino serial monitor is usable when you want to watch data from an Arduino. However, it does not have a built-in method for saving the data. Here are some ideas if you want to build an Arduino data logger with or without a PC.

Important note on Arduino Data Logger examples

With all of these examples, please remember that whenever you open the Arduino’s serial port, the board will reset. So if your log file shows “Initializing SD card…” with a few data lines in between, it is because there is a reset happening.

Initializing SD card…initialized.
Temp: 34, Time: 03:24:44
Temp: 33, Time: 03:24:45
Temp: 34, Time: 03:24:46
Tem

Initializing SD card…initialized.
Temp: 34, Time: 03:24:50
Temp: 34, Time: 03:24:51
Temp: 33, Time: 03:24:52
Temp: 34, Time: 03:24:53
In that code you can see data logging started and then restarted. What happened is that after programming, the board starts logging. Then when you open the Serial Monitor, the data logger restarts. To solve this issue, either disable auto-reset, add a 3-4 second delay at the start of setup(), wait for a character to be received, or wait for a button press. That will give you time to open the Serial Monitor.
Sending simple serial commands to an Arduino is the easiest way to communicate between an Arduino and a computer. The computer could be a PC, a Raspberry Pi, or any device that communicates with serial. By sending and “decoding” a single character it is easy to add a simple debug menu or even serial menu. Plus, it is easy to extend.

Single Character vs. Full Words

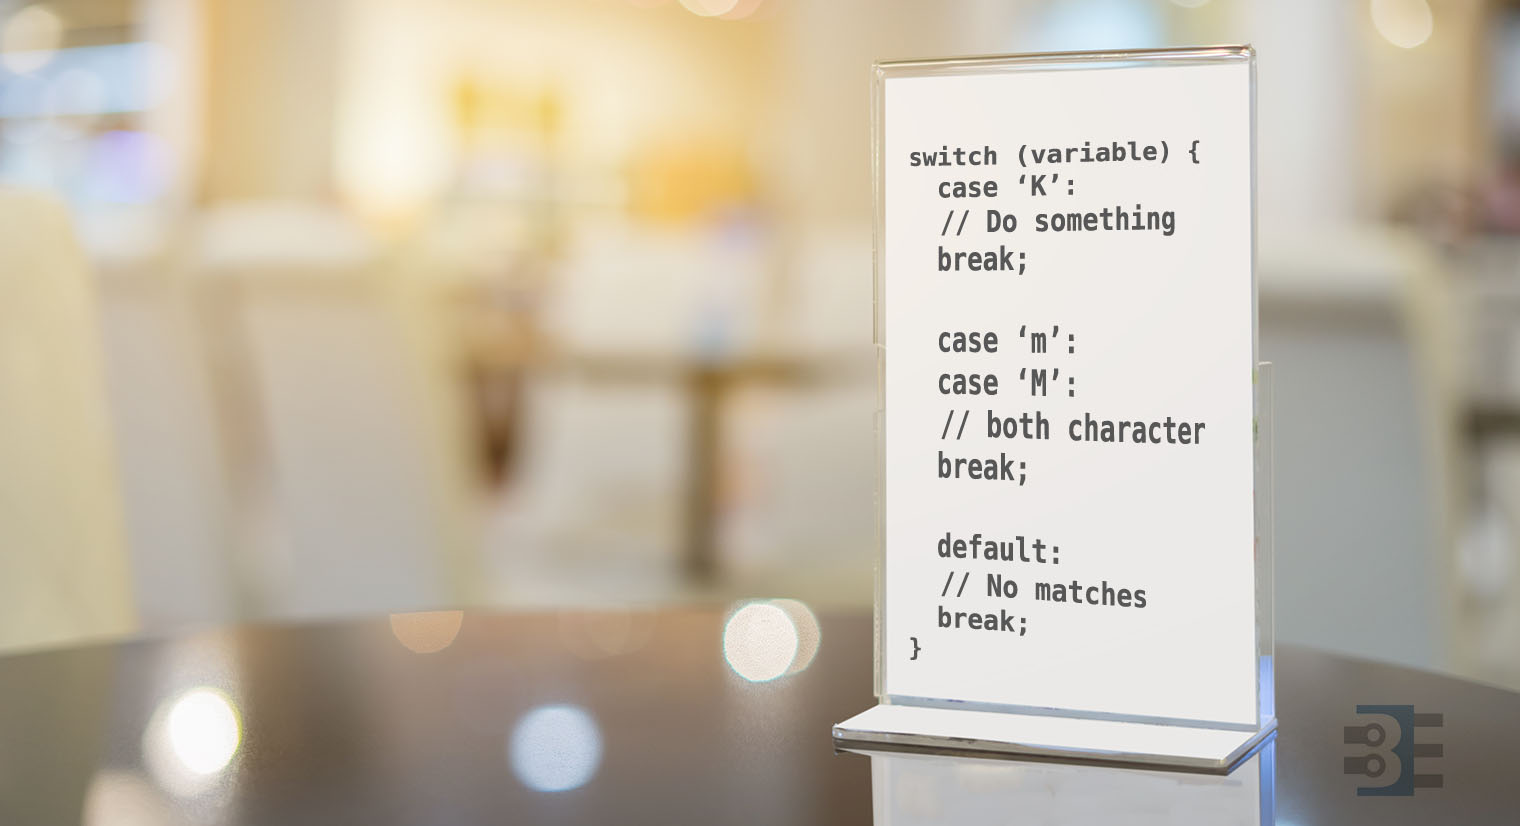
The mistake I see many people make is that they try to send full-text strings as serial commands. For example, to turn on a LED, I have seen (silly) commands like “RED LED ON” or “RED LED OFF.” While you could use something like strcmp(), as I showed on the Multiple MQTT Topics example, that tends to be overkill for most serial commands. Humans like words, computers like binary. Just send one character over serial.

switch (variable) {
  case 'a':
	// A Stuff

  case 'b':
  case 'c':
	// B and C Stuff
  break;
}
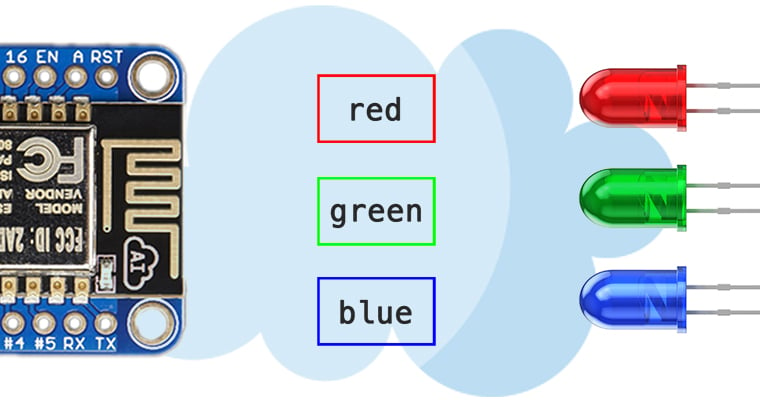
In my Arduino MQTT Examples, I kept things simple by only subscribing to a single topic. One of the strengths of MQTT is that a device can subscribe (or publish) to multiple topics. The broker will sort things out. Even though my first example only showed one, it is straight forward to get the Arduino PubSubClient library to subscribe to Multiple MQTT topics. The quick answer is that you need to look at the MQTT response to find out which topic sent the payload.

tl;dr version

If you’re looking for a quick answer, here’s the magic code we’ll add to the callback() function.

void callback(char* topic, byte* payload, unsigned int length) {
if (strcmp(topic,"pir1Status")==0)
  // whatever you want for this topic
}
Keep reading for a more detailed explanation of how to Subscribe to Multiple MQTT topics with Arduino’s PubSubClient. Obviously, this code will work on Arduino boards with a TCP/IP interface and, of course, the ESP8266 based boards.

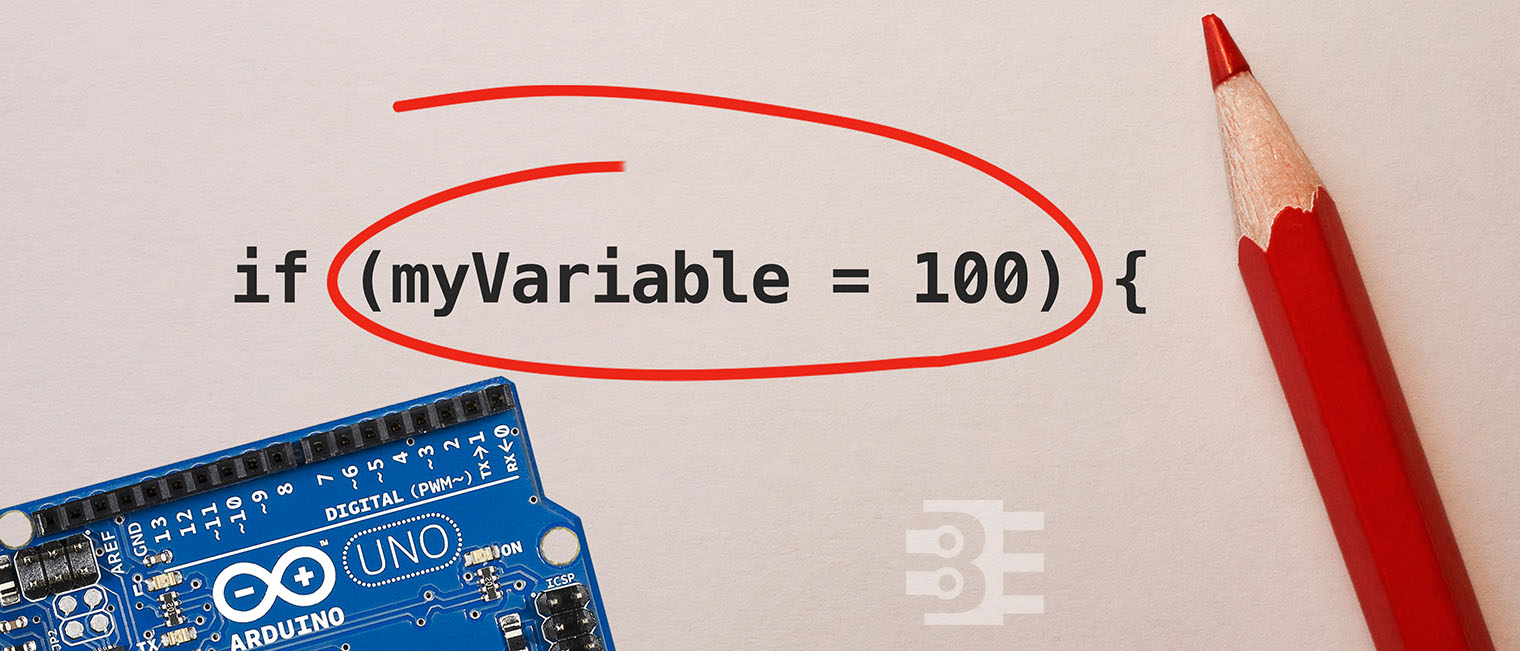
Whenever someone sends me some code that doesn’t work, there are a few common Arduino programming mistakes that I check. Some of these mistakes I make myself.  In most cases my code will compile just fine. Sometimes, these mistakes won’t generate any compiler error.

When my Arduino code is acting up, these are the first things I check. Here are my 5 common Arduino programming mistakes, I use to debug non-working code.

Almost all microcontroller (and microprocessor) development systems use some form of a bootloader. Often called firmware, mistakenly, the Arduino bootloader is one example. Since it is a rather popular platform, let’s use it as an example. Let’s talk about what a bootloader does and how it works.

When a microcontroller turns on, it only knows how to do one thing.  Typically, that one thing is to run an instruction found at a specific memory location. Often this location address 0x0000, but not always. Usually, this memory location will contain a jump instruction to another place in memory, which is the start of the user program. The bootloader, however, exists in a slightly separate memory space from the user program.

On power-up or reset, a bootloader is a section of program memory that runs before the main code runs. It can be used to setup the microcontroller or provide limited ability to update the main program’s code.