Category

Programming

Category

Python is everywhere. Its capabilities continue to grow. Not only can you create simple scripts, but you can create full-blown applications with it. The core has been scaled down to run on 32-bit microcontrollers like the ESP32 and Adafruit Feather M0. You can even use Python engineer modules to design stuff like circuits. There are electronics Python modules that create schematics, simulate circuits, and make solving math a cinch. Here are some of the modules I found that make Python usable for (electronics) engineering.

Upfront, make sure you have a functioning Python environment. Update the package manager “pip” since all of these electronics python modules rely on it. Speaking of dependencies, you may need to also install third-party libraries for some of them. From what I can tell, these all should be platform-independent. However, I only tested these electronic modules with 64-bit Windows.

In the past, I’ve covered how to reset Arduino millis() and have provided a growing list of examples using millis(). While reviewing the code for the elegoo Penguin Bot, I was reminded of a millis() mistake I see often: addition. The only way to properly handle millis() rollover is with subtraction. Let’s look at why (and how.)

What is Arduino millis()

The Arduino library has a function called millis() which returns the number of milliseconds the processor has been running. On other platforms, you might see references to a “tick counter.” It is the same idea. A hardware timer keeps incrementing a counter at a known rate. In this case, that rate is milliseconds.

A mistake new programmers often make is trying to “reset millis().” A better method is to compare two time-stamps based on millis(). So this if-statement is comparing a previous timestamp to the current value of millis().

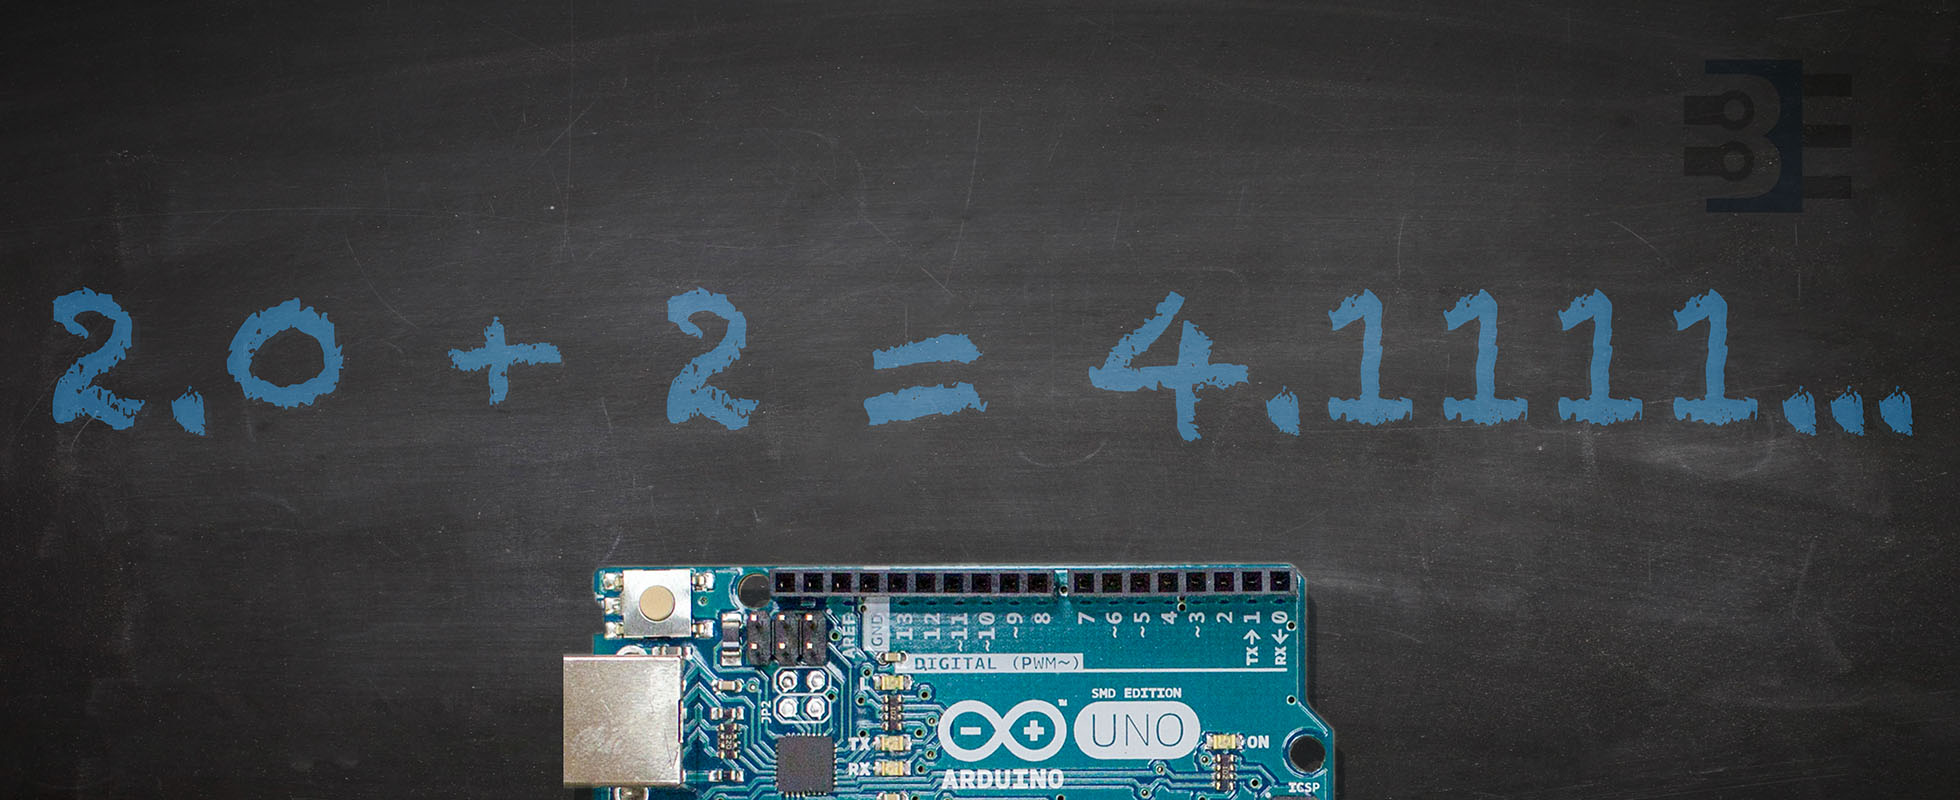
While the Arduino library does an excellent job of hiding some of C/C++’s warts, at the end of the day, it is still just C/C++. This fact causes a few non-intuitive issues for inexperienced programmers. When it looks like Arduino math is wrong, it is probably one of these reasons.

When people ask me for help with their programming, I check each of these Arduino math mistakes. If your code seems to be hitting a bug, check to make sure it is not how the compiler handles math.

Funny how a simple idea can spider out into multiple paths. Arduino EEPROM seemed like a straightforward concept. A few a years ago it was as easy as having either 512 or 1024 bytes of flash memory. The Arduino IDE offered an EEPROM library which let you read and write a single byte. Today, however, with many different processor architectures saving data to EEPROM varies. It is now possible to save any datatype to EEPROM but not on all boards and not all using the same method.

While programming an coin accepter sold by Adafruit on an AddOhms live stream, I discovered two “new” methods in the Arduino library. At least, these functions are new to me! A couple of years ago EEPROM.get() and EEPROM.put() appeared. Using these functions, you can store any datatype in EEPROM.

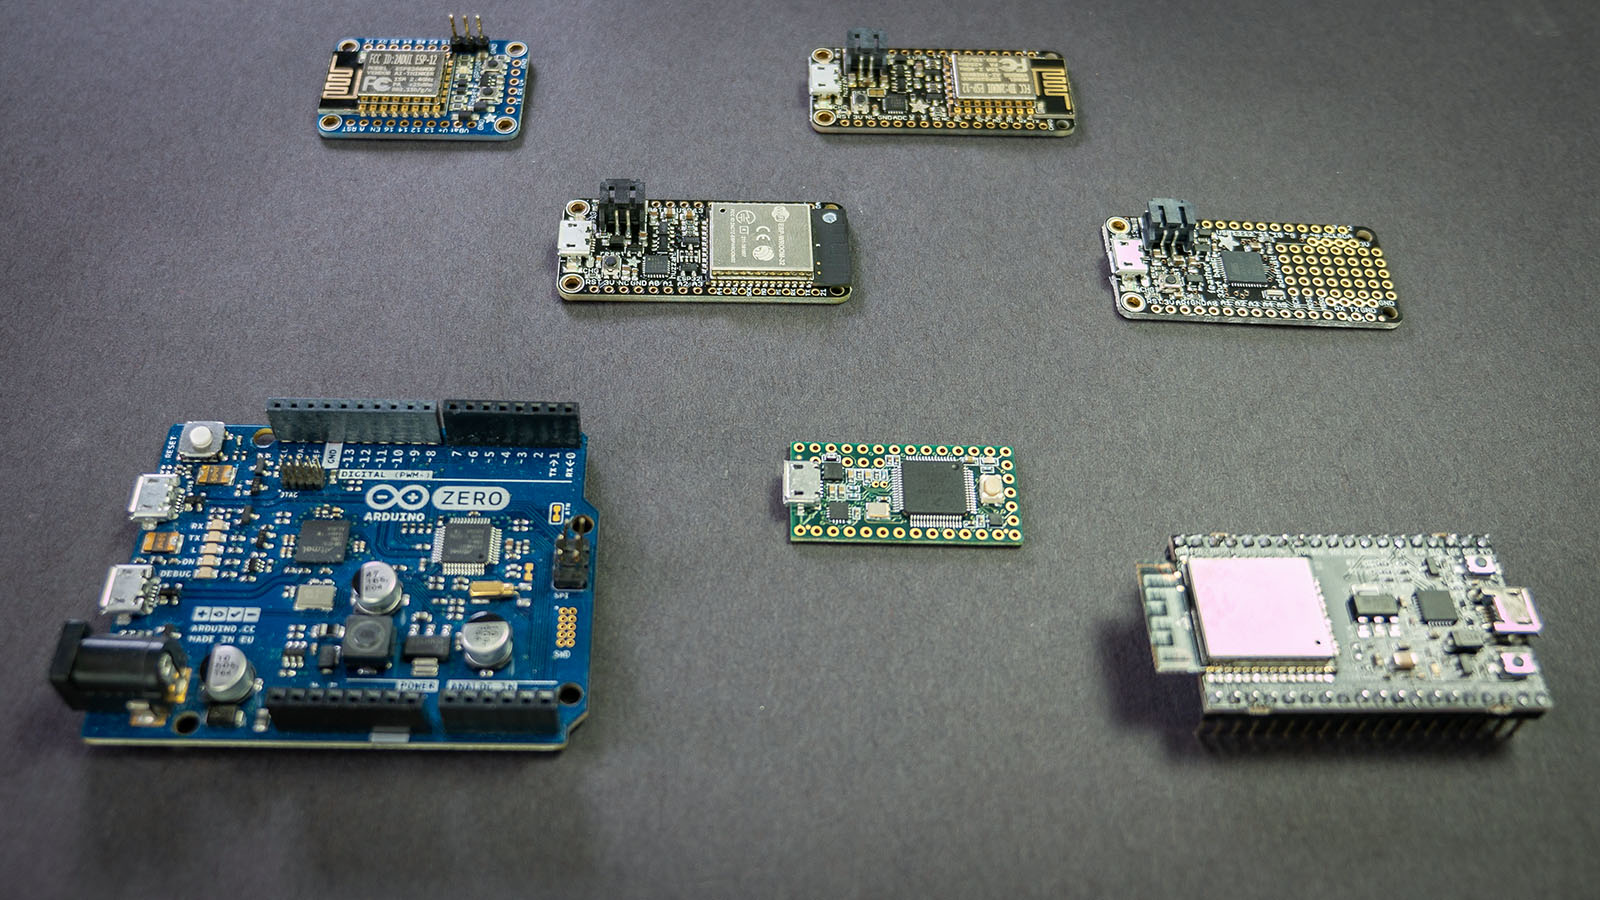
This post covers tidgets related to using Arduino EEPROM to store any value across multiple boards, or platforms. Specifically boards such as the Uno, Nano, Mega, and Zero are covered. Additionally Arduino-compatible boards from Espressif, PRJC, and Adafruit are covered as well.

Back in 2013, a Kickstarter ran for a project to put a python interpreter on a microcontroller. At the time I could not see the benefit. Cool project, but I asked myself: “why?” On my last Adafruit order, I received a free Circuit Playground Express. The board comes with CircuitPython pre-installed. After playing with Circuit Python, or CP, I finally “get it.”

For Valentine’s Day, I made an animated LED heart for a new love in my life, Circuit Python. Well, love is a bit of a strong word. The past couple of weeks I have been learning Circuit Python, and I am excited by what it offers.

What is Circuit Python?

It is a Python implementation that runs on microcontrollers. The code exists on the microcontroller as text. The interpreter runs the code from that text file. Circuit Python is built on, or based on, MicroPython. Adafruit is designing it to teach programming. It is easy to get started, just open up the code.py file from the auto-mounted drive and start typing. When you hit save, the code runs. That’s it.