Category

Electronics Basics

Category

The fifth episode of AddOhms tackled the difference between AC and DC.  One of the things I wanted to stress in this tutorial is that even though the acronyms stand for “current”, they get used to describe voltages as well.  Which, after a video on the difference between voltage and current, seemed like something that needed to be stated.

No behind the scenes for this one, just the finished video.

Regulator Types

Fundamentally there are two types of voltage regulators:  linear and switching.  The names come from how they operate and how they achieve voltage regulation.  Linear regulators tend to be a little cheaper to implement, but they aren’t as efficient as their more complex switching variants.

There are also some “cheap and dirty” methods that some designs use.  Below is a brief description and example of each.

Digital ICs like microcontrollers, memory, and shift registers need a stable voltage source to make sure they work as expected.  Most circuits are designed with a voltage regulator to accomplish this stability.  In theory voltage regulators will vary their output to stay at a set voltage, regardless of how much current the load is drawing.  As a load draws a little bit more current, the supply voltage will begin to sag.  Conversely when the load is reduced the voltage may rise a little bit.  Regulators work to eliminate, well minimize, this change.

Full Tutorial:  Voltage Regulator Basics

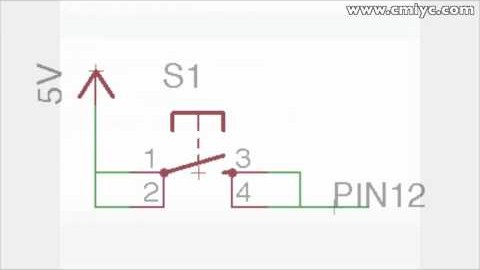
When hooking up switches or buttons to an Arduino I/O pin, sometimes the results might appear completely random. Sometimes it will appear as though there is a delay from when the button is pressed until the state of the pin actually changes. Other times the pin’s value will seem to randomly fluctuate from HIGH to LOW. Even more maddening might be as your finger gets closer to the switch, the pin’s state changes! The fix to these problems is simple: use the Arduino Internal Pull-up Resistor. Here’s how they can fix this problem and how you can use them with an Arduino board.

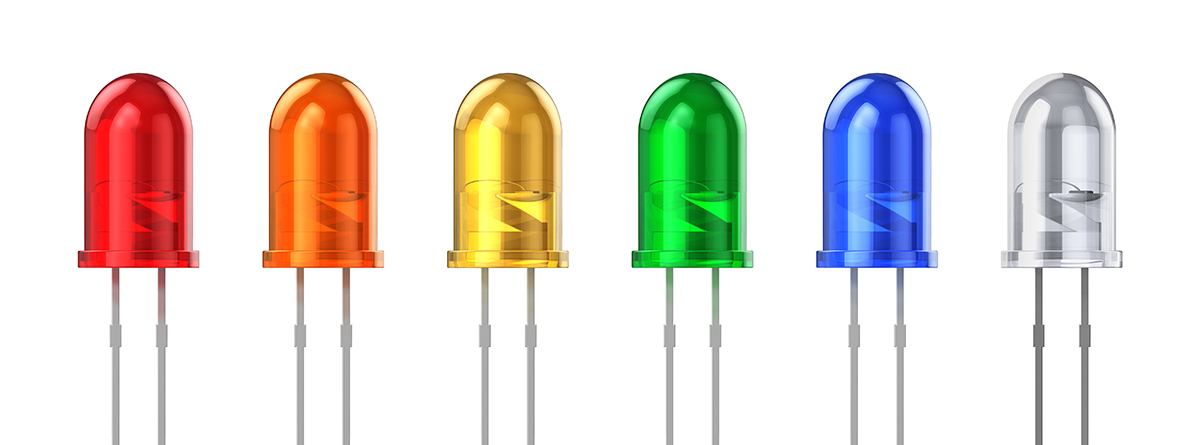
Nearly every consumer device makes use of the Light Emitting Diode (LED). This highly versatile device offers an easy way to add an indicator to any project while drawing a relatively small amount of current. Once their operation is understood, adding them to any project is a simple task. This tutorial is a simplified explanation of how a LED works and how to select a current limiting resistor. The LED tutorial here is enough to use LEDs in a project but is not intended to be a thorough explanation.

LED Anode and Cathode