Tag

MQTT

Browsing
The Arduino serial monitor is usable when you want to watch data from an Arduino. However, it does not have a built-in method for saving the data. Here are some ideas if you want to build an Arduino data logger with or without a PC.

Important note on Arduino Data Logger examples

With all of these examples, please remember that whenever you open the Arduino’s serial port, the board will reset. So if your log file shows “Initializing SD card…” with a few data lines in between, it is because there is a reset happening.

Initializing SD card…initialized.
Temp: 34, Time: 03:24:44
Temp: 33, Time: 03:24:45
Temp: 34, Time: 03:24:46
Tem

Initializing SD card…initialized.
Temp: 34, Time: 03:24:50
Temp: 34, Time: 03:24:51
Temp: 33, Time: 03:24:52
Temp: 34, Time: 03:24:53
In that code you can see data logging started and then restarted. What happened is that after programming, the board starts logging. Then when you open the Serial Monitor, the data logger restarts. To solve this issue, either disable auto-reset, add a 3-4 second delay at the start of setup(), wait for a character to be received, or wait for a button press. That will give you time to open the Serial Monitor.
In my Arduino MQTT Examples, I kept things simple by only subscribing to a single topic. One of the strengths of MQTT is that a device can subscribe (or publish) to multiple topics. The broker will sort things out. Even though my first example only showed one, it is straight forward to get the Arduino PubSubClient library to subscribe to Multiple MQTT topics. The quick answer is that you need to look at the MQTT response to find out which topic sent the payload.

tl;dr version

If you’re looking for a quick answer, here’s the magic code we’ll add to the callback() function.

void callback(char* topic, byte* payload, unsigned int length) {
if (strcmp(topic,"pir1Status")==0)
  // whatever you want for this topic
}
Keep reading for a more detailed explanation of how to Subscribe to Multiple MQTT topics with Arduino’s PubSubClient. Obviously, this code will work on Arduino boards with a TCP/IP interface and, of course, the ESP8266 based boards.

This past weekend Arduino fans celebrated Arduino and Genuino Day 2016. In classrooms, maker spaces, and impromptu meet-ups around the world enginerds got together to learn and create with Arduino. At the Jacobs Institute for Design Innovation on Berkeley’s Campus, I first heard that Arduino Create had been launched.

In addition to hands-on learning workshops, there was a display of Arduino/Genuino projects by students. In the afternoon, three Arduino co-founders gave a short talk. David Mellis spoke on Machine Learning. Tom Igoe did his first talk on Technology and Humanities. Lastly, Massimo Banzi talked about IoT.

Arduino Day, Mellis, Igoe, Banzi

Massimo’s IoT discussion related to the earlier announcement that day of Arduino Create. This new platform has a web-based IDE, Arduino Project Hub, and Arduino IoT.

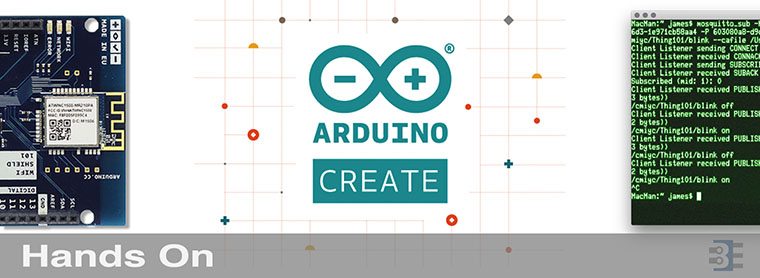
Excited about the announcements, I spent some time with the hackster.io powered Arduino Project Hub and the Arduino IoT.  Here’s my hands-on with Arduino Create.

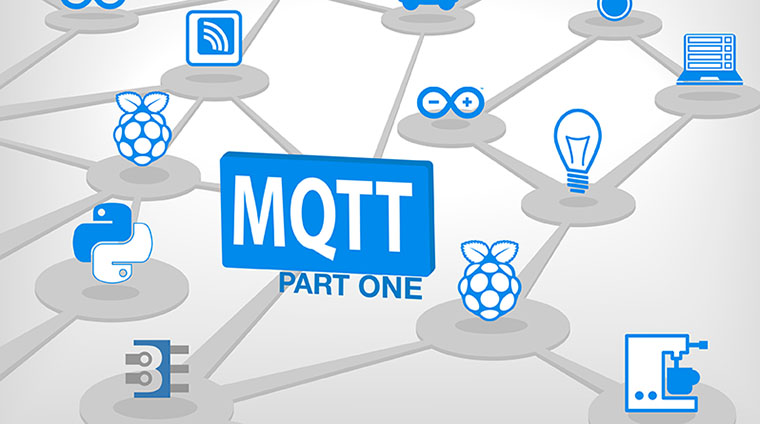
MQTT is an easy way for Internet of Things (IoT) devices to communicate with each other. This light-weight protocol can be used with a simple 8-bit Arduino to a Raspberry Pi to a multi-core PC to Amazon Web Services. It is that versatile.

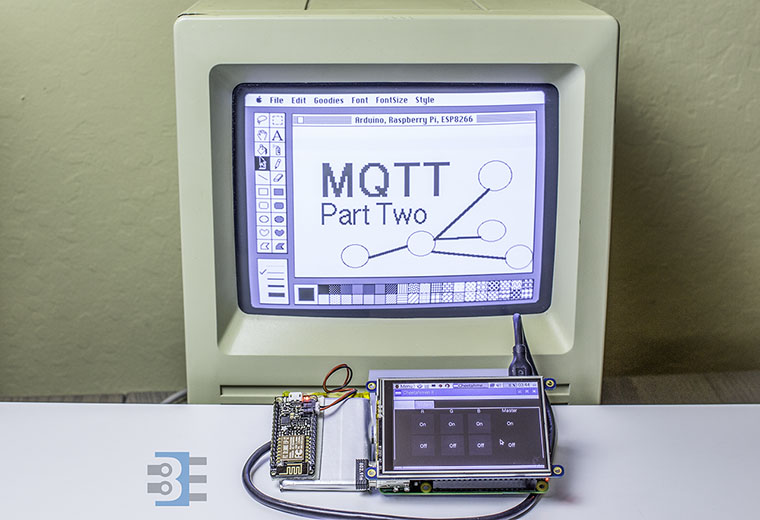
This MQTT Tutorial is broken into two parts. Part one is an MQTT Introduction. You’ll understand how publish/subscribe message brokering works. Next week, Part two will be a tutorial on using MQTT to communicate between a PC, Raspberry Pi, and ESP8266.