Category

Tutorials

Category

In the past, I’ve covered how to reset Arduino millis() and have provided a growing list of examples using millis(). While reviewing the code for the elegoo Penguin Bot, I was reminded of a millis() mistake I see often: addition. The only way to properly handle millis() rollover is with subtraction. Let’s look at why (and how.)

What is Arduino millis()

The Arduino library has a function called millis() which returns the number of milliseconds the processor has been running. On other platforms, you might see references to a “tick counter.” It is the same idea. A hardware timer keeps incrementing a counter at a known rate. In this case, that rate is milliseconds.

A mistake new programmers often make is trying to “reset millis().” A better method is to compare two time-stamps based on millis(). So this if-statement is comparing a previous timestamp to the current value of millis().

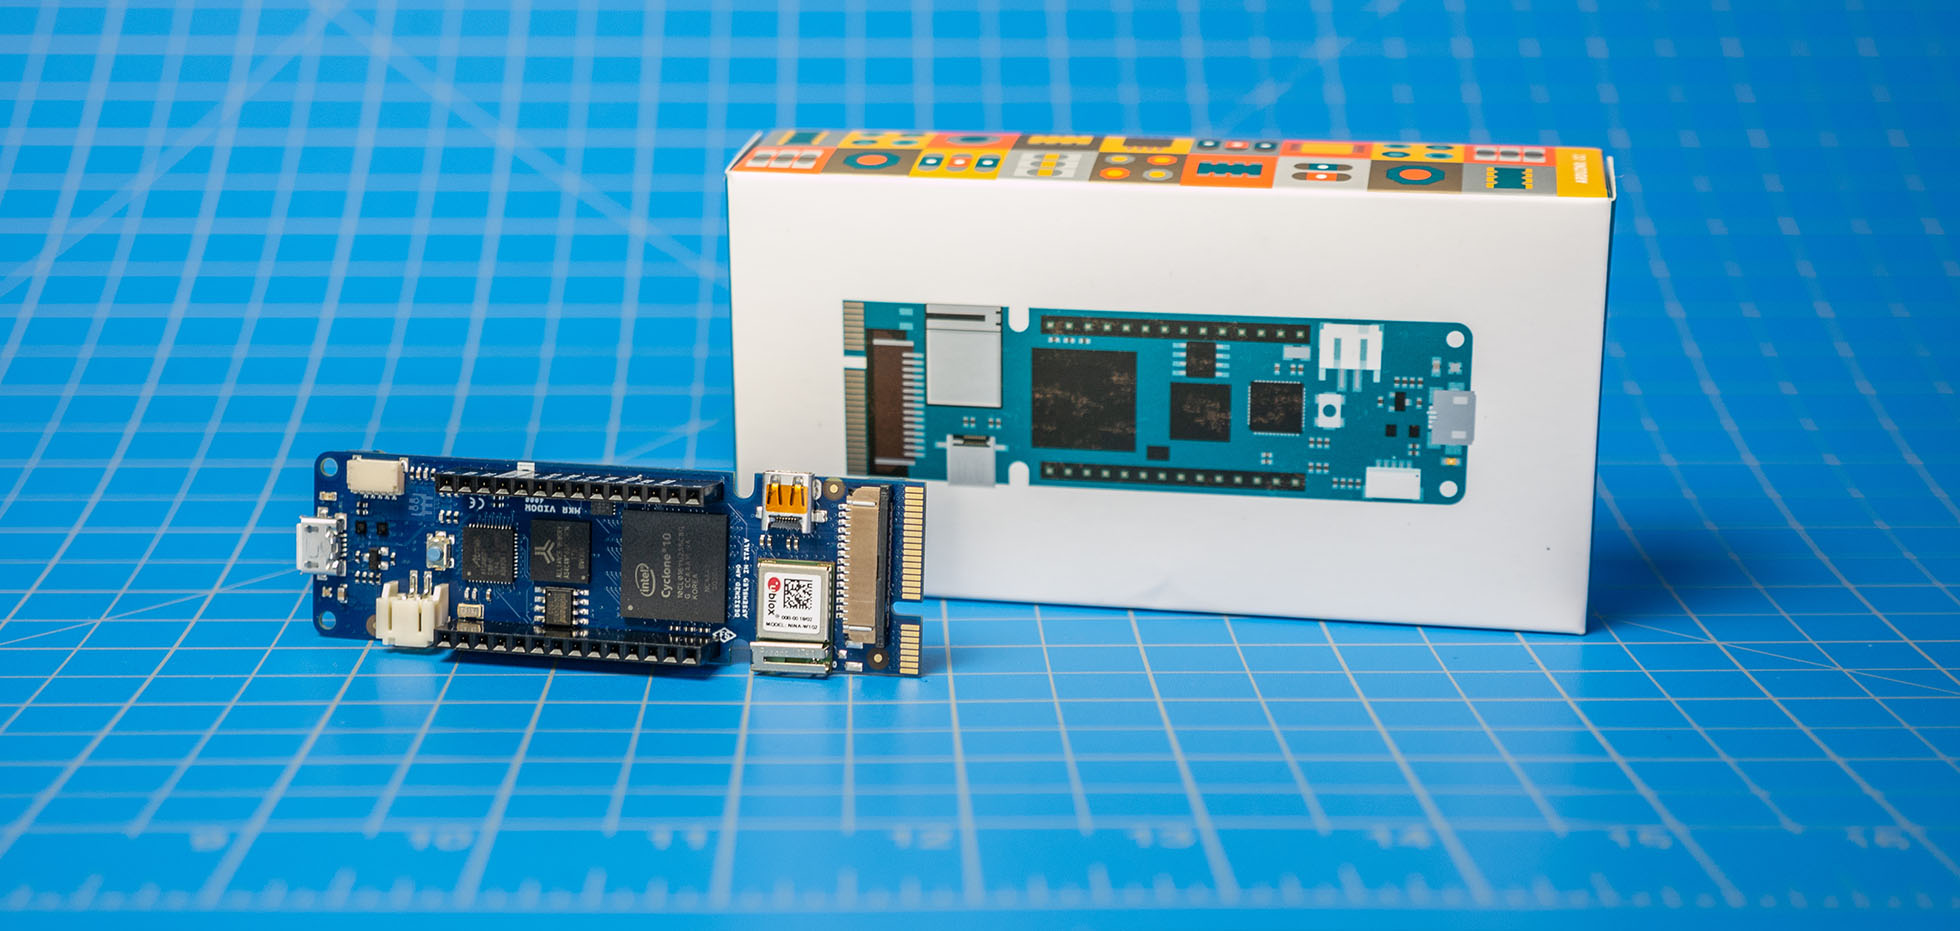
Earlier this week, I looked at the Arduino MKR Vidor 4000 during an AddOhms live stream. My goal was to understand the Vidor better. It is the new FPGA-based Arduino which started shipping this month. It runs about $60. You can learn more at the Vidor Product Page on the Arduino website.

In this post, I briefly touch on the difference between an FPGA and a microcontroller. Then I walk you around the MKR Vidor 4000’s board. Using one of the examples, I talk a bit about how the various chips communicate with each other. This section also highlights what makes the Arduino FPGA board different from other development boards. Lastly, I answer “should you buy an Arduino MKR Vidor 4000?”

As promised, the Arduino team shipped the MKR 4000 VIDOR by the end of July. The graphical editor is still missing in action, but you can check out the board now. I received mine. In this AddOhms Live Stream, I turned it on and checked it out.

This video is a “working” live stream. Generally, I try to set up some demos and run through some canned actions. Not this time. I used the board once, on another computer. You get to watch how I attack a new board…live! Warts and all.

Key things I check out:

  • How do you program the FPGA? (what does that even mean for the VIDOR.)
  • The VidorTestSketch (communicate between the SAMD21 and the Cyclone FPGA)
  • LogoDraw (the VIDOR draws the Arduino logo over HDMI)
  • The include files for each of the VIDOR libraries

I’m writing up my experience so far, along with what I’ve learned. Until then, click below to see the 1-hour live stream.

Watch Full Live Stream

This AddOhms episode is part 3 of the “design your own Arduino” series. In this one I populate a bare PCB, reflow solder it, debug a few issues, and load the Uno bootloader. Originally, I designed 2 versions of the board. One version contained an error that I planned to fix in the episode. Well, turns out, the “correct” board had two issues which were more interesting.

Check out the #27 show notes for links to a bunch of stuff in the episode, including the design files.

Watch on YouTube

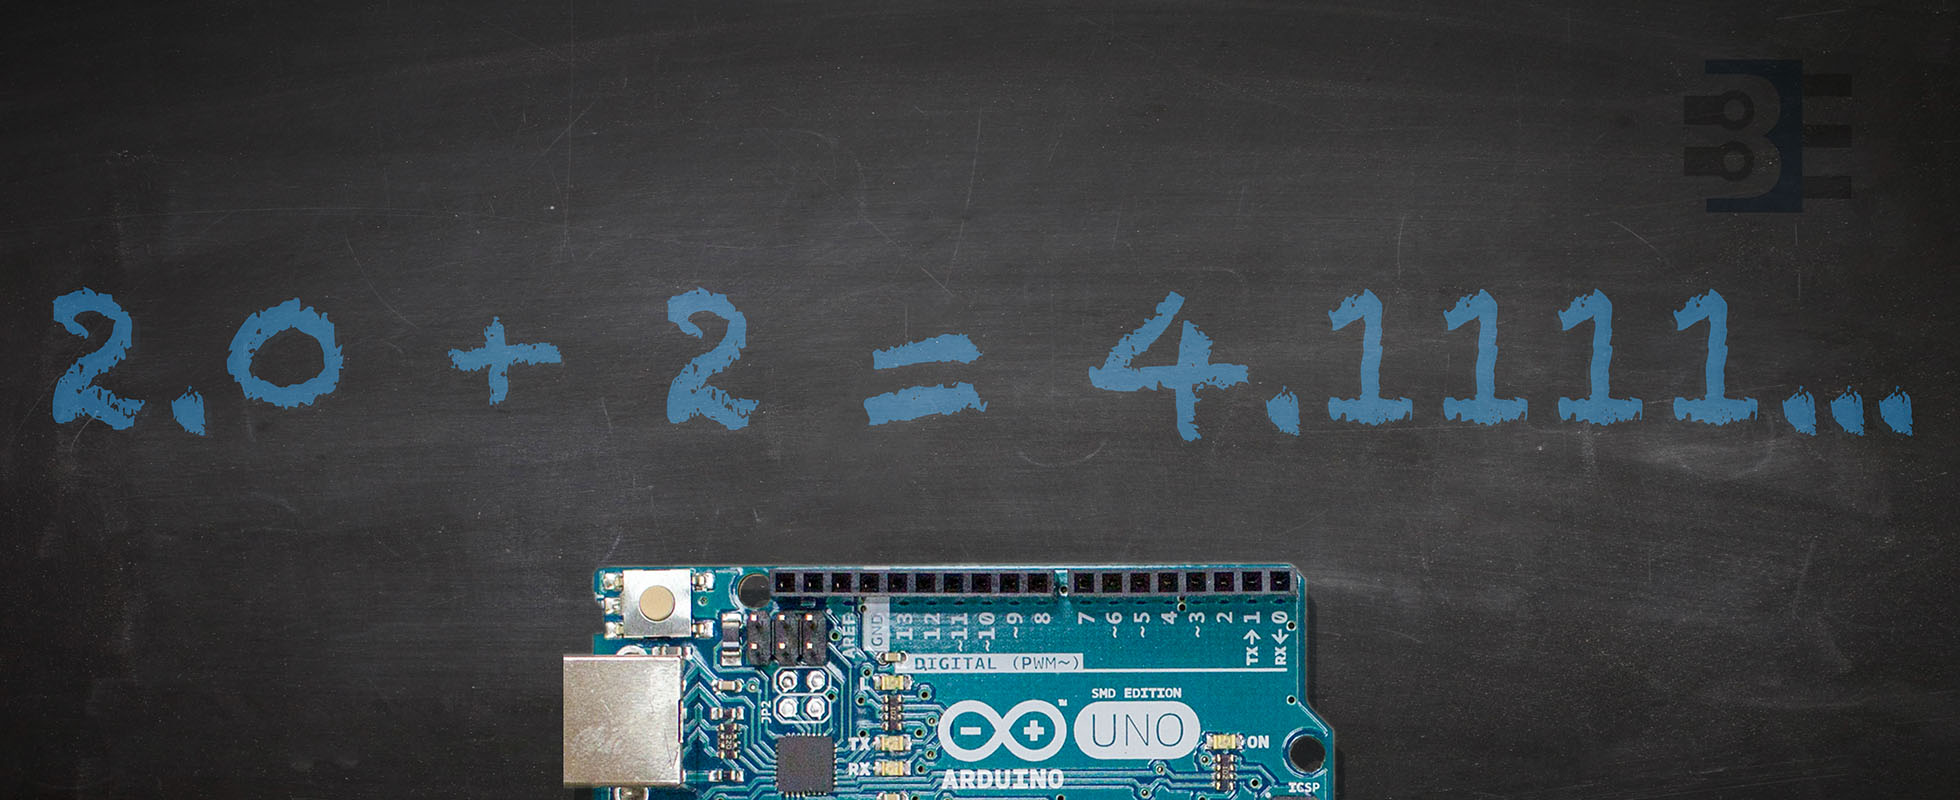
While the Arduino library does an excellent job of hiding some of C/C++’s warts, at the end of the day, it is still just C/C++. This fact causes a few non-intuitive issues for inexperienced programmers. When it looks like Arduino math is wrong, it is probably one of these reasons.

When people ask me for help with their programming, I check each of these Arduino math mistakes. If your code seems to be hitting a bug, check to make sure it is not how the compiler handles math.