189 Results

Arduino

Search

This AddOhms episode is part 3 of the “design your own Arduino” series. In this one I populate a bare PCB, reflow solder it, debug a few issues, and load the Uno bootloader. Originally, I designed 2 versions of the board. One version contained an error that I planned to fix in the episode. Well, turns out, the “correct” board had two issues which were more interesting.

Check out the #27 show notes for links to a bunch of stuff in the episode, including the design files.

Watch on YouTube

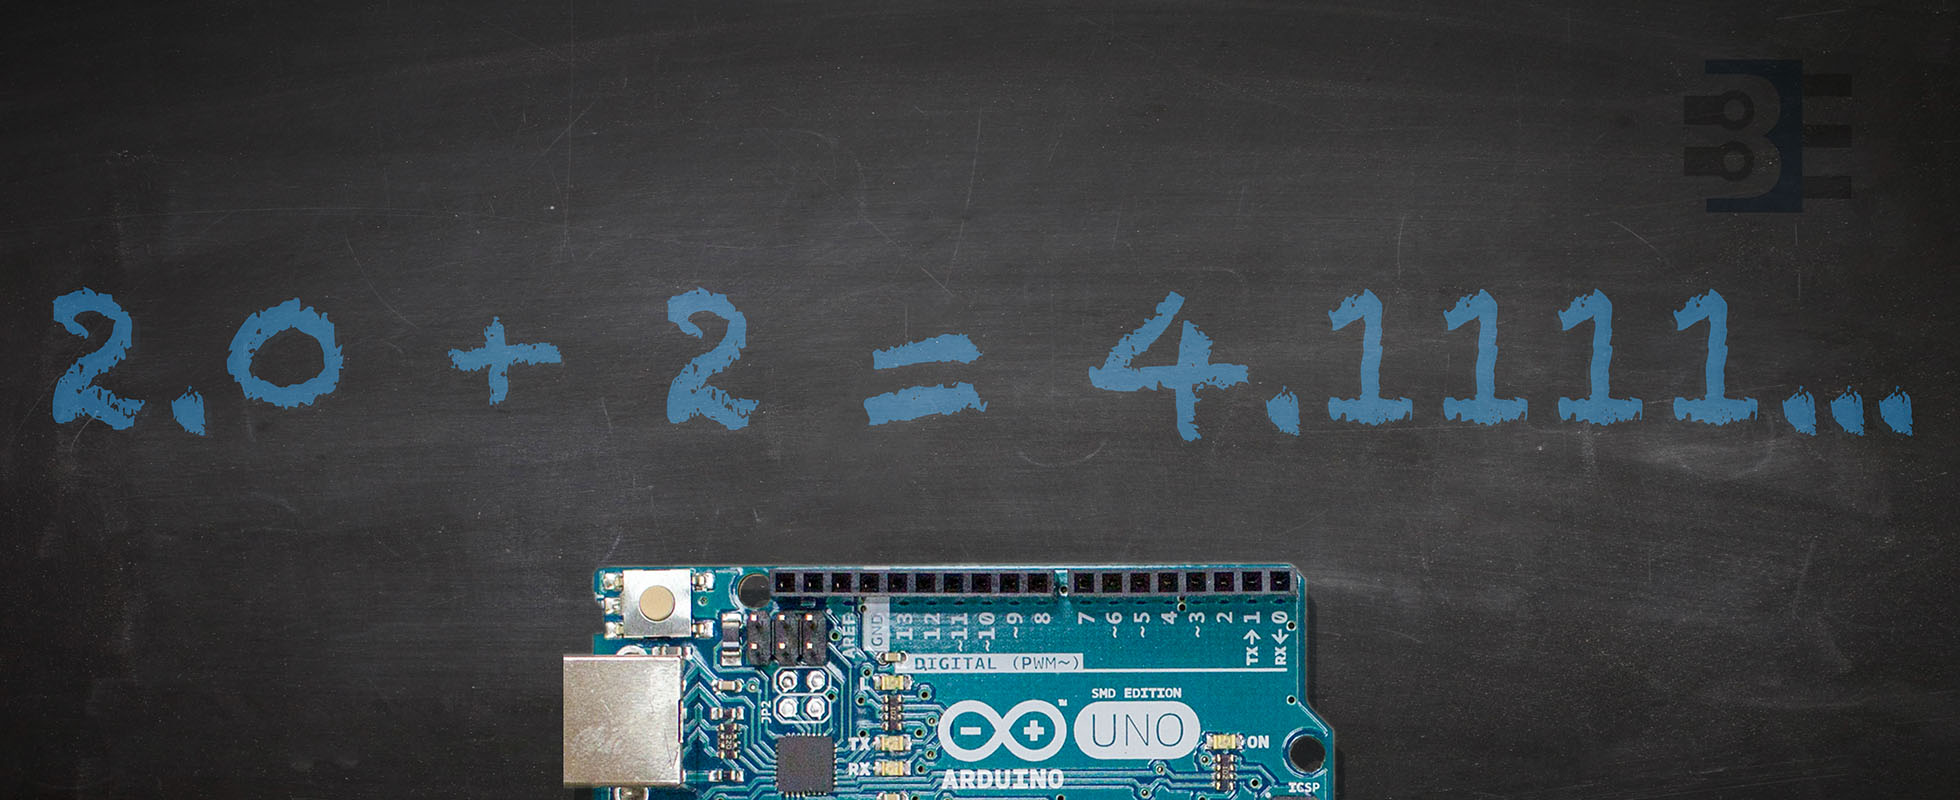
While the Arduino library does an excellent job of hiding some of C/C++’s warts, at the end of the day, it is still just C/C++. This fact causes a few non-intuitive issues for inexperienced programmers. When it looks like Arduino math is wrong, it is probably one of these reasons.

When people ask me for help with their programming, I check each of these Arduino math mistakes. If your code seems to be hitting a bug, check to make sure it is not how the compiler handles math.

Funny how a simple idea can spider out into multiple paths. Arduino EEPROM seemed like a straightforward concept. A few a years ago it was as easy as having either 512 or 1024 bytes of flash memory. The Arduino IDE offered an EEPROM library which let you read and write a single byte. Today, however, with many different processor architectures saving data to EEPROM varies. It is now possible to save any datatype to EEPROM but not on all boards and not all using the same method.

While programming an coin accepter sold by Adafruit on an AddOhms live stream, I discovered two “new” methods in the Arduino library. At least, these functions are new to me! A couple of years ago EEPROM.get() and EEPROM.put() appeared. Using these functions, you can store any datatype in EEPROM.

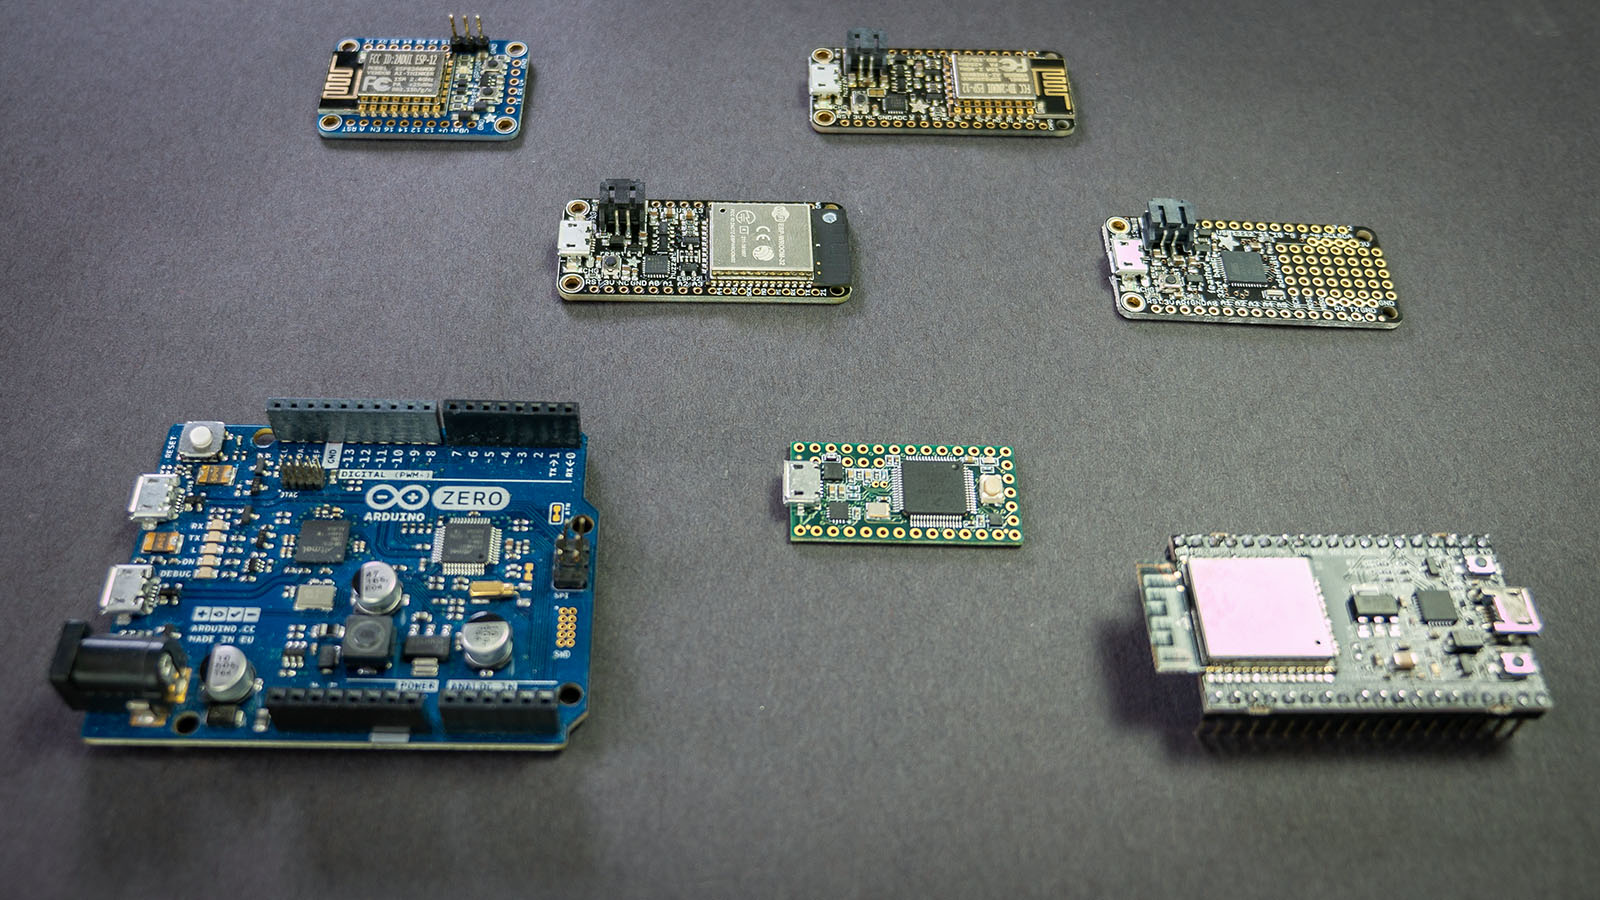
This post covers tidgets related to using Arduino EEPROM to store any value across multiple boards, or platforms. Specifically boards such as the Uno, Nano, Mega, and Zero are covered. Additionally Arduino-compatible boards from Espressif, PRJC, and Adafruit are covered as well.

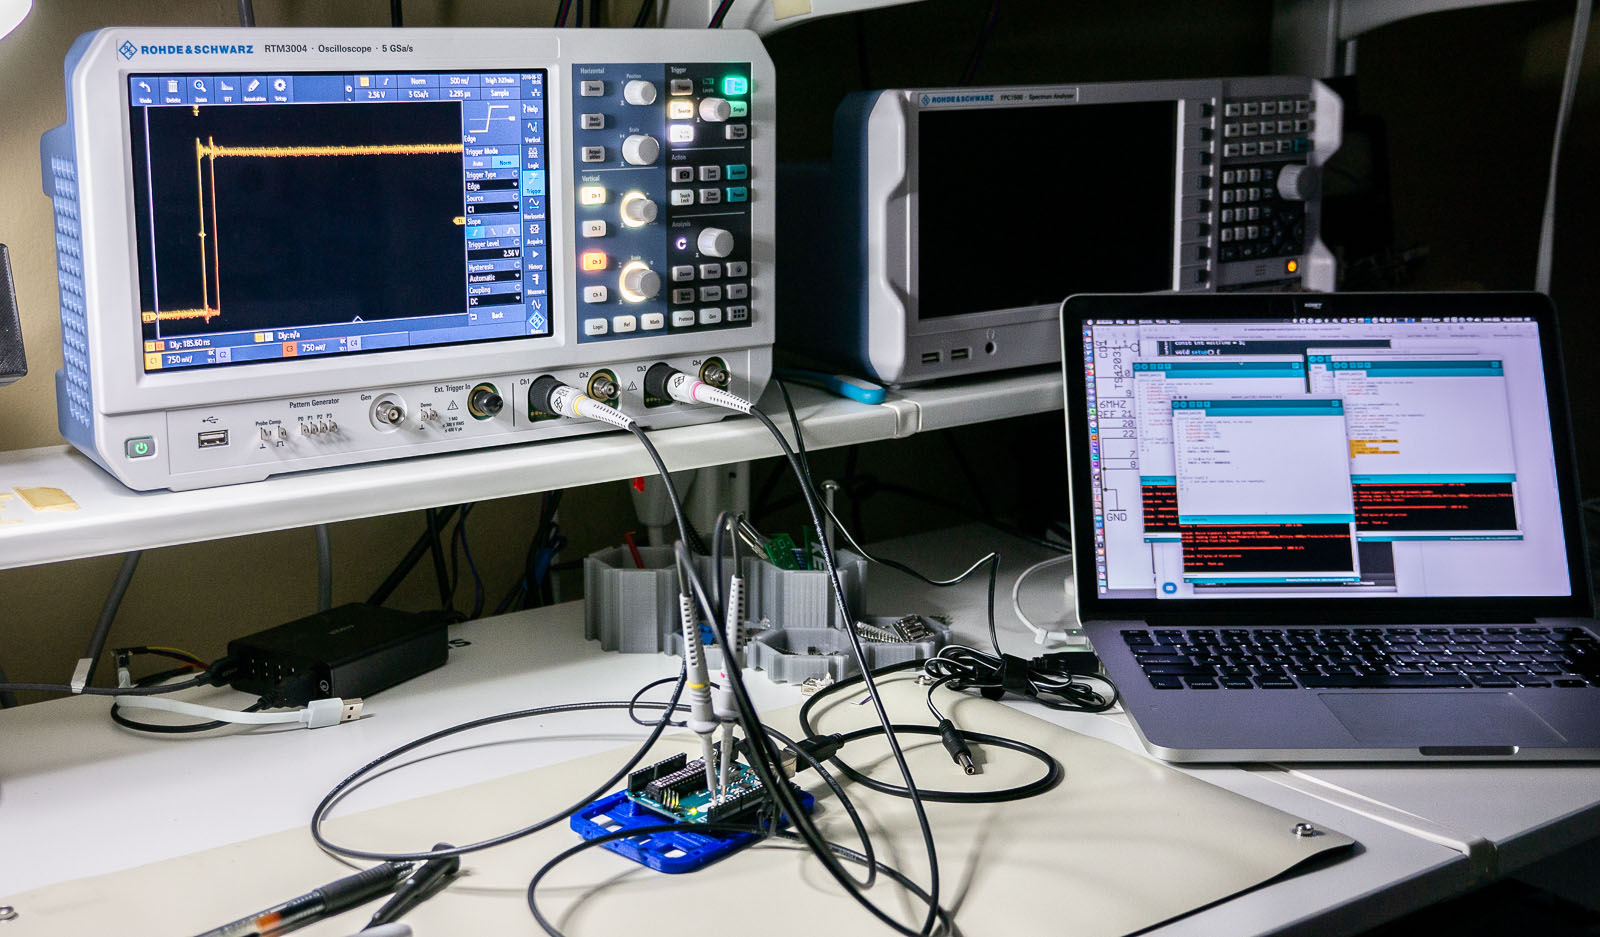
One of the best ways to learn how to use a new piece of test equipment is to use it. Sounds easy, right? The problem is, sometimes when you are in the middle of troubleshooting your circuit, figuring out what the knobs on your scope do is an immense frustration. Use these 6 oscilloscope measurements, and just an Arduino Uno, to learn how to use a new or unfamiliar digital scope.

This tutorial is not a step-by-step guide on how to make each of these measurements on a particular scope. Instead, it is a general explanation on how to setup the Arduino and a screenshot to help identify if you set up your scope correctly. I reference the R&S RTM3004. However, practically any two (or more) digital channel oscilloscope should work.

Between each measurement, I highly recommend using your scope’s default setup (or autoscale) before proceeding to the next one!

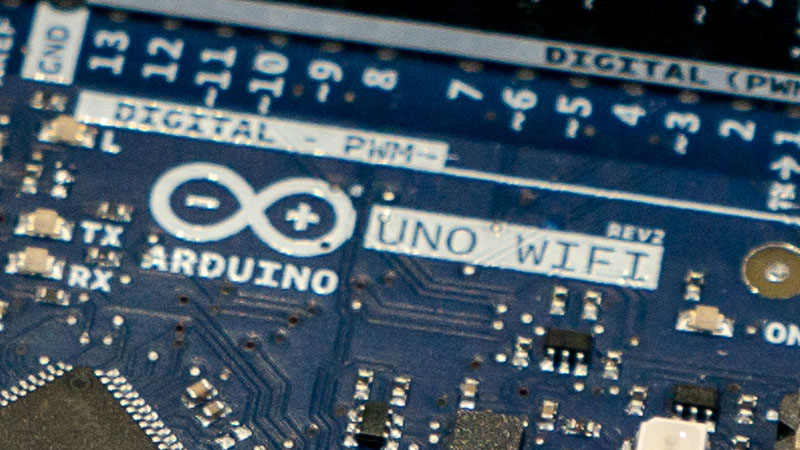
Arduino announced several new products at the 2018 Bay Area Maker Faire. One of those products is the Uno WiFi Rev 2. (Check out this post for an introduction to the MKR Vidor 4000, an FPGA-based board. You can read their official announcement here. This new Uno board represents a significant upgrade for the 8-bit family of Arduino boards. However, I do have a few reservations.

Arduino Uno WiFi Rev 2

Starting off, I am not happy with the name. It is too long. For that reason, I am going to keep using the full name in this post to demonstrate why I don’t like it. Another reason I’m grumpy it that new microprocessor makes it incompatible with 328p code. That said,  sketches (and libraries) using only the Arduino library will (likely) work fine. Anything that uses registers, like direct port manipulation, will have issues. Just like moving to any other architecture supported by the IDE. However, because it has the name “Uno,” many users will be tripped up by incompatibilities. 

Keeping the name “Uno” was only there for marketing reasons. The form factor is the traditional Arduino Uno style. Which begs the question, can we retire that massive USB connector yet?