Category

Making Products

Category

Whether you are developing a WiFi-enabled coffee maker, a sensor to detect rainfall, or a livestock tracking drone, an IoT device will follow the same product development cycle.

[featured-image single_newwindow=”false”]

A common mistake that engineers will make is trying to own the development at each stage, at least up until “deliver.” Who can blame us? The idea of delegating any part of our new product introduction can be daunting. Delegating, or outsourcing can be a powerful tool. It allows you to focus on the elements of your process that only you can do. Let others handle the rest. If your core contribution is the machine learning algorithm, then focus your effort there. Spending time designing the enclosure, or negotiating with suppliers, or even laying out the printed circuit board is a waste. Let the people who excel in each of those areas apply their expertise to your product.

Production, or making, is the prominent point for outsourcing. It is common to work with a contract manufacturer to build your product. Some offer complete services that allow them to source your components, produce the product, package it, and drop ship it to your customer. This next statement might sound recursive, but consider outsourcing the step of finding someone to outsource manufacturing.

Let’s look at the Idea, Design, and Source stages for a typical IoT device. At each of these steps, I give some pointers to help identify what you should focus on and what you can delegate to a third-party, as well as, introduce you to a partner to consider.


A KiCad BOM is a list of all the parts your design is using. The term BOM, or bill-of-materials, is standard for supply chain management and does not just apply to electronics. KiCad’s eeschema has a BOM export feature. Unfortunately as of Version 4.0, this feature is still somewhat lacking. Given the limitations, here are some tips to take your KiCad BOM from Schematic to Mouser.

Spending a few extra minutes while capturing (drawing) your schematic thinking about your KiCad BOM can save you a ton of time later on. Moreover, as you build up a database of parts, these extra minutes turn into seconds. Here are a couple of ways to describe your parts, especially passive components, better while drawing schematics in KiCad.

This week’s post is from my friend John Teel. I asked him to help answer a common question I receive: “How do you make an Arduino project into a product?” His experience as an electronics design engineer and serial entrepreneur is ideal to talk about going from prototype to product. He has developed tech products that sell in the millions of units. John now helps entrepreneurs, startups, makers, and small companies bring new electronic products to market. Check out the company he founded, Predictable Designs, and his free cheat sheet – 18 Steps to Market for Your New Electronic Product after reading his excellent post below.

Dreaming of bringing a new hardware product to market?  Perhaps you think your product will make the world a better place, or maybe you just dream of making millions of dollars.

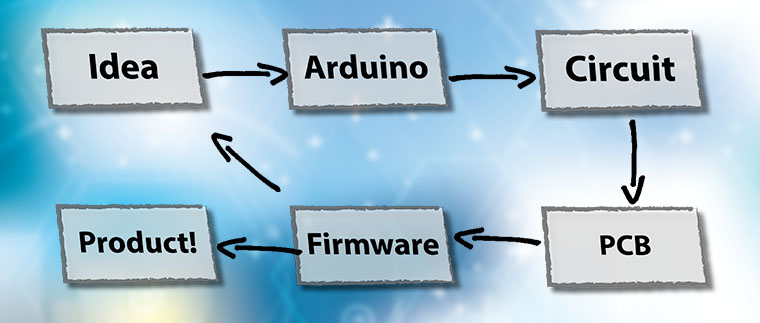
Developing a prototype based on an Arduino (Genuino outside the USA), or other development kit, is a great first step.  But there is still much work to do if you want to make your product into something that can be manufactured in volume and sold to the masses.

So I’m going to break down the process for you into a few manageable steps:

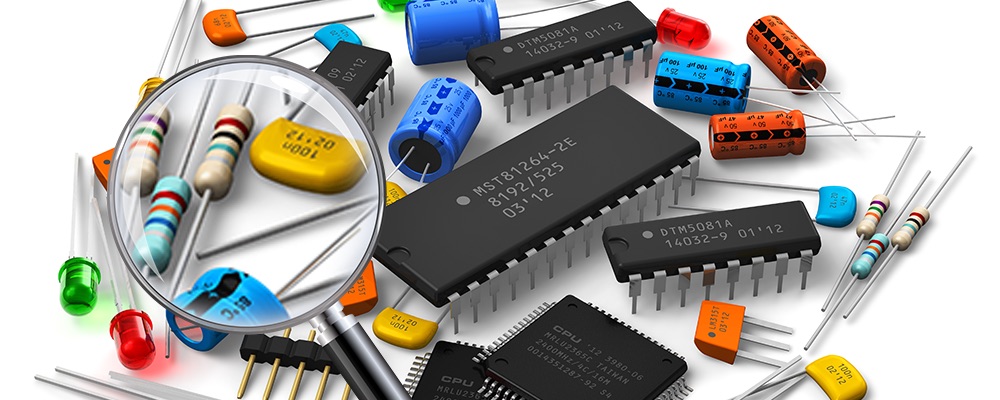
What part is the most important part in building a project? All of them! Okay, bad joke. Selecting the right parts or components for a design is an area where both new hobbyist and veteran engineers struggle. The wide variety of devices make it almost impossible to know if you are selecting the right one.

Looking at a curated List, using component search engines and browsing DIY shops are how I tend to find parts for my projects.

You might want to bookmark these some of these sites so you can use them next time you’re stuck on how to find parts for your project.