Category

Arduino

Category

Almost all microcontroller (and microprocessor) development systems use some form of a bootloader. Often called firmware, mistakenly, the Arduino bootloader is one example. Since it is a rather popular platform, let’s use it as an example. Let’s talk about what a bootloader does and how it works.

When a microcontroller turns on, it only knows how to do one thing.  Typically, that one thing is to run an instruction found at a specific memory location. Often this location address 0x0000, but not always. Usually, this memory location will contain a jump instruction to another place in memory, which is the start of the user program. The bootloader, however, exists in a slightly separate memory space from the user program.

On power-up or reset, a bootloader is a section of program memory that runs before the main code runs. It can be used to setup the microcontroller or provide limited ability to update the main program’s code.

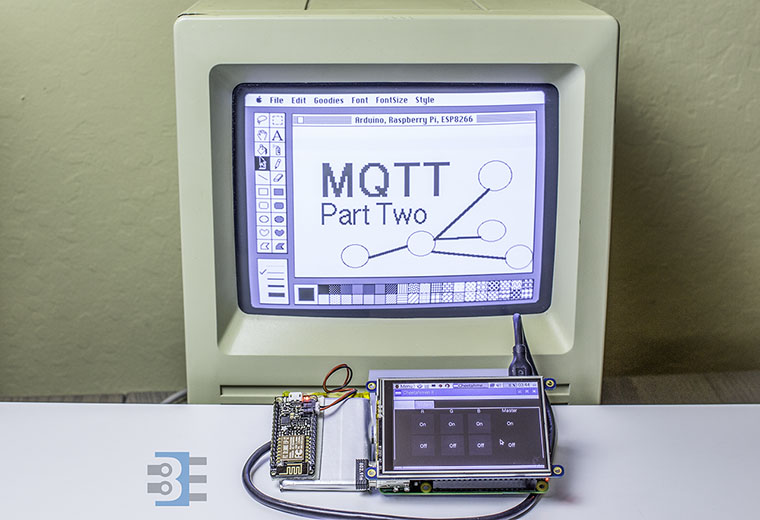
MQTT is an easy way for Internet of Things (IoT) devices to communicate with each other. This light-weight protocol can be used with a simple 8-bit Arduino to a Raspberry Pi to a multi-core PC to Amazon Web Services. It is that versatile.

This MQTT Tutorial is broken into two parts. Part one is an MQTT Introduction. You’ll understand how publish/subscribe message brokering works. Next week, Part two will be a tutorial on using MQTT to communicate between a PC, Raspberry Pi, and ESP8266.

One of the common questions related to using the millis() function in Arduino, is around timed events. After an event occurs, you want the code to wait for some time before doing the next step. But you don’t want to stop the program with delay().

[featured-image link=”https://www.baldengineer.com/use-millis-with-buttons-to-delay-events.html” single_newwindow=”false”]

In this example, we will use millis() to wait a few seconds after a pushbutton press to turn on an LED. Then a few seconds later, we will turn it off.  All without using delay().

Understanding millis()

The Arduino millis() function will let you accomplish this delayed action relatively easily. First, read through my multitasking with millis() tutorial and then look at some of my millis() cookbook examples I’ve already posted. Getting used to seeing this kind of code will make this line by line tutorial on timed events using millis() easier to follow.

When you hear the name “Arduino,” does a picture of the Uno come to mind? While the most popular, this 8-bit based board isn’t the only Arduino available today. There are some other boards available like the Due and recently introduced Zero, which are far more advanced than the humble Uno.

These are 32-bit microcontroller boards that have a very different architecture compared to the relatively straightforward Uno. In fact, one of the most striking differences is that the Due and Zero have two USB ports.

What is the difference between the Programming and Native ports on these more powerful Arduino boards?