Author

James Lewis

Browsing

Most of the major electronic blogs have covered the controversy between Arduino LLC and Arduino SRL. My first deep look into it was from Hackaday’s Arduino v. Arduino. Since it has been covered so well by others, I won’t re-hash the already known facts.

If you want to join in giving feedback to these companies, please tag your posts, tweets, and content with “#OneArduino“.

Click to keep reading and see the letter.

Behind-The-Scenes of AddOhms #14

After moving from learning a new tool to mastery, the resistance for me to switch becomes very high. This can apply to hardware tools like a drill, saw or CNC milling machine. It can also apply to software tools like EAGLE, Programming Languages or video editing software. In AddOhms #14, I gave an overview of the VirtualBench from National Instruments which I’ve covered on this blog as a hands-on, written review and video review.

[featured-image size=”featured” single_newwindow=”false” alt=”learn a new tool” title=”learn a new tool”]Photo courtesy of smuay/Shutterstock.com[/featured-image]

For this AddOhms Behind-The-Scenes look, I talk about my experience with changing my tool set, the most critical tool in fact, I use for creating AddOhms Videos. If you’ve ever wondered how I do those hand animations, keep reading for the deepest look yet into my workflow.

To save time, breadboard pins or just lack of knowledge people try to skip adding even one decoupling capacitor to a circuit. Either on IRC or in Forums you can almost always see it coming: “randomly, my circuit stops working” And then, “what do you mean a decoupling capacitor?” question.

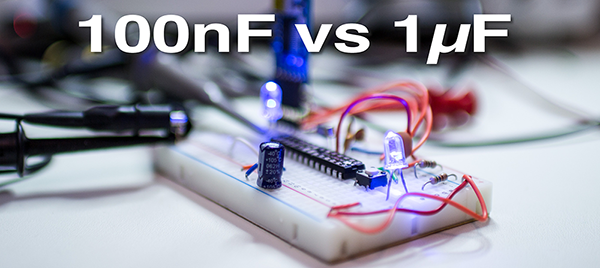
While working on breadboard Arduino, I came across some unexpected measurements. Initially, the only capacitors on the breadboard were the two 22pF from crystal to ground and the capacitor connected to RESET for Auto-RESET.

Keep reading to find out what happen when I added a 100nF and a 1µF cap. A bunch of scope traces and surprising results follow.

Breadboard Arduino with no Decoupling Cap

The Arduino Library provides functions like shiftOut() and digitalWrite().  These functions are simple and effective, but they are slow. Of course, they’re doing a lot more than just toggling bits. Faster isn’t always necessary and can sometimes lead to more difficult debugging.  And as Donald Knuth said,

…premature optimization is the root of all evil.

So what happens, when you do need to optimize? For example, if shiftOut() is too slow for your project, what do you do?  In Ralph’s post, Fastest AVR software SPI in the West, he breaks down different SPI code implementations into their assembly code.

To make the best optimization, you need to change compiler flags. So this is, in my opinion, an interesting case study in what kind of performance benefit you can get when you do some serious optimization.

Of course, you really shouldn’t, unless you need it…

Check out his post: Fastest AVR software SPI in the West

Knuth quote from his paper “StructuredProgrammingWithGoToStatements.”

element14 is running a Design Challenge called Enchanted Objects. The idea is to add magic, or modern technology, into older objects, enchanting them. How could you turn an ordinary household object into something extraordinary?

You can see the content intro video here.

With my recent interest in retro-electronics, an entry by Jan Cumps caught my eye. He’s repaired a vintage record player (turntable) using an Arduino and Pulse Width Modulation (PWM) control. For more information on his work, the project page is here. Jan’s YouTube channel is at pitface123.