Author

James Lewis

Browsing

When getting started with the Arduino, the shear number of board options can be intimidating. While the variety is a great option, it can be daunting to a new user. Many people are afraid of selecting the wrong board, or their budget doesn’t allow for buying multiple boards. Just looking at the “official” boards listed on the Arduino.cc site, there are 14+ different Arduino board types to consider. Then there are a variety of 3rd-party boards with their own uniqueness.

This publicly editable Arduino Comparison Table is a one-stop place to compare key features of Arduino boards, such as Input Voltage, I/O Pins Available, and Connectivity options. Feel free to update information, make changes, or add new boards.

Visit the Google Docs Spreadsheet to use filters and sort by the various parameters.

[View Full Table]

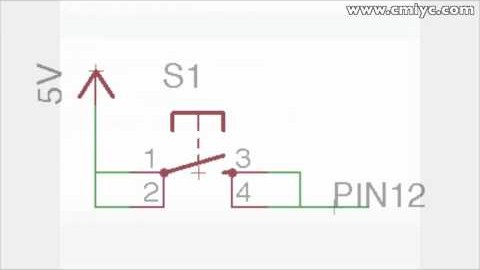
When hooking up switches or buttons to an Arduino I/O pin, sometimes the results might appear completely random. Sometimes it will appear as though there is a delay from when the button is pressed until the state of the pin actually changes. Other times the pin’s value will seem to randomly fluctuate from HIGH to LOW. Even more maddening might be as your finger gets closer to the switch, the pin’s state changes! The fix to these problems is simple: use the Arduino Internal Pull-up Resistor. Here’s how they can fix this problem and how you can use them with an Arduino board.

Open Source Hardware (OSH) means not only releasing devices, but all of the documentation associated with them. For some projects, this may include the actual CAD files used to produce the device. For example, the Arduino team produces not only schematics but the Eagle PCB CAD files for each of their boards. The great thing about such disclosure is that one can easily tweak the existing design for their own purposes. The downside is that nearly anyone can submit the exact same files to their own production house and have immediate clones.

Flickr changed their API, so the callouts are gone…. Sorry about that. -James

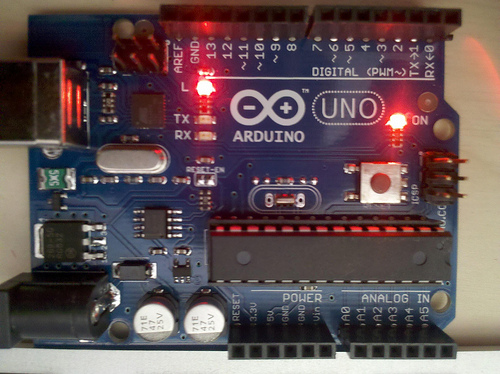
Even when some people choose to do this, as have some eBay (and now Amazon) sellers, differences crop up from “real” boards and the clones (aka “fakes”). Click on the above photo for a Flickr-based “spot the differences” game!

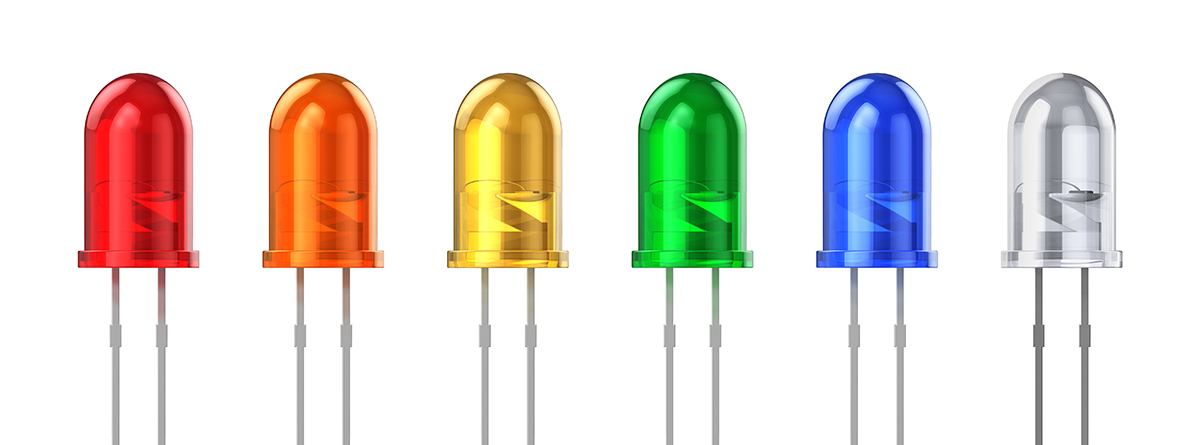
Nearly every consumer device makes use of the Light Emitting Diode (LED). This highly versatile device offers an easy way to add an indicator to any project while drawing a relatively small amount of current. Once their operation is understood, adding them to any project is a simple task. This tutorial is a simplified explanation of how a LED works and how to select a current limiting resistor. The LED tutorial here is enough to use LEDs in a project but is not intended to be a thorough explanation.