How to use this simulator:

  1. Press the power button for the desired connections. For example, for USB-only, press the power button near the USB connector.
  2. Enter a voltage for the enabled supplies.
  3. Use “Reset” to start over.

The voltage at the other pins will be calculated.

Note: This simulator does not take into account current loading.

Examples

  1. Enter 12.0 volts for the Barrel Jack. Watch what happens to Vin, 5V and 3.3V.
  2. Enter 5.0 volts for the Barrel Jack. Watch what happens to Vin, 5V and 3.3V.

Vusb:

Barrel Jack:


3V3:

5V:

Vin:

NOTE: The voltage simulator should be considered Alpha quality. Please provide feedback, suggestions, or questions as comments.

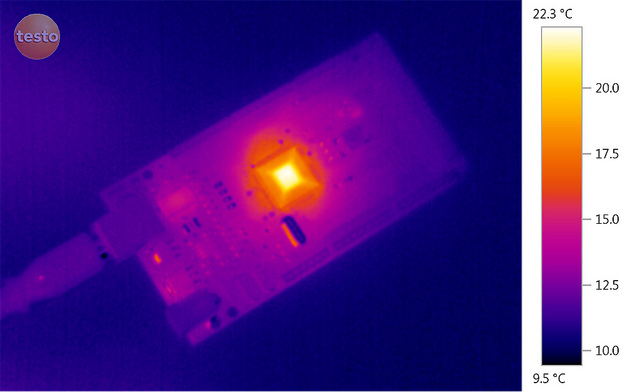
There are many options for powering an Arduino board.  The designers did a great job of designing an auto-select circuit that makes it simple to power the boards.  However, there are trade offs in how much power is available and how much power gets wasted.  Australian Robotoics has a great breakdown of what an Arduino looks like under a thermal camera, when powered from USB and various external sources.  I don’t agree with everything that is said in this article, but the pictures are very revealing (and cool to look at).

Fuelling Your Arduino – Why you should use an External Power Breakout | Australian Robotics.

Can you can imagine what people thought about today, 20 years ago?  Think of all the crazy things you (or others) thought we would be doing today.  Like… Video phone calls from your car, perhaps?

Now use the same futuristc imagination to imagine if someone put together a plan to build a first generation NCC-1701 (“No Bloody A, B, C, or D”).  Not just a plan, but a plan to do so in 20 years!  If successful, we could get to the moon in a matter of days and Mars within College Football season.

Check our http://www.buildtheenterprise.org/ for more details.

Is there a Kickstarter page yet?