

Sometimes the hardest lessons are the ones you have to learn multiple times. When getting started with Electronics circuits, there’s a handful of things that can ruin a day (or experiment.) Here are 6 mistakes I made when I got started, and mistakes I see in the beginner classes I teach. In fairness #6 isn’t one I did starting out, because Fritzing wasn’t around. However, it took me a while to learn the value of providing a schematic, even a simple sketched out block diagram.
1. Shorting out stuff on breadboards
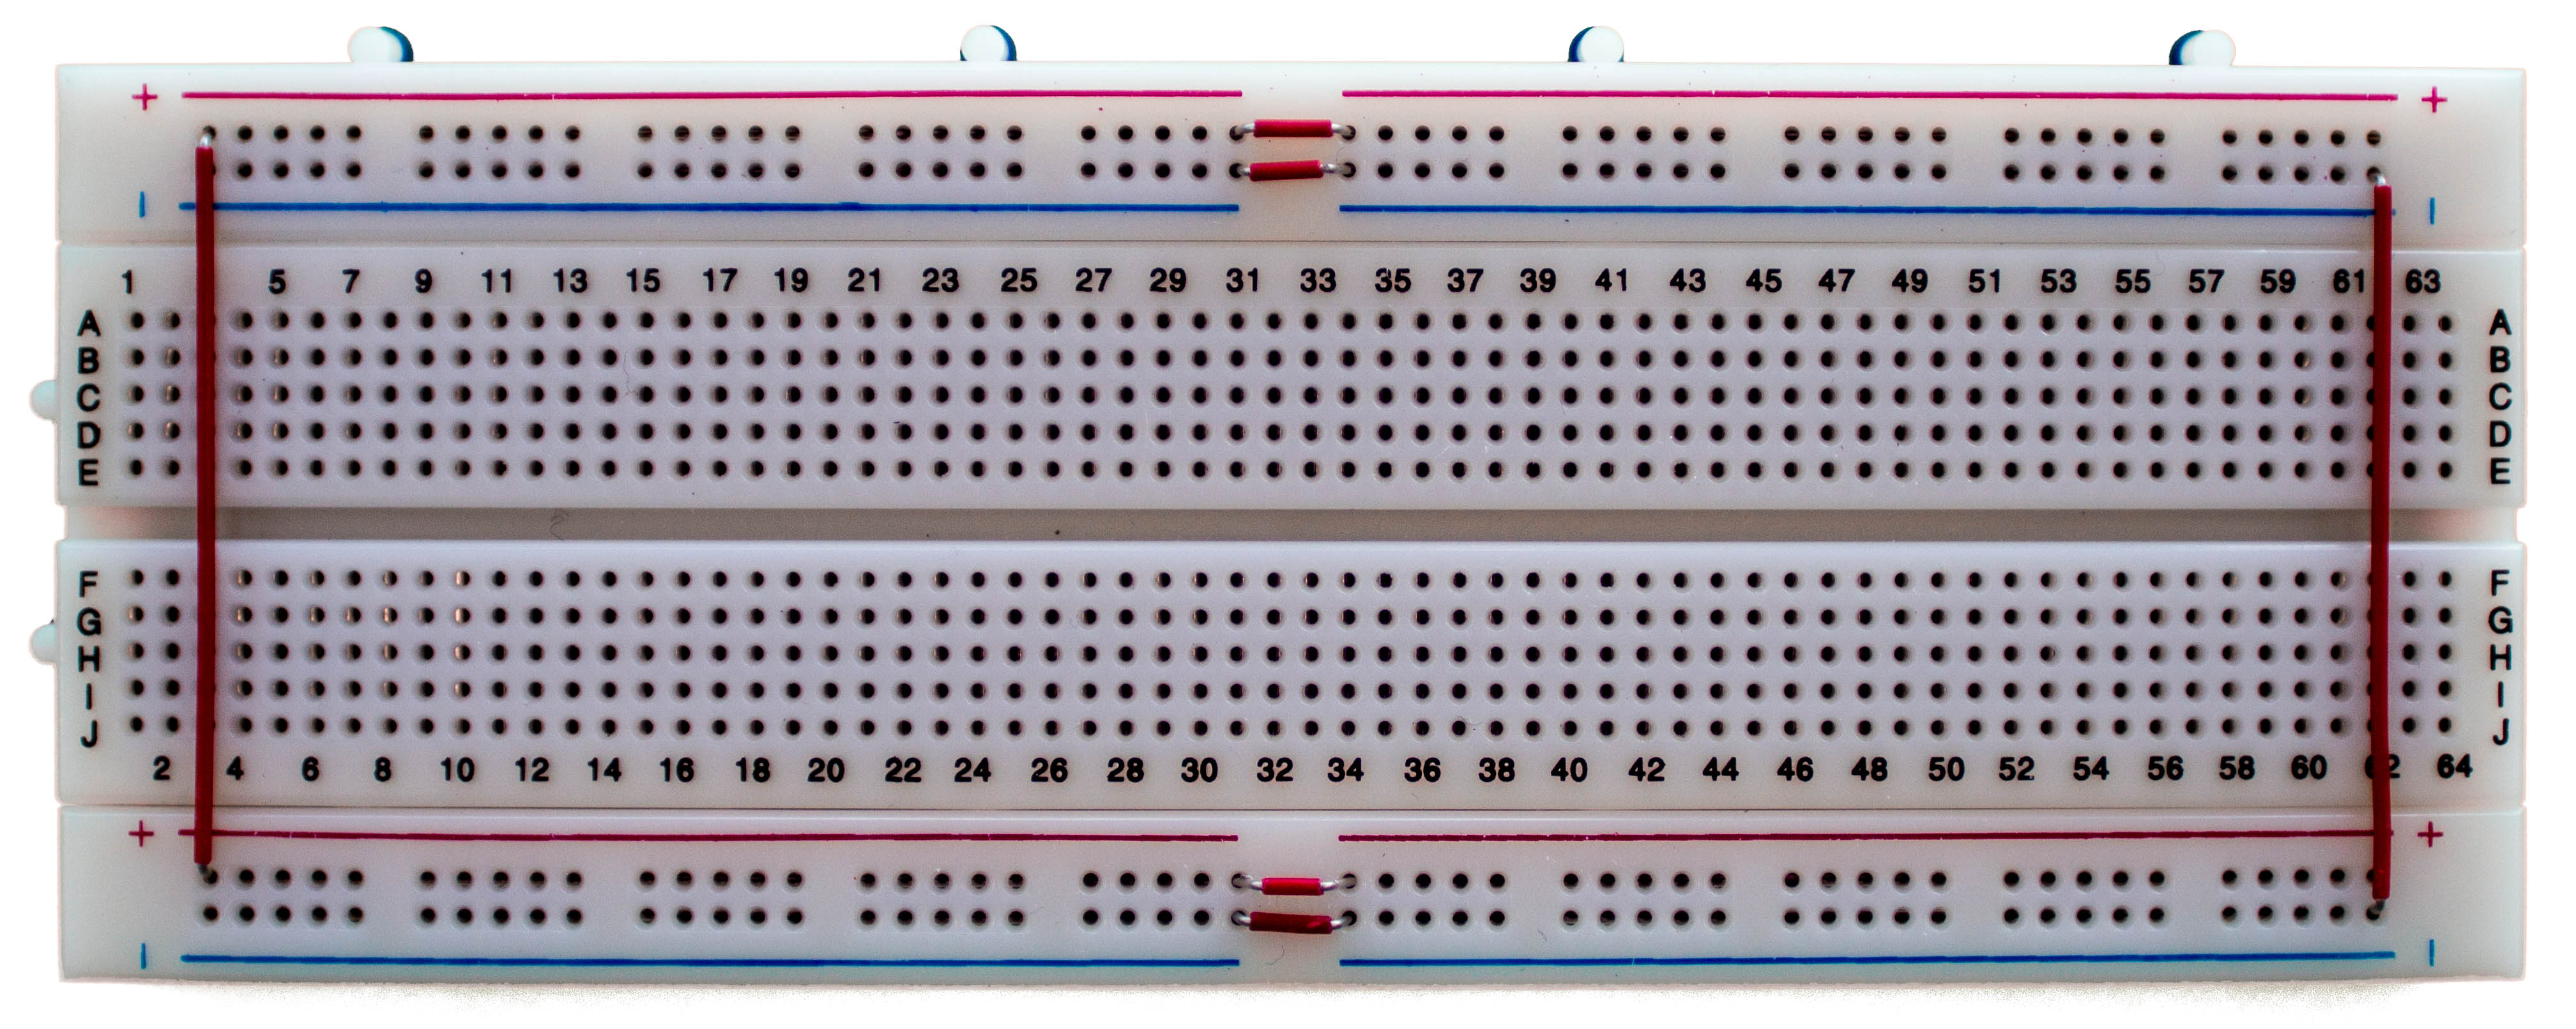
Breadboards are made up of groups of columns and rows. For electronics beginners, the little squares seem like a disconnected grid of, well…., little squares. If you don’t understand how these squares are connected, you might end up causing a short circuit!
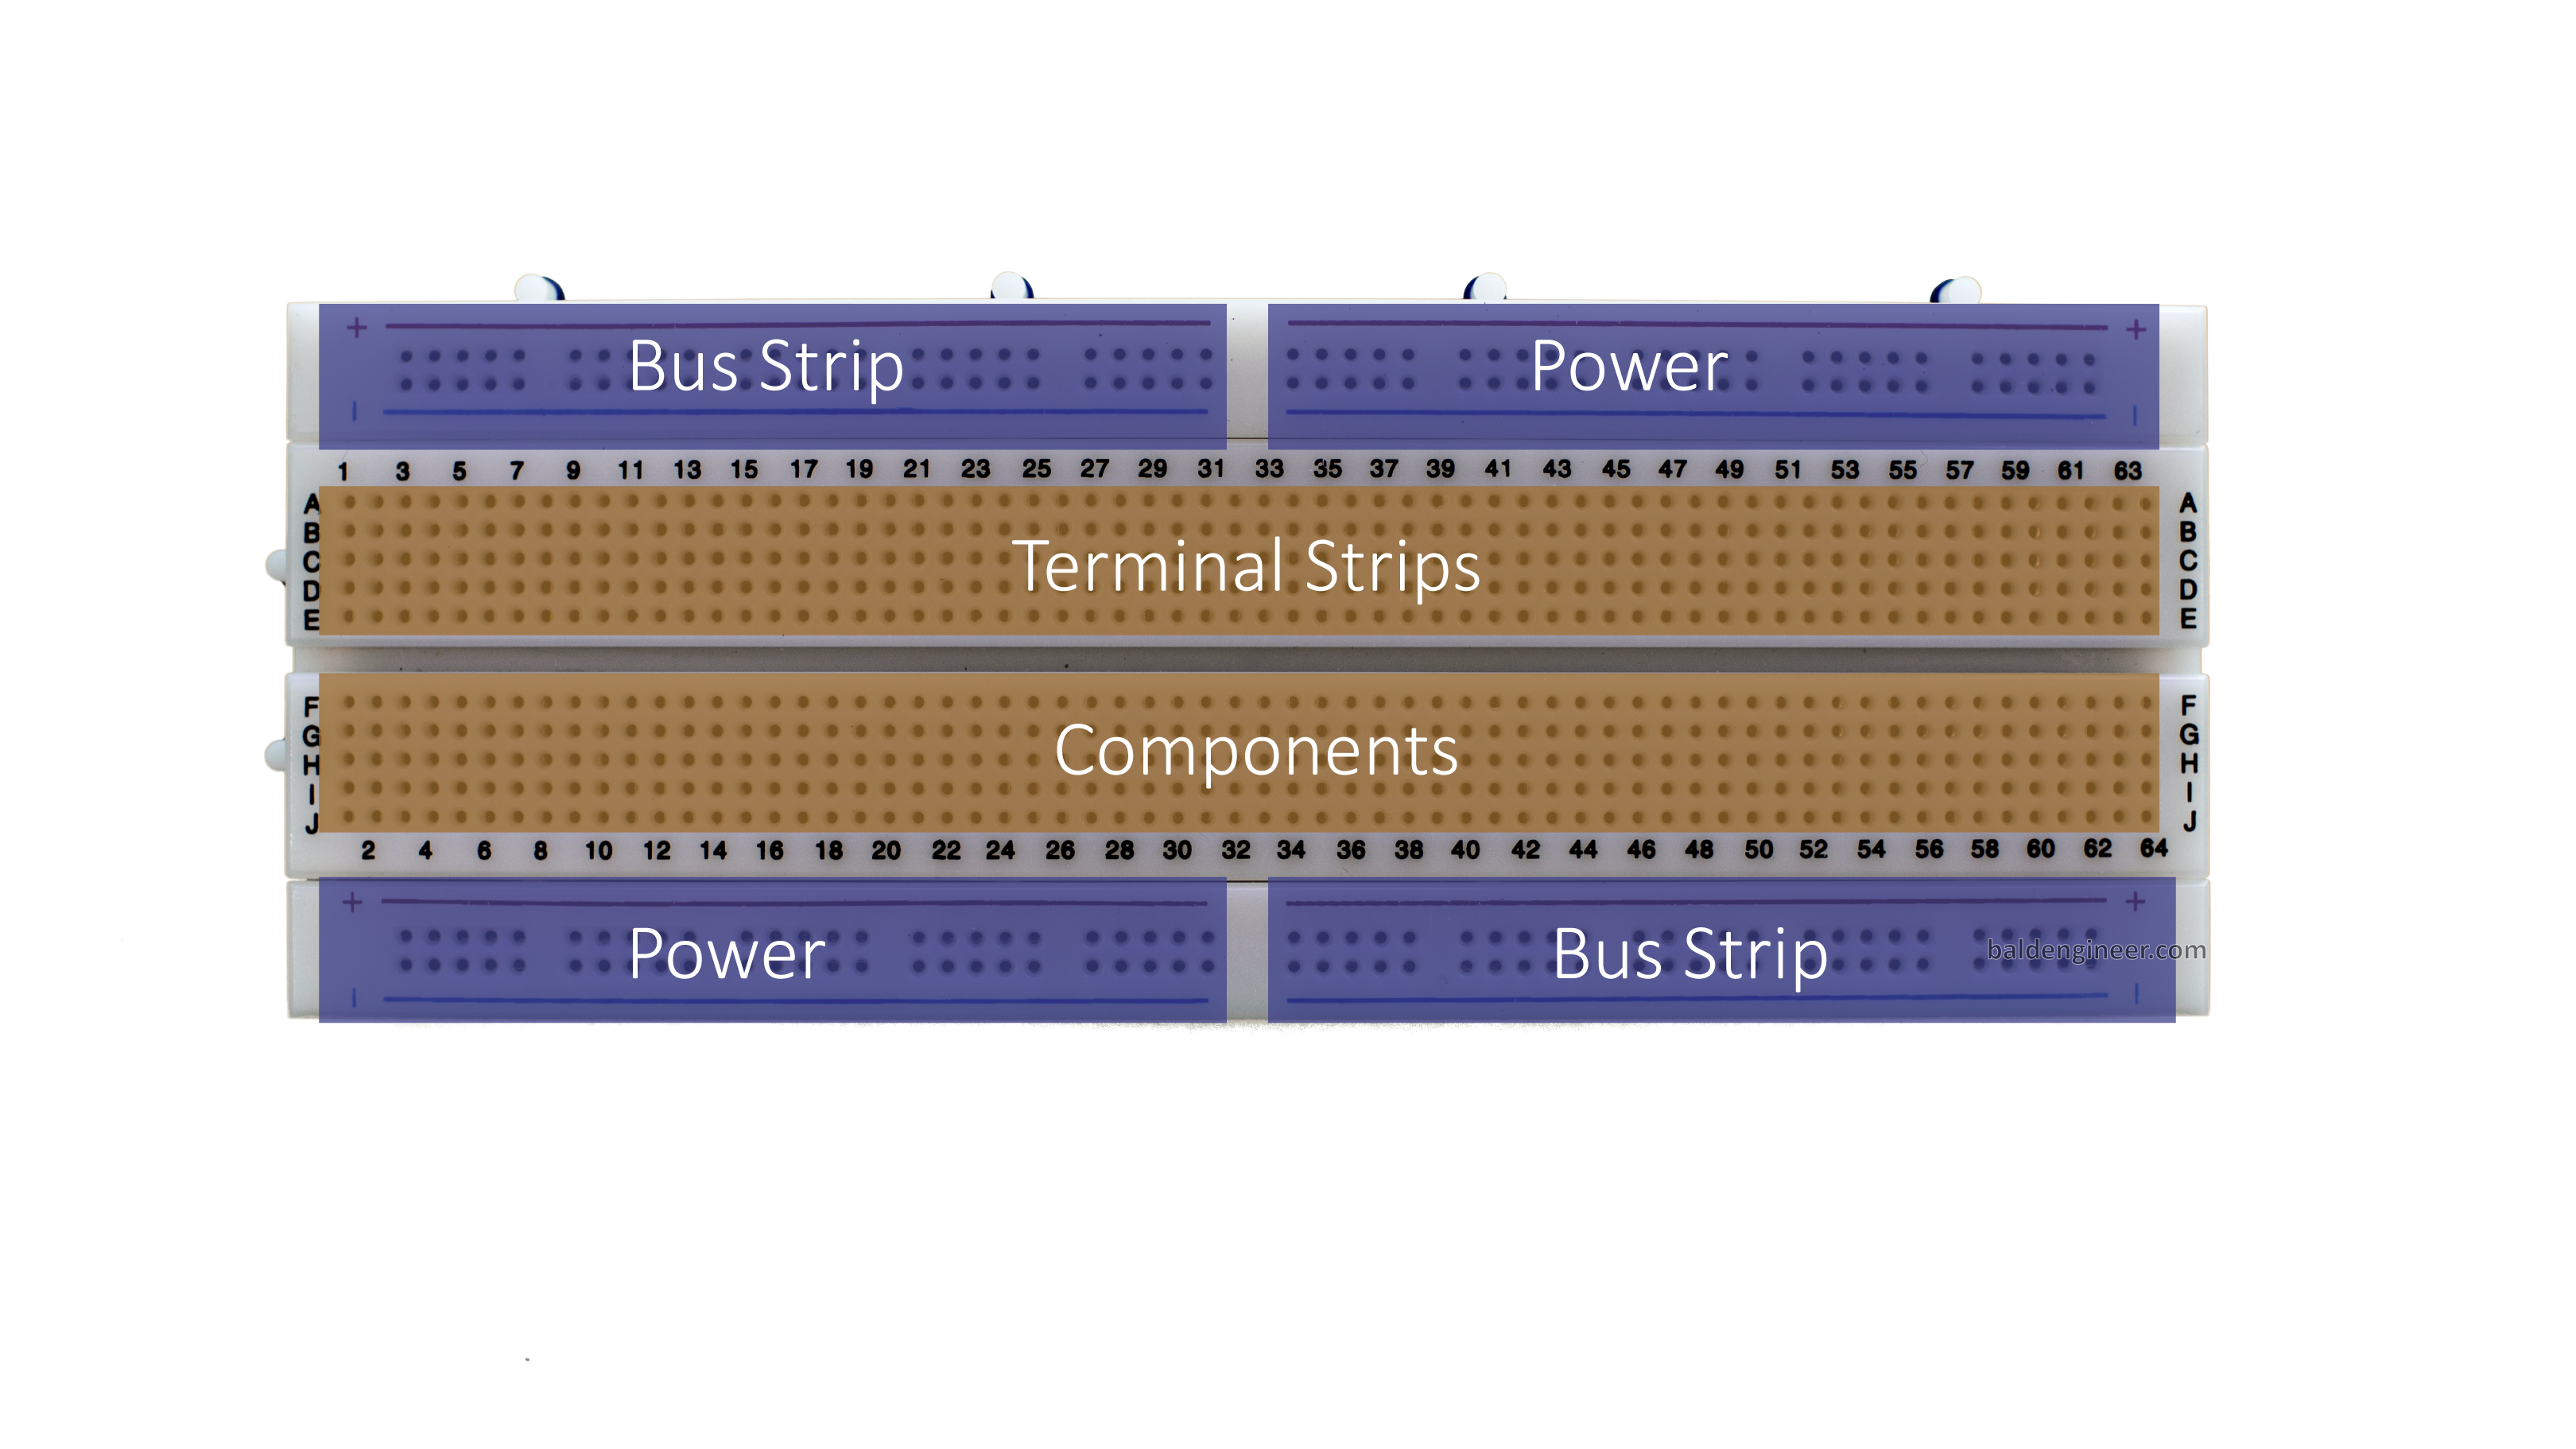
This tutorial explains how breadboards work.
2. Changing connections while powered
Here’s the #1 take away tip from this whole list:
NEVER CHANGE CONNECTIONS WHILE POWERED
By far, the easiest way to damage a circuit is to change a connection while the circuit is powered. It is way too easy to put a wire into a wrong hole or, more likely, briefly touch some exposed metal by accident. You want to know the scariest thing? You might cause damage and not even know it.
Not all damaged components fail immediately!
It is entirely possible to touch the leg of a part and cause a short circuit that lasts less than a second. You may not notice it happened, until days (or weeks) later when your circuit stops working suddenly!
3. Treating ESD sensitive devices, like they’re not
![]()
Just because you don’t feel a shock, doesn’t mean you don’t cause ESD damage.
When you’re working with your circuits, consider using an ESD strap with an ESD mat. Here’s the Elenco set I use, available on amazon (affiliate link ).
4. Misusing the terms Volts, Amps, and Power
Electronics engineering is a very technical subject. Interestingly, many of the terms used, are used in everyday life. So as a hobbyist or a beginner, it might be difficult to use those terms correctly. People often mix up “voltage” and “power” when talking about electricity. For example I have heard phases similar to “USB provides 5volts of power” when referring to phone “chargers” (another mis-used term.) The simplest way I like to think about these three terms is this way:
Voltage is Pressure
Current (Amps) is Flow
Power is Work
What this means is that you apply some electrical pressure (Volts), current/electricity will start to flow (Current), and the heat or light generated is the work (Power). The difference between Voltage, Current, and Power is covered in this AddOhms video.

By the way,
Never use the term “Amperage.”
Please, just say “Amps.”
5. Current Limiting LEDs
LEDs require current limiting. To understand more about how LEDs work, read this tutorial on LED Basics. There are tutorials on the web that say Pin 13 of Arduino boards have a built-in current limiting resistors, so you can connect a LED without a resistor. These are WRONG. While it is true there is a resistor, it is only there to limit the current for the on-board LED! Here’s another AddOhms video. This one is on LEDs and Current Limiting resistors. In it, I even show what could happen if you don’t limit the current (the LED burns out.)
Always remember to use a current limiting resistor
(or some other method) to limit current to a LED.
6. Messy Fritzing diagrams
Fritzing is an open source software project aimed at making design electronic circuits (and boards) easy. The free software runs on Windows, Mac OSX, and Linux. You can create schematics and PCBs and even breadboard diagrams. These breadboard diagrams are often used by beginners when asking questions in forums. These can be an interesting tool, except when the lay out is messy, like the left picture.
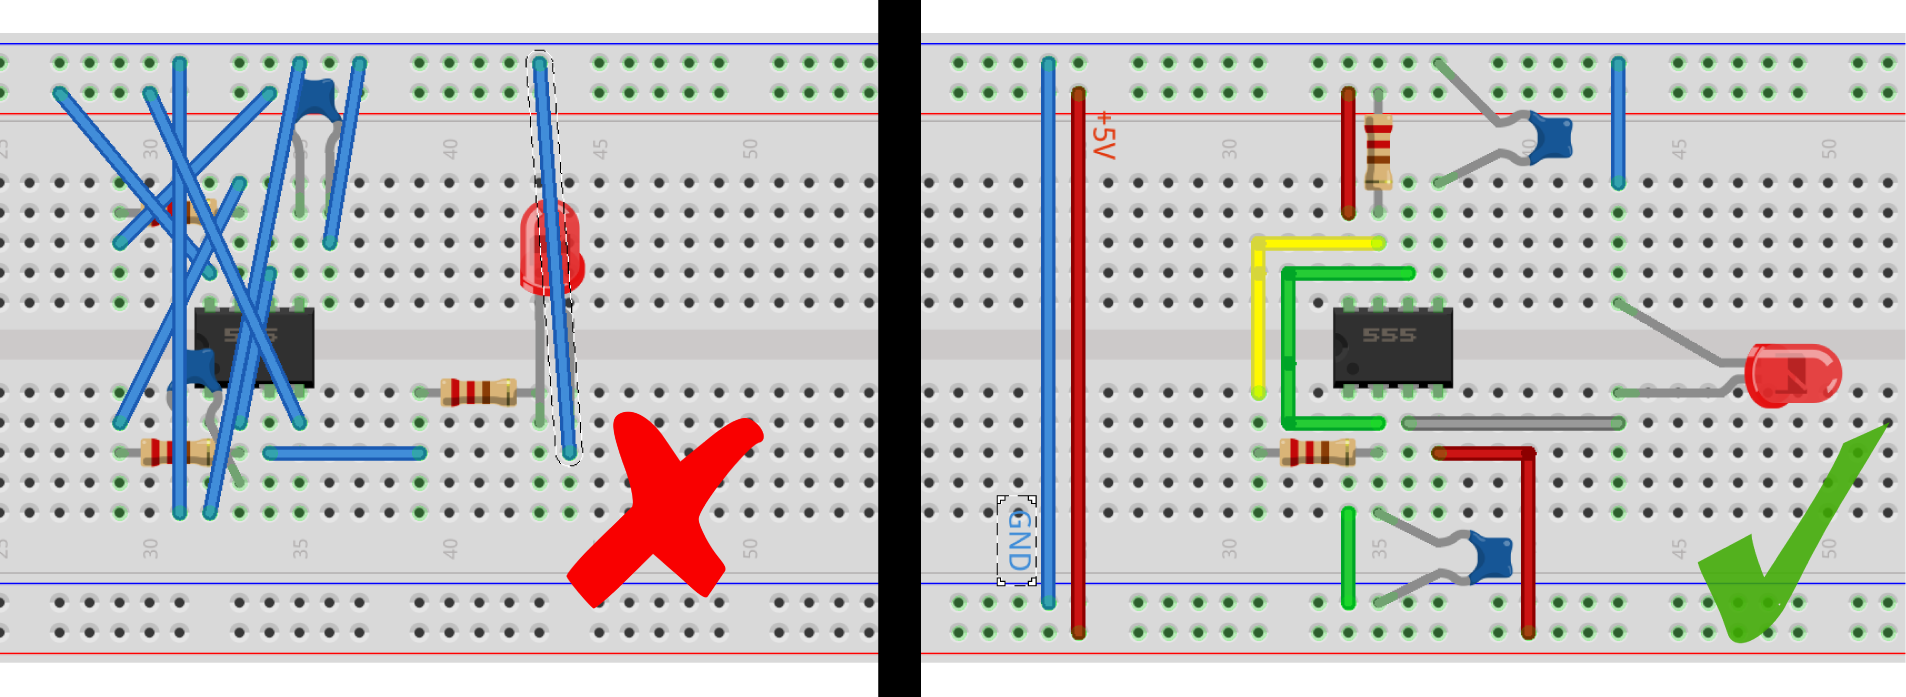
Which one is easier to follow, left or right? Even if you included the Fritzing file (which most people don’t), it’d be nearly impossible for anyone to understand what you’ve done… and provide a response!
Fritzing Bends
Quick tip on how to add “bends” in Fritzing. You can’t bend a wire until after you’ve made a connection. Once you have your connection, right click on a wire and select “Add Bendpoint”. Repeat to add multiple bend points.
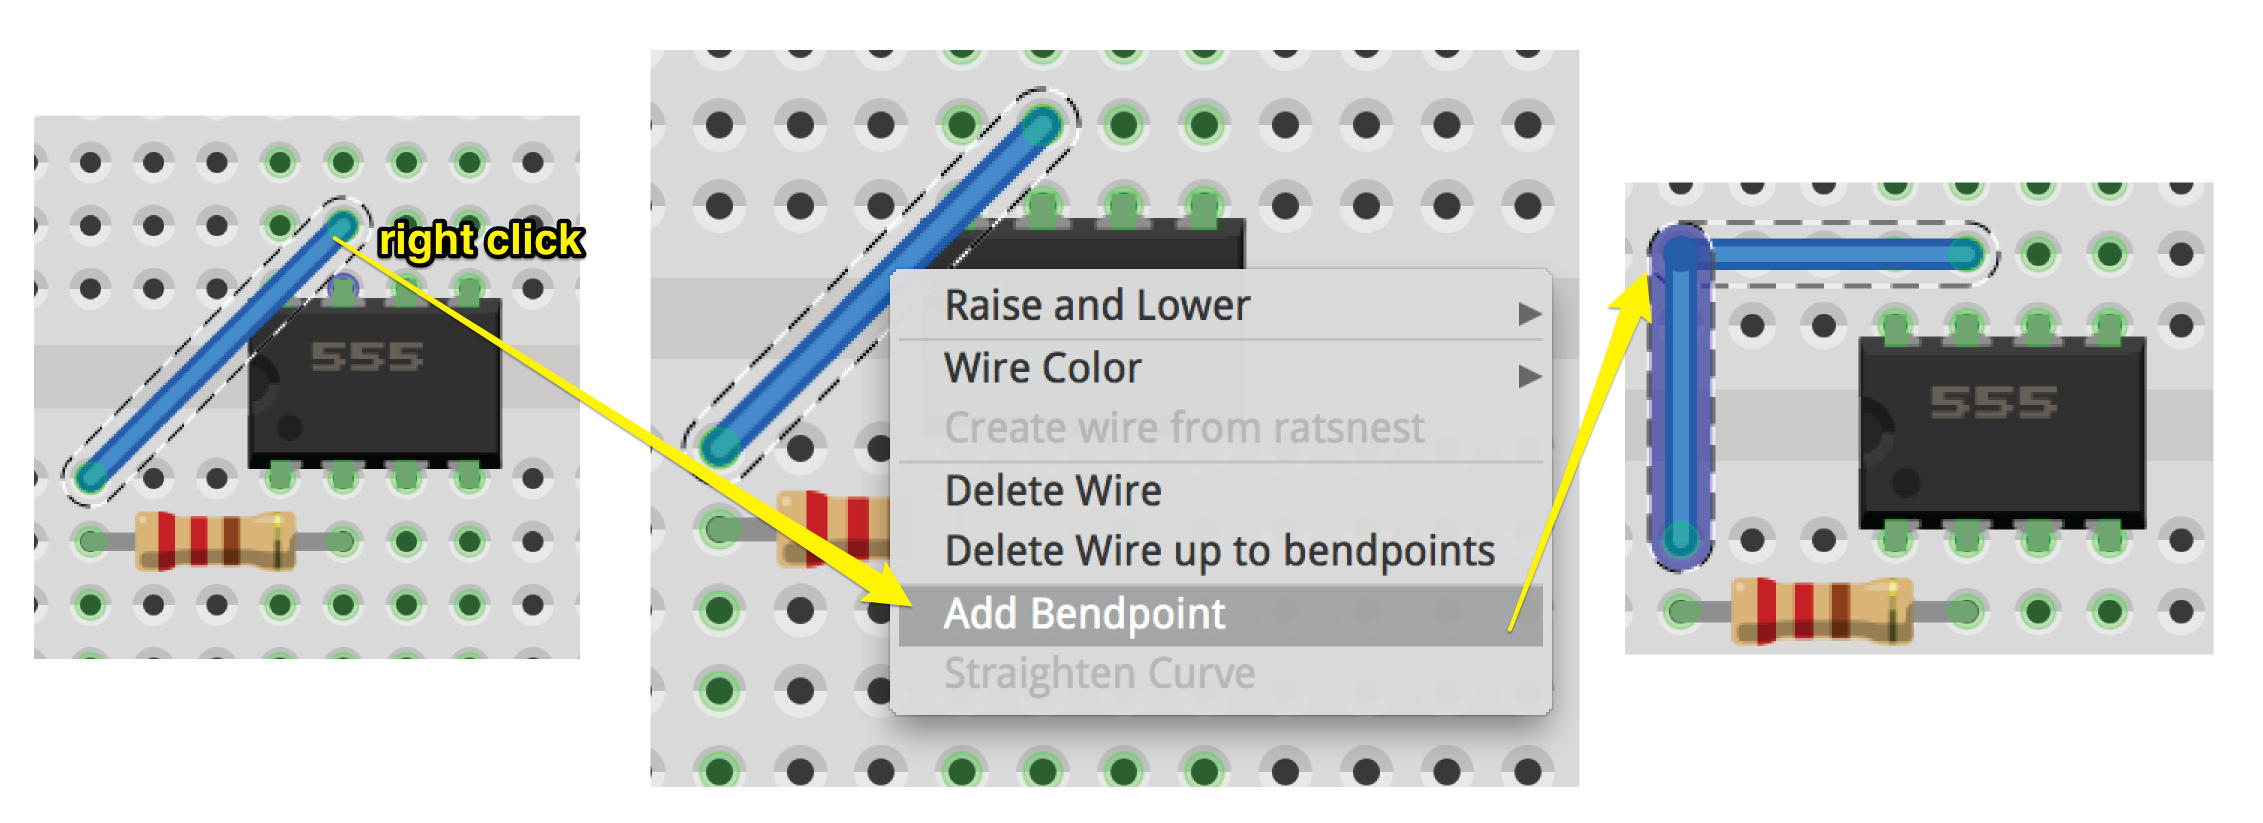
Also in the content menu is the ability to change the wire’s color. This is also really helpful. Keep in mind,
clean layouts aren’t limited to the virtual world.
When connecting things on an actual breadboard, keep your connections clean.
[reminder preface=”Question:”]These are 6 common mistakes I see beginners making. Have you made any of these yourself? Are you still making them? Or, what other simple mistakes should be avoided?[/su_note]


9 Comments
Speaking of current-limiting leds… Where is the resistor protecting the led in the right-hand side of the messy breadboard design? 😉
Umm. Erm. Hmm. See why Fritzing is so bad? You can’t even see it!
I appreciate all that was stated here regarding electronics and common mistakes that beginners make. My brother loves to build computers and he used to always short his breadboards at the beginning but now he has learned a little bit more on how to avoid it. It is interesting how you do not need a direct contact for the discharge to occur. Thanks for the information!
In the beginning of your intro to voltage power and current, you implied that the water analogy is flawed. I believe that you made a mistake in the interpretation of the water analogy.
You stated that how wide the faucet is opened is the voltage. That’s not the case.
How wide the faucet is opened is equivalent to resistance.
Voltage is how much water pressure is available to the faucet, ie how much water pressure or height of the water tower..
Current is correct. The number of drops of water leaving the faucet is determined primarily by two factors. The amount of pressure (voltage) and the size of the opening (resistance). Increase or decrease either one and the equivalent electrical property is exhibited. I = E/R
And like electricity, Power (work product of the water leaving the faucet) is a function of voltage (pressure) and current (# of drops) that flow out of the faucet. P = IE
The analogy works very well.
You can even think about pipes and their diameters in terms of resistance. Longer, narrower pipes offer a higher resistance to water flow.
You can think of a water tower and it’s height as potential that is equivalent to voltage.
You can equate the size of a water tower to a battery.
You can think of the the closed faucet as a high resistance. Even with a tall water tower behind it, a high resistance (closed water faucet) will not allow current flow(water drops).
If you leave the faucet opening at a particular size (fixed resistance) and increase the water pressure available to the faucet, that increases power (more water available to do work.
Also, I don’t think introduction of this type should be attempted with AC.
Regards,
Carl
I do agree with your correction. The width of the valve is resistance, not voltage.
Hi
Checking your new site.
This page is missing a few of the images
https://www.baldengineer.com/6-simple-mistakes-electronics-beginners-make.html
David
Thanks for the heads-up David. All fixed now.
Yes! “Amperage” horrible. Just because volts give voltage, amps don’t give amperage! Ohms do not give ohmage.
Good thing I didn’t call the video series “AddOhmage” then.