Author

James Lewis

Browsing

One of the common questions related to using the millis() function in Arduino, is around timed events. After an event occurs, you want the code to wait for some time before doing the next step. But you don’t want to stop the program with delay().

[featured-image link=”https://www.baldengineer.com/use-millis-with-buttons-to-delay-events.html” single_newwindow=”false”]

In this example, we will use millis() to wait a few seconds after a pushbutton press to turn on an LED. Then a few seconds later, we will turn it off.  All without using delay().

Understanding millis()

The Arduino millis() function will let you accomplish this delayed action relatively easily. First, read through my multitasking with millis() tutorial and then look at some of my millis() cookbook examples I’ve already posted. Getting used to seeing this kind of code will make this line by line tutorial on timed events using millis() easier to follow.

As 2015 wraps up, I took a look at baldengineer.com’s traffic for the past year. Here’s some of the most popular stuff from my blog, in case you missed it.

Everyone with a blog looks at their traffic numbers. For me, traffic data provides feedback on what tutorials or posts are helping people most. Each year, the traffic to my blog grows at ridiculous numbers. As someone with both an engineering and marketing background, I find the numbers impossible to believe.

Thank you to everyone who reads, shares, and comments the stuff I create. Those of you on the mailing list, I appreciate the interaction we have there, please keep writing in!

Check out these posts if you didn’t catch them the first time.

What makes the Raspberry Pi so attractive? At $35 it is an unbelievable value for a single board computer. Since its introduction, a price race to the bottom has begun.

The C.H.I.P. claims to have started shipping the $9 computer. Which, many pointed out, doesn’t cost $9 once you add things like support for display. I would like to point out, I was an early backer and have yet to receive one.

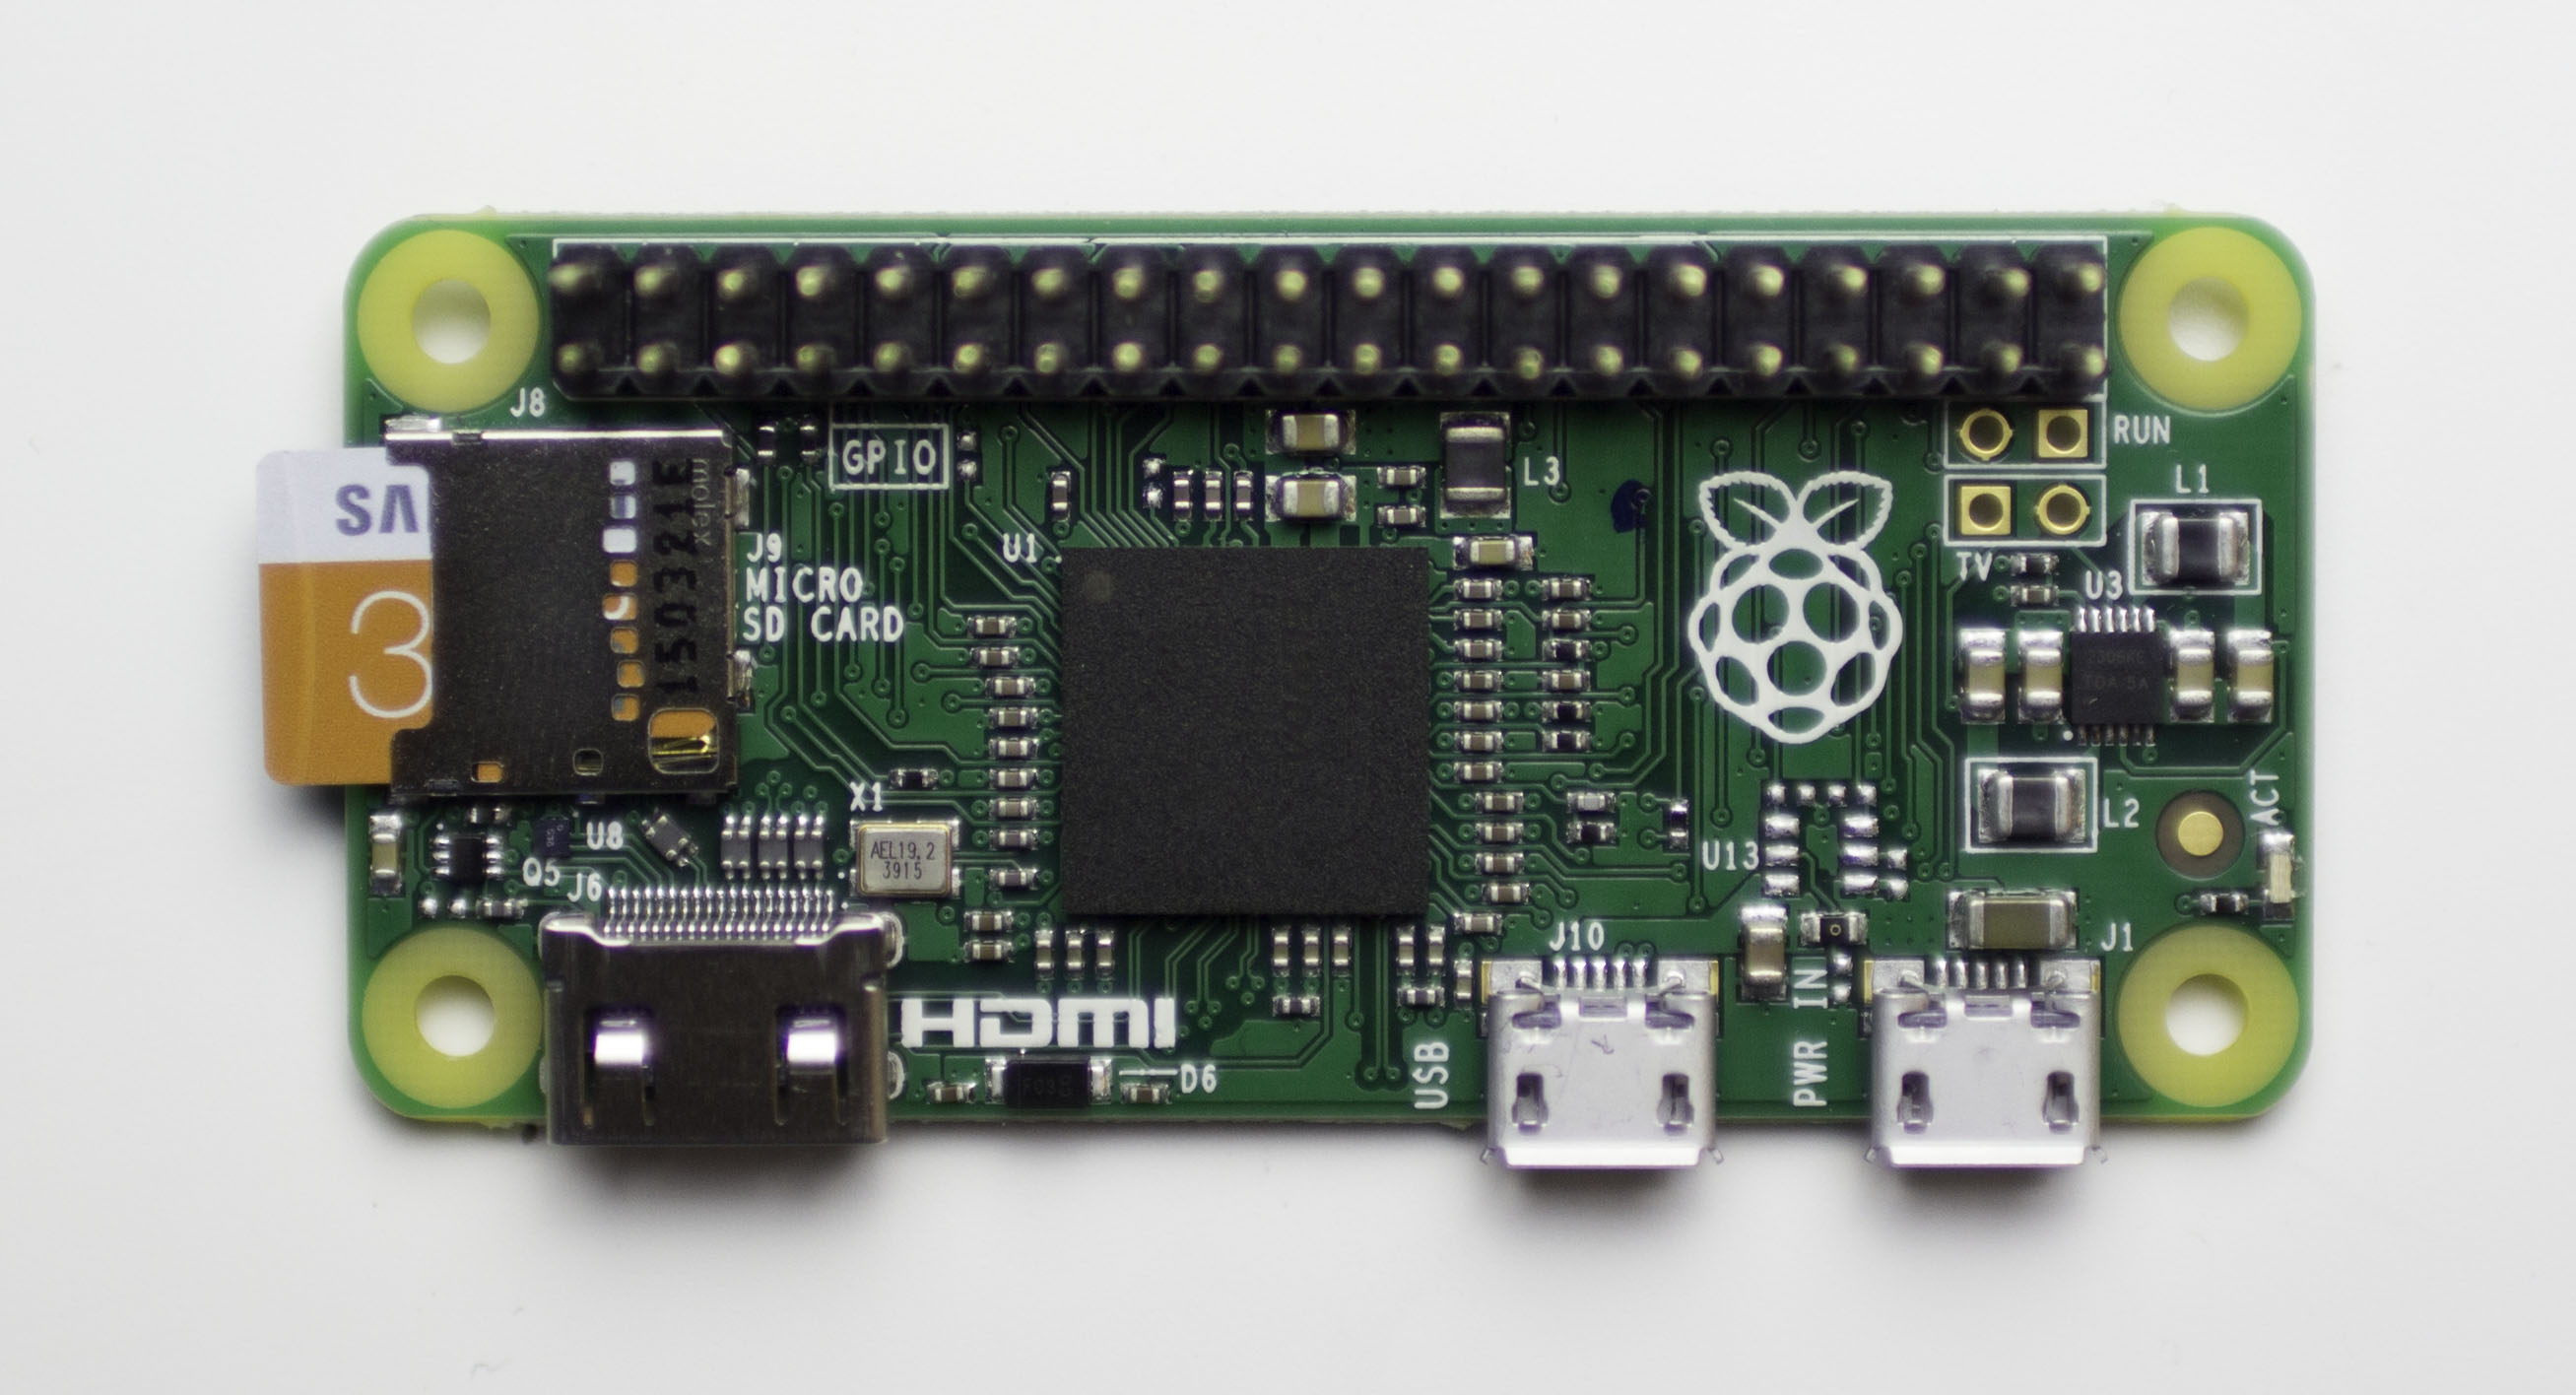
The Raspberry Pi B and B+ were fantastic additions to the Raspberry Pi family. Each extended the capabilities while keeping the cost low. The most recent addition is the Raspberry Pi Zero.

The Raspberry Pi Zero has the same processing capabilities as its predecessors and only costs $5! Does that make it a slam dunk? Well, here’s a few applications to help decide if the size-reduced bare board is worth $5.

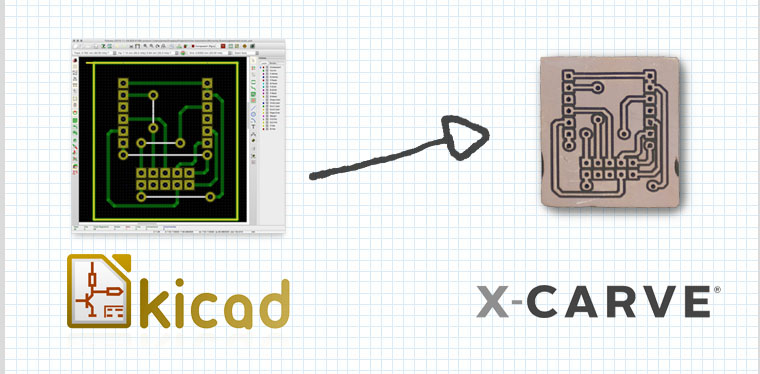
The last time I looked at using an X-Carve for Printed Circuit Boards (PCBs), I created a demo board with EAGLE. Since then, I have learned more about using KiCad, the open source electronics CAD suite. While not a step-by-step tutorial, here is my rough KiCad to X-Carve PCB workflow. These are just the high-level steps, the tools necessary, and the settings I’ve discovered for each—so far.

Eventually, I will make this a more detailed KiCad to X-Carve PCB tutorial, so make sure you subscribe to my RSS feed for updates.

Here’s the Basic Steps:

  1. KiCad: Draw Board
  2. KiCad: Plot Gerbers
  3. KiCad: Generate Drills
  4. pcb2gcode: Generate G-code
  5. Text Editor: Clean Up G-code Files
  6. Camotics: Simulate G-code
  7. ChiliPeppr: Send G-code and control X-Carve
  8. X-Carve: Make the boards!

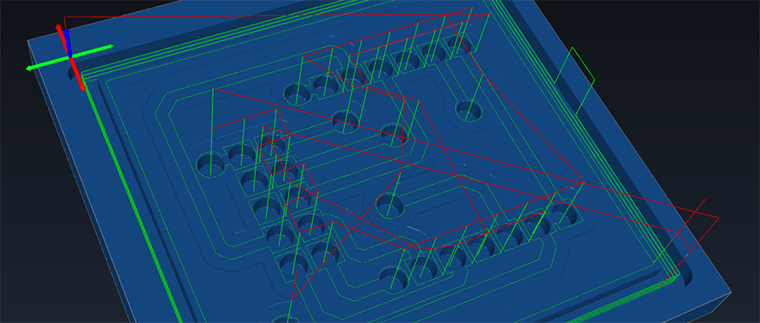
A gCode viewer is essential when doing anything with a CNC. Knowing where the tools is going to run can mean the different between a failed cut and a broken bit. Or let’s say you’re trying to debug some gCode scripting, no need to wait an hour to find out you messed something up. That’s where a GCode Viewer can help.

There are several on-line options that let you upload files and see them in a 3D view. However, if your CNC is setup like mine, there isn’t a good internet connection available. Camotics, formerly the unfortunately named OpenSCAM, is a cross-platform open source gCode viewer / simulator.

Most recently I used it to debug some gCode that pcb2gcode generated from a Kicad board I am working on.

Check out more about Camotics on their site: http://camotics.org