Author

James Lewis

Browsing

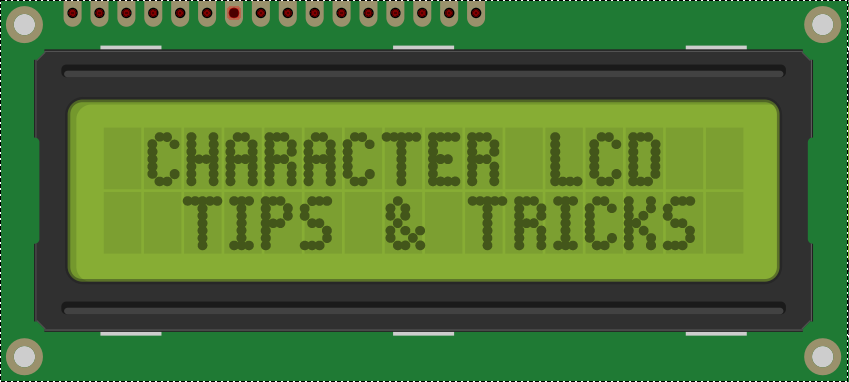
When I started working on Open Vapors, I thought the stumbling point would be the PID algorithm or safe AC line control. However, it turned out; I spent a significant amount of time understanding how to print to the Arduino LCD display correctly.

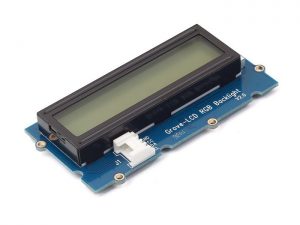
Grove Character LCD with RGB Backlight

If you need an easy to use RGB LCD, check out the Grove LCD from SeeedStudio. They sent me one to check out. The LCD comes with Seeed’s “grove connector system” which can connect to a variety of their Arduino-compatible boards. You can also pick up the Grove Base Shield which adds a variety of Grove connectors to an Arduino Uno. The Grove LCD makes it super easy to connect up a character LCD. It is very plug-and-play.

As I dig into my latest project, the lessons I learned back then are coming back to me. Here are 7 tips for driving an Arduino LCD display, like one with 2×20 or 4×20 characters.
In April 2017 I backed a project on Kickstarter called “Crazy Circuits.” It looked like a cool concept that was well developed, so I even included it in the Baldengineer Newsletter. I do not typically promote Kickstarter projects–unless they are exceptional in some way. I liked the concept of circuits that worked with existing LEGO-sized boards and pieces. Their shipping was a couple of months off, but nothing compared to some Kickstarter disasters. I received my Crazy Circuits kit in November, compared to the promised September.

The product concept is simple enough I could not put the time into a full write-up or an AddOhms Tutorial video. So, instead, I featured it on an AddOhms Live stream. For example, to connect an LED to a battery, just snap in some conductive “tape.” In the video, I am building my first two circuits ever. I do think the ribbon takes a bit of practice. However, as I said earlier, I like that it adapts to existing LEGO bricks rather well.

If you know someone interested in electronics but afraid of soldering, I think the Crazy Circuits kits are an interesting option. The case they come in is nice. (I know, strange thing to throw out there, but I do like the sorting case.)

After the hands-on, which lasts about 30 minutes, I answer viewer questions. These questions cover op-amps, LEDs, and capacitors.

Watch Crazy Circuits Hands-On, on YouTube

As a kid, I got the book “Upgrading and Repairing PCs.” (Now in its 22nd edition.) It was the first book to explain to me the PC architecture. I considered, how were there so few pins on an AT-style keyboard connector when there were 101 keys on the keyboard? That is when I first learned about the keyboard matrix.

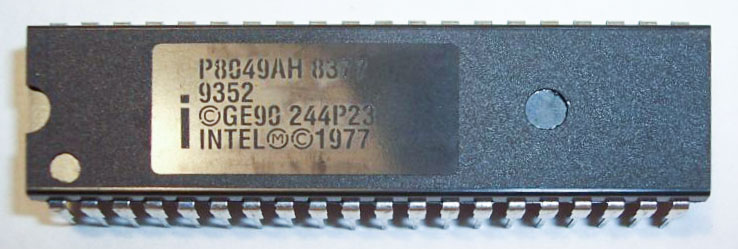
Original image from Deskthority Wiki. (Edited image is shown.)

The keyboard matrix itself did not amaze me, but instead the idea there was an entirely separate 8-bit microcontroller inside of the keyboard. Early keyboards may have used the P8049AH, which, there is still some stock available to purchase. I was fascinated with the idea an entire computer was necessary to run the keyboard, to use my “real” computer. Why did it take something as complicated as a microcontroller?

This year Denver hosted the 2017 Open Source Hardware Summit. It’s a one-day seminar with talks, demos, and a couple of drinks. The day after the official show Sparkfun and Aleph Objects hosted tours of their facilities. The combination of events made for a fantastic immersion into open source hardware.

There were many talks and demos setup during the summit. Here are three that caught my attention. Please note, this is not to rate or judge the quality of anyone’s work. Simply, a couple of weeks later these are the three talks that stuck with me.

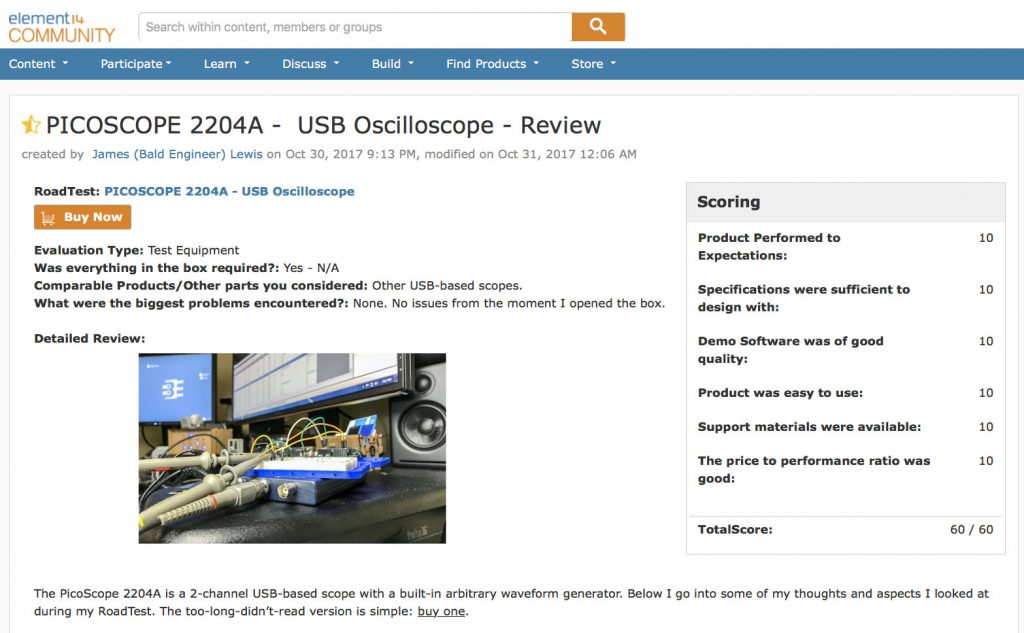
Previously, I wrote up a hands-on with the PicoScope 2204A. At the time I only spent a few minutes with the device. I used it to “debug” an I2C bus between an Arduino and OLED screen. Since that initial hands-on, I’ve used the PicoScope in my lab. Most notably, I hosted another “hands-on” via an AddOhms Live Stream. I used it for another live stream where I talked about op-amps. Unfortunately, the video isn’t watchable due to some technical difficulties.

However, both of those activities plus debugging a new project I’m working on, gave me a chance to understand this humble USB-based oscilloscope. Now that I’ve held well over a month of bench time with it, I can say I am happy with the 2204A. If you’re looking for a low-cost, but fully featured oscilloscope, give the PicoScope 2204A a consideration. For more details on why I feel that way, click the button below to see my full write review on element14.

Full PicoScope 2204A Review on element14