Author

James Lewis

Browsing

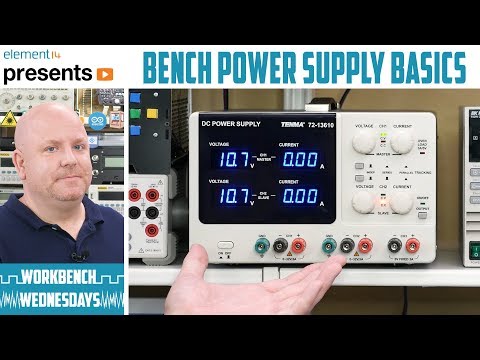
A bench power supply makes powering circuits easy and safe. Learn how to adjust basic controls like voltage. Finally, see how “current limiting” works (and why you should use it.) See how you can use built-in series or parallel tracking to increase a bench power supply’s voltage or current output. Last, if you are in the market for a power supply, do not forget to add some leads like mini-grabbers, alligator clips, and banana plugs.

See more at element14

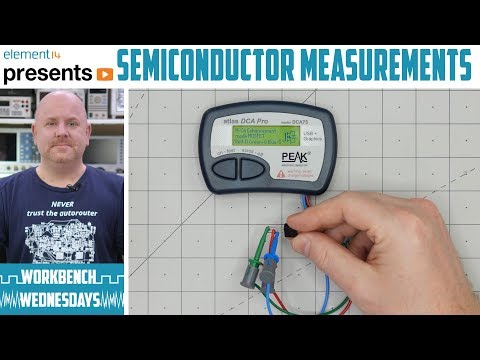
When it comes to transistors, there are only so many things a multimeter can measure. The DCA Pro from PEAK Electronics makes short work of testing parts like a transistor. This small device can determine pinout, component type, and essential parameters in a matter of seconds. Not only that but it can be connected to a (Windows) PC and draw parameter curves.

Check out the video review to see how the device and software work. Then head over to the element14 page where you can download a zip file full of example parts I measured for you. Use the free DCA Pro software to open them.

You might also want to check out this MOSFET Curves post, which complements this video tutorial. Another resource you might find helpful on semiconductors, or transistors, is this post on MOSFET Myths.

See more on element14

Python is everywhere. Its capabilities continue to grow. Not only can you create simple scripts, but you can create full-blown applications with it. The core has been scaled down to run on 32-bit microcontrollers like the ESP32 and Adafruit Feather M0. You can even use Python engineer modules to design stuff like circuits. There are electronics Python modules that create schematics, simulate circuits, and make solving math a cinch. Here are some of the modules I found that make Python usable for (electronics) engineering.

Upfront, make sure you have a functioning Python environment. Update the package manager “pip” since all of these electronics python modules rely on it. Speaking of dependencies, you may need to also install third-party libraries for some of them. From what I can tell, these all should be platform-independent. However, I only tested these electronic modules with 64-bit Windows.

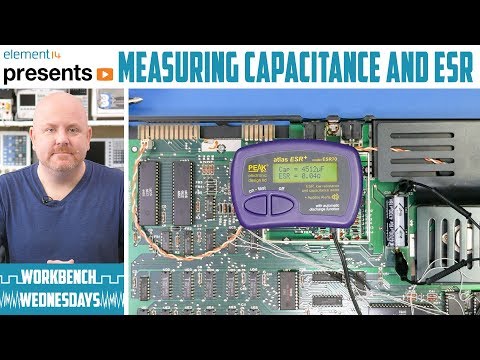
There are three capacitor measurements you need to know how to make: capacitance, leakage current, and equivalent series resistance. Capacitance is easy to measure if you have a current limited supply or can use a resistor. Apply a voltage, then time how long it takes to charge up. You might need to use an oscilloscope or even an Arduino for the second part.  Leakage current is the easiest of the three, apply a voltage (ideally through a resistor) for a few minutes, and then measure the current. ESR requires some special tricks. Since it is the resistance of the “wires” connecting to the capacitive element’s anode and code, you have to measure resistance without charging up the capacitor. (Otherwise, you get leakage.)

In the post Measuring Aluminum Electrolytic Capacitor’s ESR, I go through those methods in more detail. I also introduce the PEAK Electronics ESR70. It’s a pocket-sized instrument that measures both Capacitance and ESR. There’s a button you can touch, or it detects when a new capacitor is connected. Check out my Workbench Wednesdays review where I go into depth about how the meter works (and whether or not I like it.) Oh one bonus feature, it works while in-circuit!

As of this post, it has been almost six years since I first wrote about capacitors on my blog. The article was the Arduino GSM Shield’s capacitor has a serious design flaw. Wow, how time passes.

More info on element14

With the introduction of the Raspberry Pi 4, I dug into the announcement and datasheet while waiting for mine to arrive. Well, “datasheet” might be an exaggeration, but there is a list of the Raspberry Pi 4 tech specs available. That link gives a bullet item list of the main specs. In this post, I focus on these four:

  • Broadcom BCM2711, Quad core Cortex-A72 (ARM v8) 64-bit SoC @ 1.5GHz
  • Up to 4GB LPDDR4-2400 SDRAM (depending on model)
  • Gigabit Ethernet
  • 2 USB 3.0 ports; 2 USB 2.0 ports.

There is a lot of very cool stuff on this $35 board. (Amazing they have kept that price point!) Or even the 4 GB $55 board. Adding Bluetooth 5, H.265 AND H.264 decoding, USB-C connector (Power), and changing the SoC to a 28 nm process are all significant improvements.

But, being an engineer and a person on the Internet, I am required to nitpick, and armchair engineer this (now) released product (that I haven’t touched yet.) Without doubt there will be a number of benchmarks posted along with the release of the Pi 4. And I expect many of those only benchmark individual components. For example, I already saw graphs on the Gigabit Ethernet speed and USB 3.0 throughput, but not at the same time. As you will see in my datasheet evaluation, using two USB devices at the same time has a performance penalty.

First, what is new with the SoC?