
There are two methods to making a prototype PCB: 1) Etch Your Own or 2) Send to a Prototyping Service. While there are many prototyping service options, most cause you to wait anywhere between 24 hours and 30 days before you get your boards back.
If you need a PCB done today, etching at home is a great option. Chemical etching involves all kinds of steps with all kinds of weird chemicals. If you don’t want your neighbors to think you’re the next Walter White, then mechanical etching is a better option. Which is why I bought an X-Carve from Inventables. It’s a CNC Milling Kit you build yourself.
Keep reading for my X-Carve CNC Review and first-hand experience on etching my first PCB. Plus, lots of pictures!
What is the X-Carve
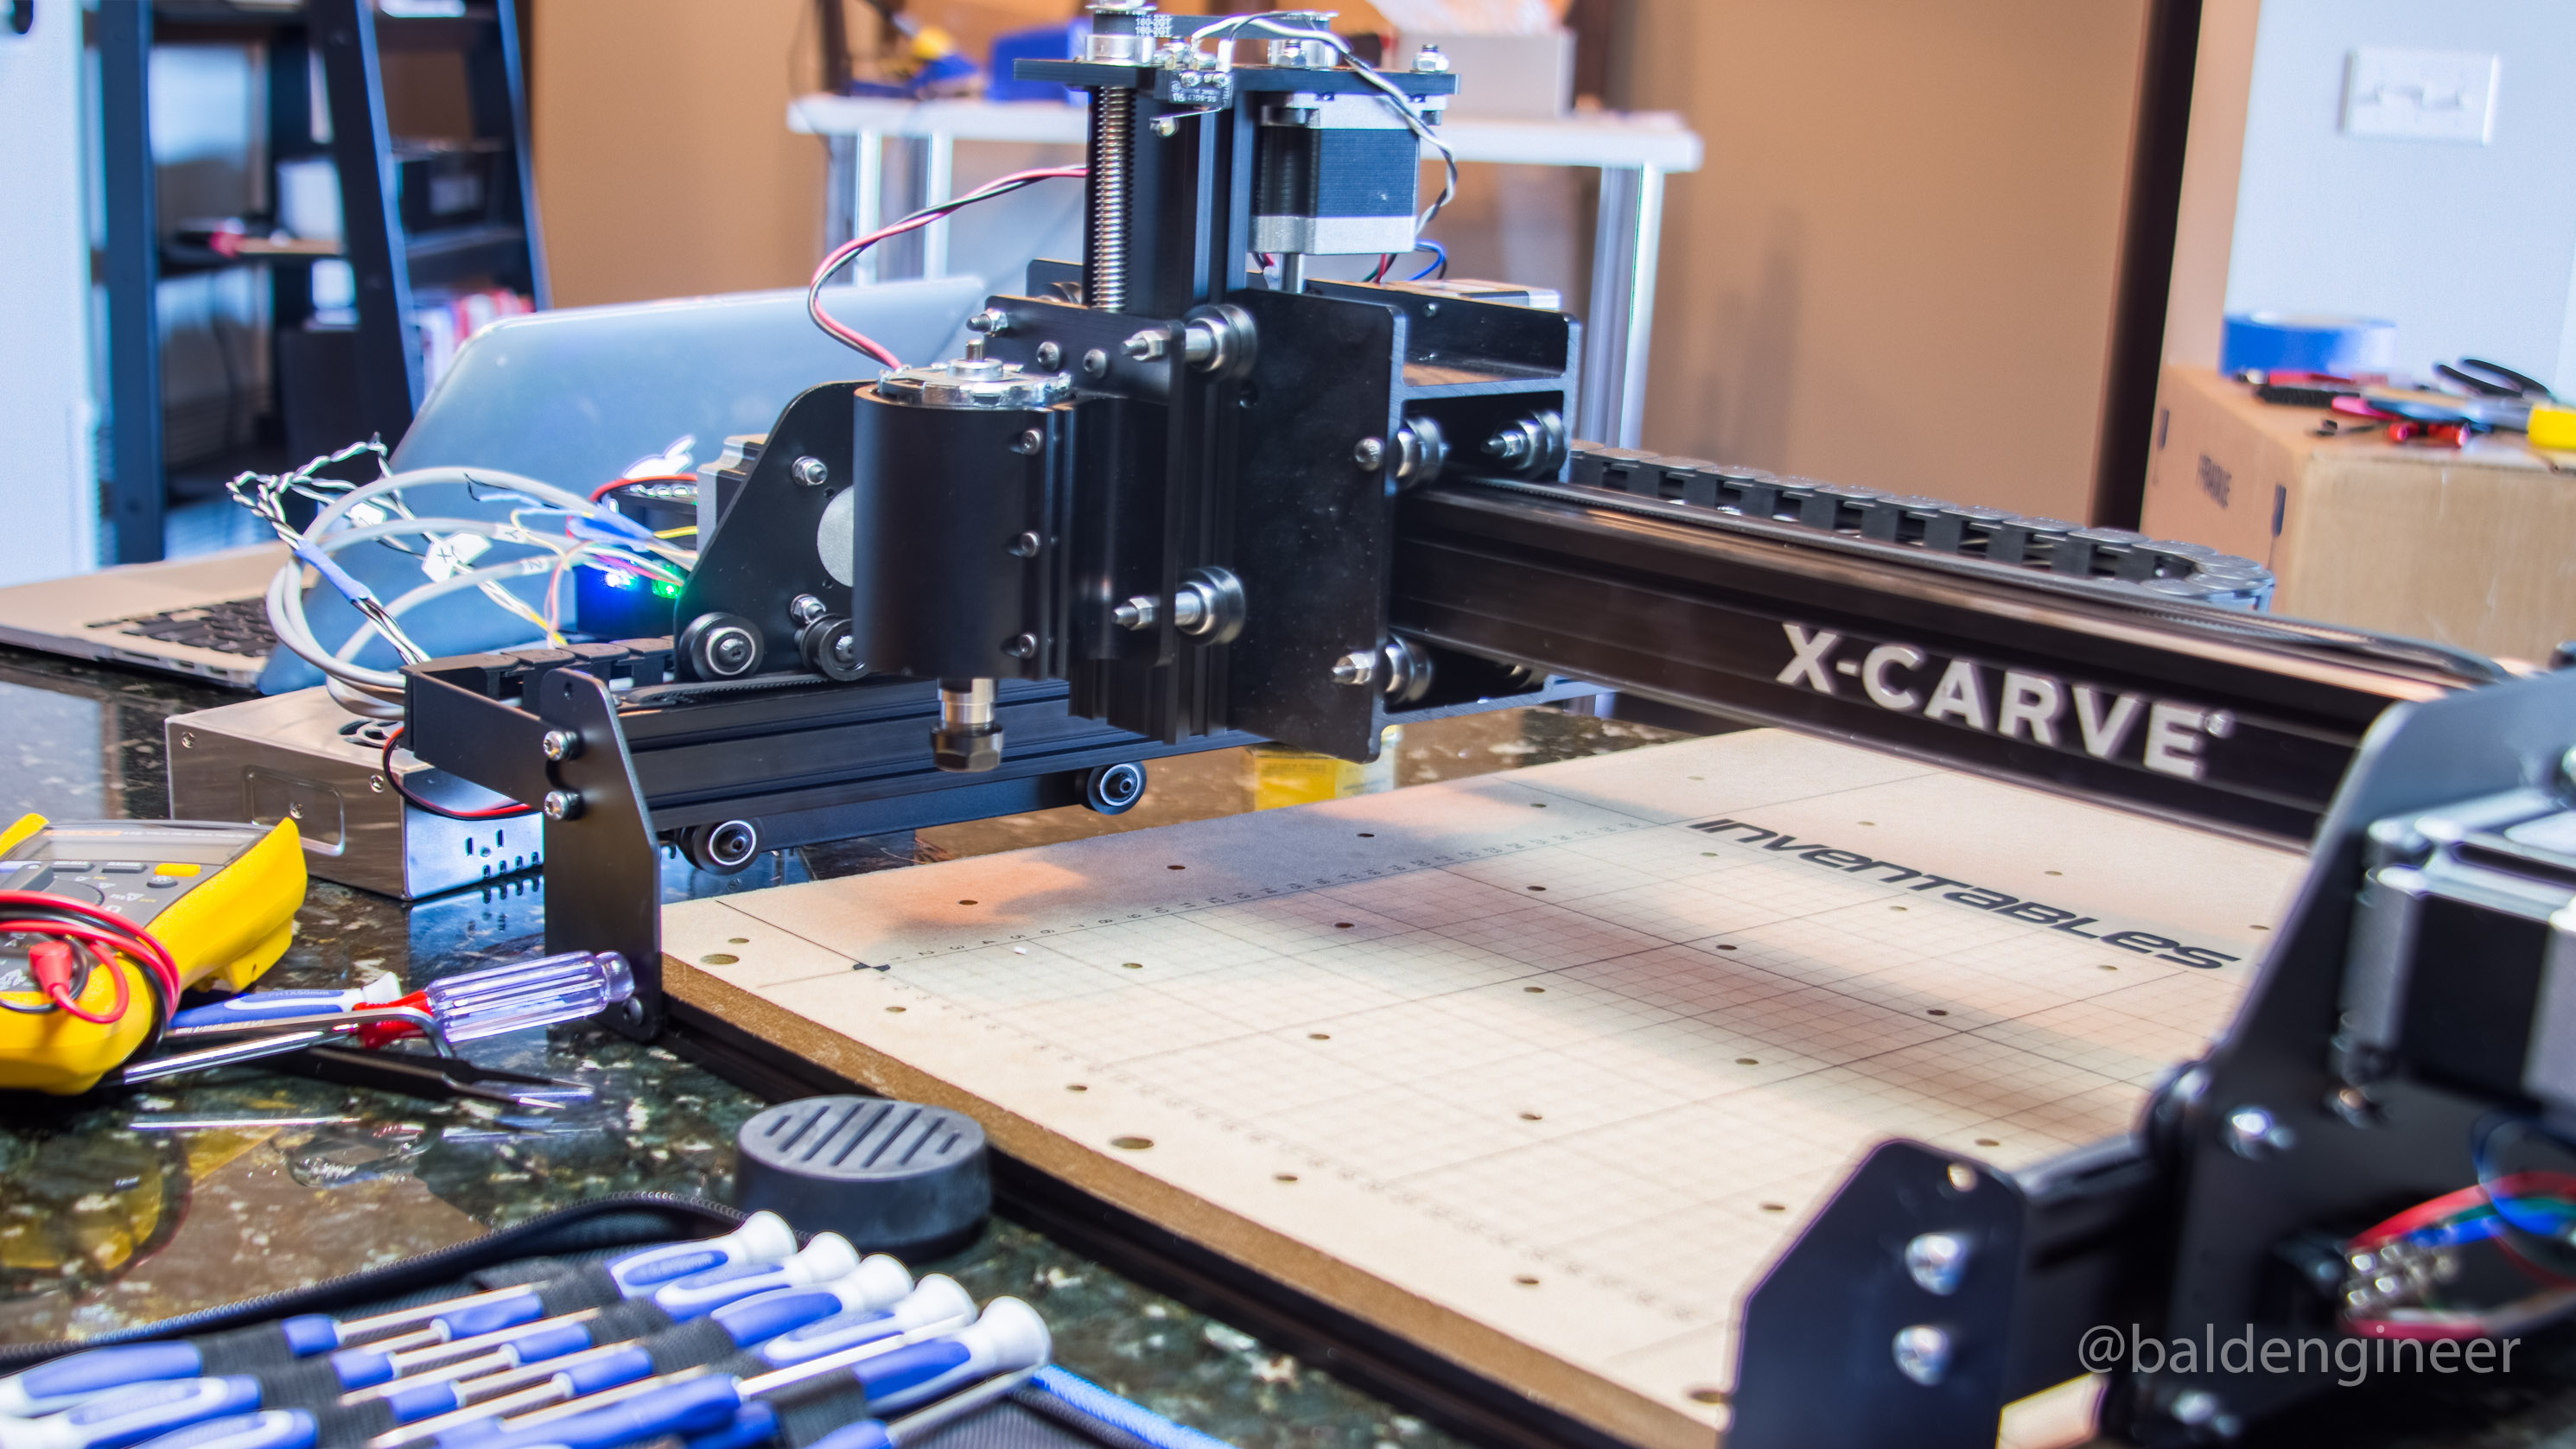
X-Carve is a CNC Mill, which ships in the form of a kit. As a kit, you can pick the pieces you want for your mill. In my case, I went with the fully loaded option, because I didn’t have anything to start with.
Basically this means I got stepper motors, belts, a waste board, limit switches, an Arduino Uno, a motor shield, wires, a few “maker slides”, a spindle (router) and lots of nuts and bolts.
Unpacking the X-Carve
My fully loaded kit is the one that runs about $1300 from Inventables. From what I can tell on the forums, I received one of the first kits which had a few bugs. You should be in great shape if you’re receiving yours now.
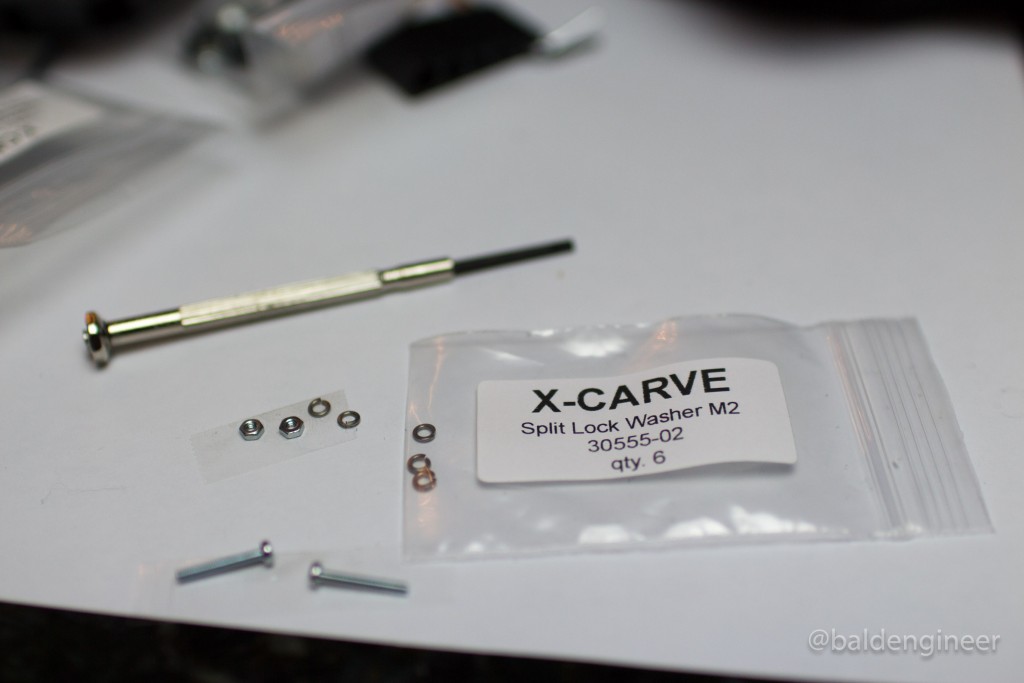
When it arrived, it came in a flat-pack style box with everything clearly labeled. Note my box was mishandled during shipping. Which cost me a weekend. I didn’t realize a few parts were damaged until half-way into my build.
So do a full visual inspection of everything on arrival. For now, let’s move on with the X-Carve CNC Review: Building.
Building a CNC Mill
Diving in and building was something I really looked for to. So I got started on the X-Carriage right away.
One of the things I was grateful for were the clear videos and written directions on the Inventables site. If you hate paper as much as I do, you’ll really like that the X-Carve CNC’s build instructions are tablet friendly.
Instructions
Like the kit, the instructions are also new (at this time). There are a few places where the pictures, written directions and videos slightly contradict each other. In those cases, I highly recommend taking a break to checkout the X-Carve’s discussion forum.
This is an excellent resource to search if someone else had a similar problem. If not, post a question. It won’t be long before you get a response. In fact, Zach the Inventables CEO helped me with a few of my questions posted on Saturday nights.
The Electronics
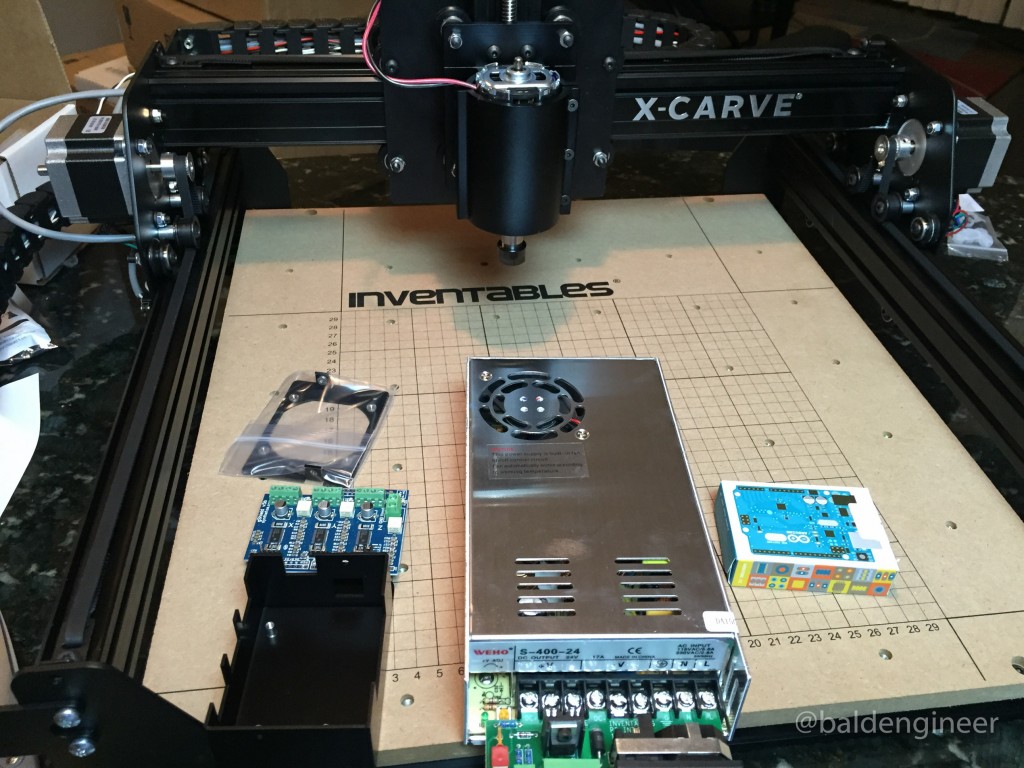
The stepper controller and g-code interpreter are based on an Arduino Uno with a gShield to control the steppers. The pre-loaded firmware is GRBL, which is fantastic.
Overall, the electronics are the only aspect of the machine that feel under-served in terms of visual design.
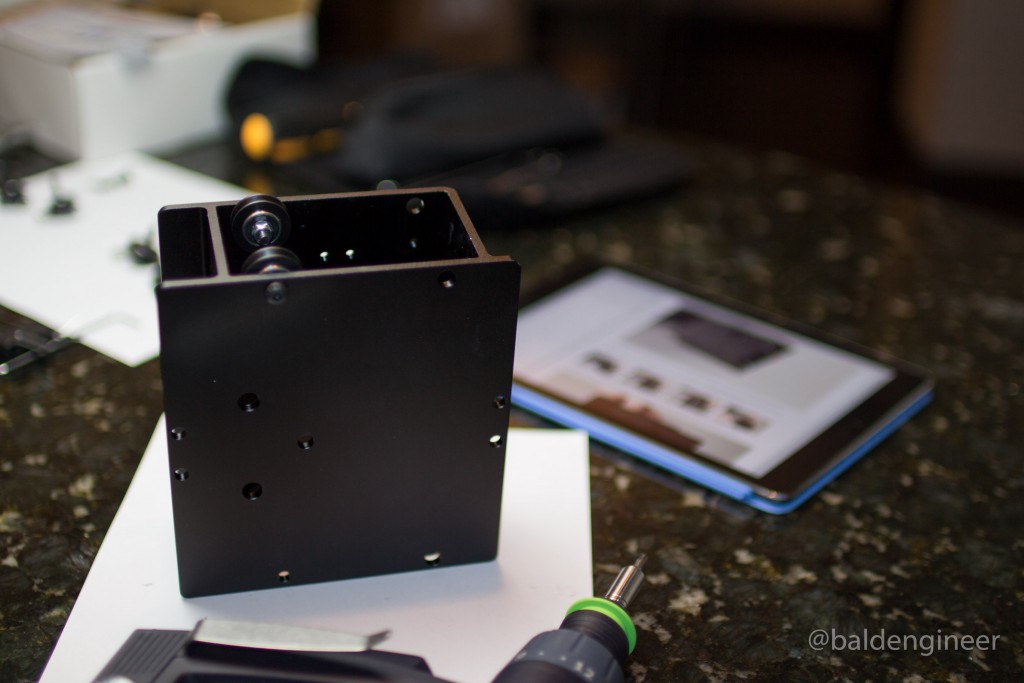
There’s a nice panel for the front of the Power Supply. It mounts the Arduino and gShield neatly. However, all of the stepper wires come out of the front of the machine meaning you don’t really get to see it.
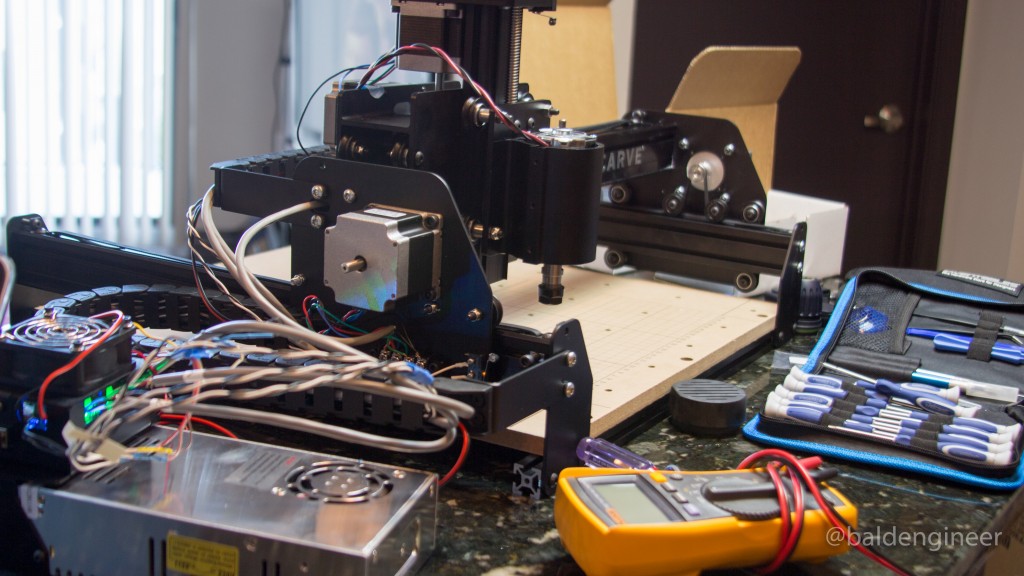
From the picture above, you can see the “back” of my power supply but not the awesome looking front panel Inventables designed for it. Even if I had longer stepper wires, I’d still have a mess to route around.
There’s no question, I’ll be doing some mods on the wiring for my X-Carve in the near future.
The Software: Easel
Easel is a web-based CAD/CAM software for their CNC machines. There is a relatively simple 2D CAD tool that lets you draw directly or place SVGs.
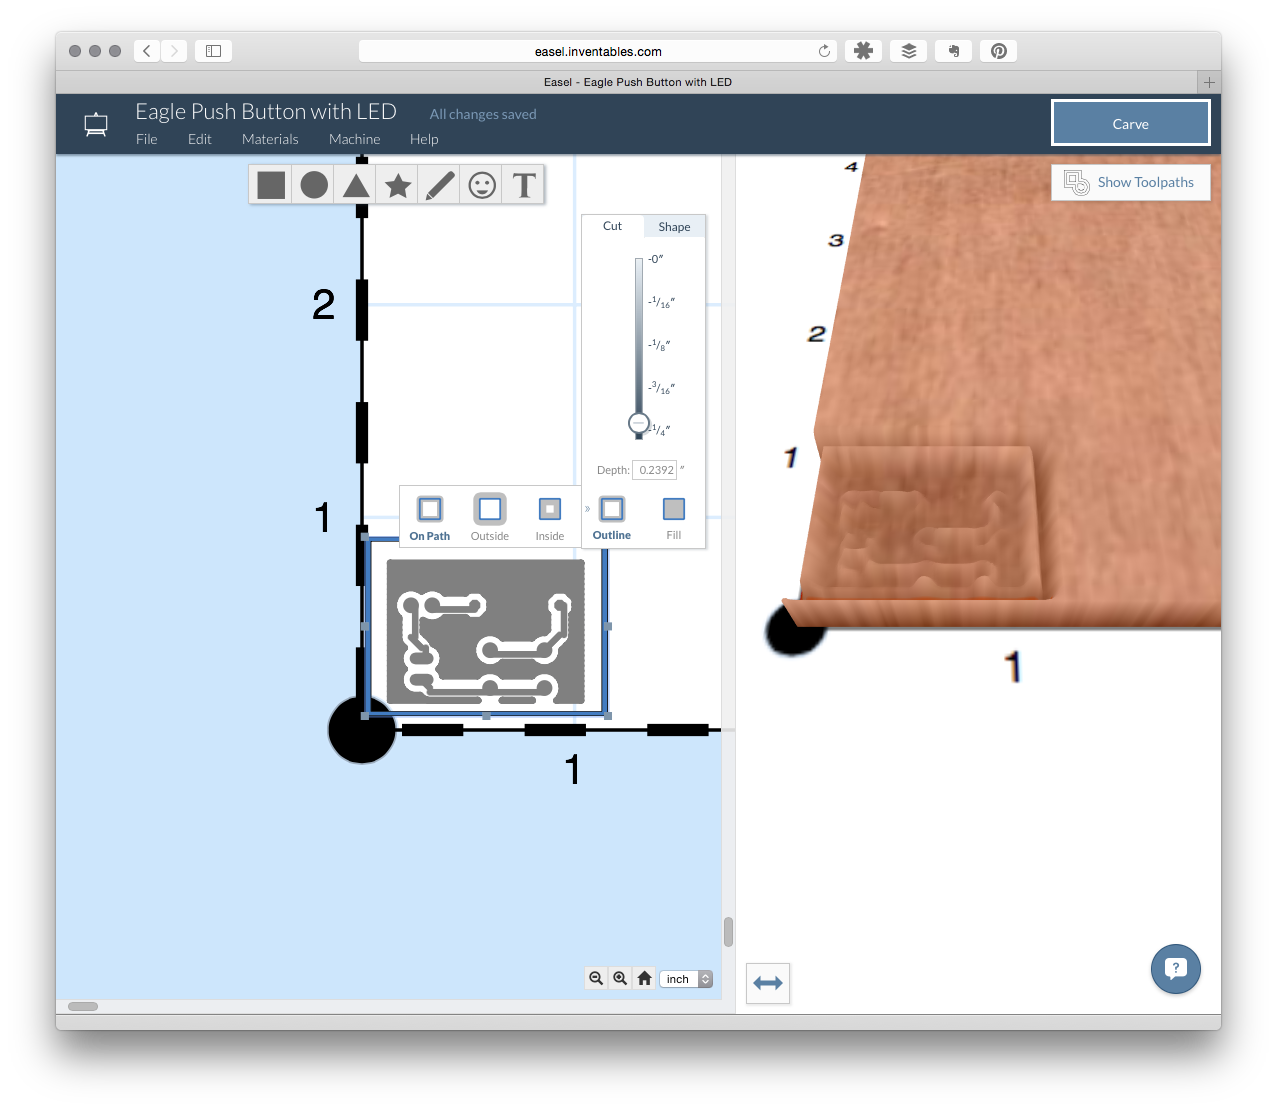
The CAM view on the right, gives you an idea of what will happen when the mill runs.
From there, you select the material type and size of your bit. The intention of Easel is to set things like “speeds and feeds” for you automatically. Which is nice, because that’s where new CNC users always struggle.
Clicking “Carve” takes you through some basic setup with a step-by-step wizard. While it might seem silly at first, this wizard is a very nice addition.
When you don’t use a CNC every single day, it’s easy to forget to set your Z-Axis or remember to clamp your material down. This wizard will remind you.
Once it’s all done, X-Carve is away!!
Alternative: Universal G-Code Sender
If the “make my life simple” approach is too mainstream for you, check out Universal G-Code Sender. It’s a Java-based GUI that communicates with GRBL. You have full control over the CNC with GUI buttons or a text-based command system.
I actually found the “Set to Zero” and “Return to Zero” buttons counter-intuitive. Instead I found using the g-codes “G28” and “G28.1” to work out better.
Making PCBs
There are a few challenges with making PCBs, depending on the level of details you want. Does the X-Carve have what it takes to make PCBs?
Fiberglass Dust
Despite a pretty extensive amount of Internet and Real-World research, I can’t really figure out if fiberglass dust is harmful or not.
At the very least, it causes irritations. From what I can tell, it doesn’t cause long-term health issues. However, I list it as “something I’d rather not breath.”
(Also, it makes my hands itchy.)
Since the X-Carve’s standard build doesn’t include any kind of enclosure, you’re going to kick out some fiberglass dust. Copper Clad FR4 uses glass-based epoxy as the dielectric.
Inventables does sell “FR1″ circuit board blanks, which are based on a paper-based material. I’ll have to come back to that when I have a chance to look at them.
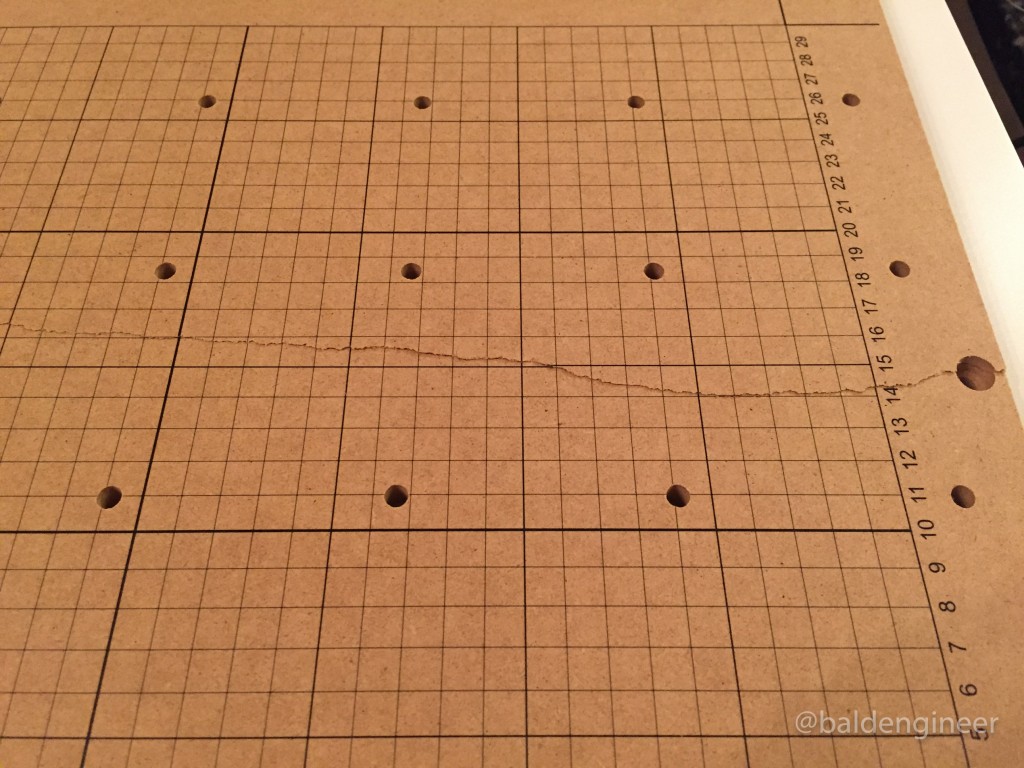
Copper boards aren’t flat
When you’re milling off 1-oz copper, it isn’t very thick. To maintain consistent cuts, the board needs to be perfectly flat.
Unfortunately, every PCB blank I’ve used has some amount of warping associated with it.
The MDF waste board and clamping system is convenient. However, it might not be enough to keep a copper clad board perfectly flat. More testing needs to be done.
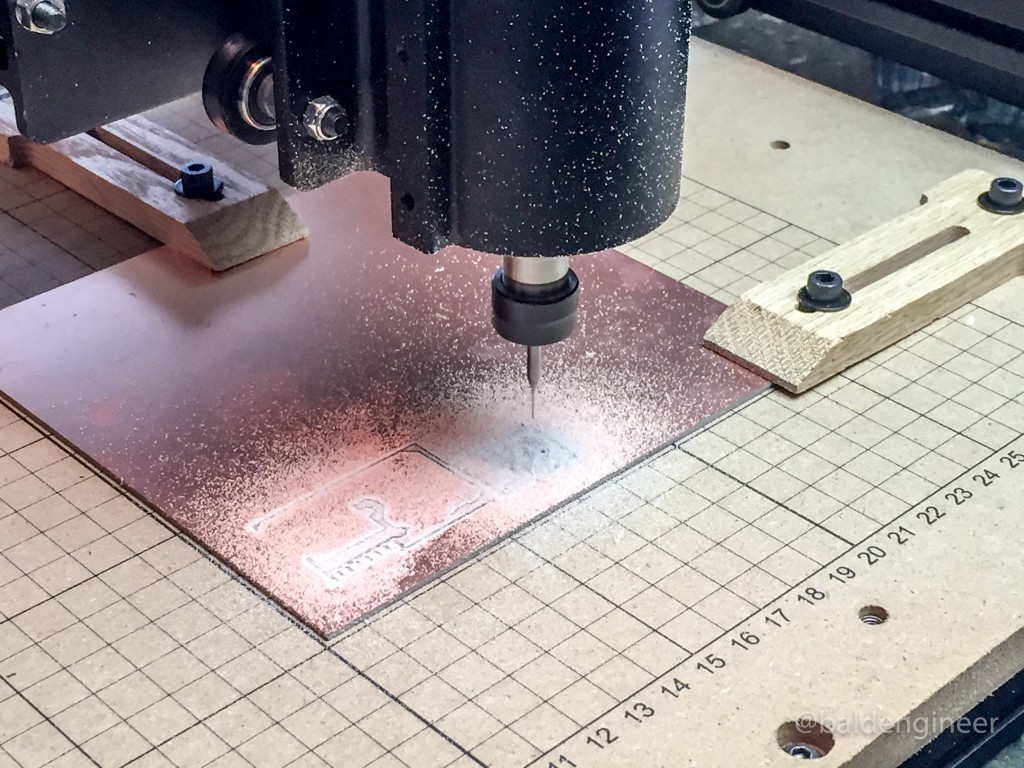
Tips are delicate
An Air Cut is when you run the CNC Mill with the cutting bit high enough off the surface it won’t actually cut. The idea is to visually watch what it does to see if it’ll go anywhere dangerous.
I did about 30 minutes of air cutting to enjoy my X-Carve working!
After wards, I milled my first couple of test boards. Then, I broke in my machine, by breaking my 1/32-inch bit.
Have extra bits on hand! Eventually, you’re going to break one.
Conclusion: Is X-Carve Worth The Price?
There are a couple of other options on the market for around the same price that can mill PCBs. If your *ONLY* purpose for a CNC is to mill PCBs, you might want to check out something like the Othermill. At about half the size and twice the cost, it does come pre-assembled.
However, I’m a fan of tools that do least one task well and is useful for other jobs.
The X-Carve is a fully capable, fully functional CNC Mill. The extra ability is worth every penny I spent—at least for me. My machine is the 500mm x 500mm bed, but there is also a 1000mm x 10000mm option too. With a modular design it is actually possible to upgrade from one to the other…
If your budget doesn’t allow $1300+, then look at some of the trade-offs for a less expensive option. For example, you could skip the limit switches, use your own Arduino, go with smaller steppers or build one entirely from scratch. You can find the X-Carve on the Inventables web site.
For me, I’m pretty excited to get back to milling some new breakout boards and prototype PCBs.
But first…
The X-Carve CNC Review Score
As for an overall score, I’m giving this one 5 out of 5 LEDs. Being fully Open Source Hardware using Open Source Software is an excellent model. Plus, I can show everyone the CNC *I Built* myself. Last (but not at all least), it is backed by a great company with awesome customer support.
![]()
Soon I’ll have a full tutorial on how to go from EAGLE to PCB with the X-Carve. Make sure you subscribe to my mailing list or RSS feeds to see when those are posted.


9 Comments
Hi, I ran into the stock flatness issue back when l ran an engraving machine. The solution the machine vendor had was a floating spindle. The spindle was driven by a small spring loaded air cylinder. The depth of cut was controlled by a nose piece contacting the stock. Check out the pics on this page for a better view of how it worked.
http://www.newing-hall.com/spindles-parts-accessories/
did anyone else not get a Instruction Kit along side the kit? As well missing a few small parts here and there? We had to go online and print out our own instruction guide which as well was fairly terrible. Did anyone else have this problem?
As far as I know they do not ship printed instructions. Nor do I see any reason to do so. If your expectation was to received printed instructions, then that’s on you, not them.
By keeping them online the instructions can be updated continuously, and they have been.
Since my build I have watched the instructions get updates to be far more clear than they were with the early kits. Which despite a few gripes were never “terrible” in my opinion.
As far as missing parts go, just email inventables. They were very responsive to me (and they didn’t know I was planning to do a write-up of the kit I bought.)
Hi David,
I am sorry that you had some issues with your kit. James is correct we do not send printed instructions at this time. All the instructions are hosted online and include videos, pictures, and text. We use github for the instructions so we can have version control and adjust them as issues come up. If you have specific ideas for how to improve them you can make a comment right on the instructions and even do a proposed change yourself. The instructions are essentially open source and maintained by employees. We monitor the proposed changes and pull in changes that are improvements in short order.
In terms of missing parts I am really sorry about that. You can email [email protected] or call us direct at 312-775-7009 and we will overnight replacements free of charge.
I’m sorry you had a bad experience. If you’d like to send the machine back we can also offer you a 100% refund.
I have been delving into CNC Mill’s recently, and reading whatever I can about them. This information was very helpful, along with the clear videos and written directions on the Inventables site. It seems super complex when reading, but hopefully I can do some work with my own hands and learn more in the process. I appreciate your post!
very good review. I’m still having trouble finding demonstrations of going from a completely assembled x-carve, through testing it out for the 1st time. keep up the good work. looking forward to your info on x-carve & PCB’s!
thanks,
Russ from Coral Springs, Fl
What are the chances of using a laser for the cutting head. It would create less dust but you still would have to consider vapours and safety eye wear.
How much power would be necessary to burn copper?
Inventables does not recommend or support putting a laser cutting head on the machine. It’s open frame and that could be very dangerous.