Category

Programming

Category
In my Arduino MQTT Examples, I kept things simple by only subscribing to a single topic. One of the strengths of MQTT is that a device can subscribe (or publish) to multiple topics. The broker will sort things out. Even though my first example only showed one, it is straight forward to get the Arduino PubSubClient library to subscribe to Multiple MQTT topics. The quick answer is that you need to look at the MQTT response to find out which topic sent the payload.

tl;dr version

If you’re looking for a quick answer, here’s the magic code we’ll add to the callback() function.

void callback(char* topic, byte* payload, unsigned int length) {
if (strcmp(topic,"pir1Status")==0)
  // whatever you want for this topic
}
Keep reading for a more detailed explanation of how to Subscribe to Multiple MQTT topics with Arduino’s PubSubClient. Obviously, this code will work on Arduino boards with a TCP/IP interface and, of course, the ESP8266 based boards.

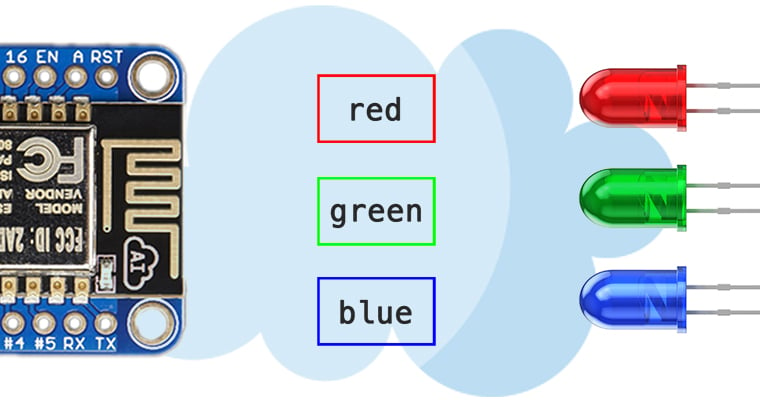
It’s a well-known fact of engineering: LEDs make everything look better. And that means a Fading LED is even better. Using Arduino’s analogWrite(), fading a LED is just a matter of a loop. If you use delay(), you can’t easily add other actions. What can you do? Well, Fading a LED with millis() is pretty simple. Here’s the code to do it and a quick explanation.

Pulse Width Modulation (PWM) makes it possible to dim lights, control the speed of motors, and (with the help of filters) generate analog reference voltages. When measuring the voltage or current of a PWM signal, there are unique challenges. You can use this tutorial to measure PWM current with a modified moving average (MMA).

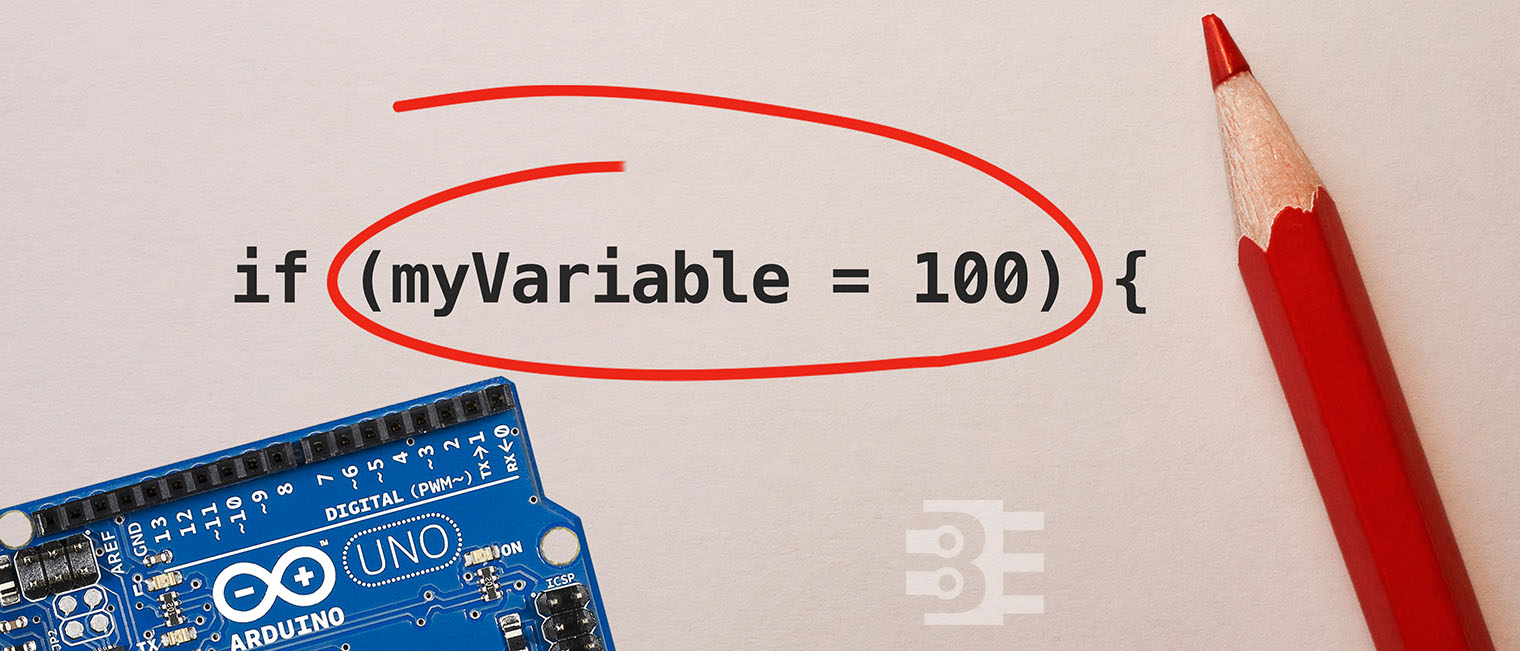
Whenever someone sends me some code that doesn’t work, there are a few common Arduino programming mistakes that I check. Some of these mistakes I make myself.  In most cases my code will compile just fine. Sometimes, these mistakes won’t generate any compiler error.

When my Arduino code is acting up, these are the first things I check. Here are my 5 common Arduino programming mistakes, I use to debug non-working code.

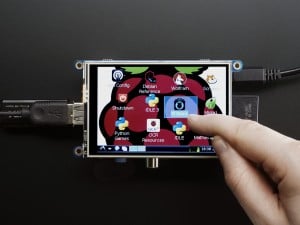
My favorite Raspberry Pi add-on is the PiTFT from Adafruit. With it, you easily get a Raspberry Pi GUI interface and touch screen. The PiTFT software install is just a few things and it is good to go.

Adafruit PiTFT - Click for more info
Image from adafruit.com

This screen is what I needed for my IoT project. The Pi+Screen will act as the primary controller for all of my things. The problem is I didn’t know much about writing GUI applications in Linux. So what could I do to create a Raspberry Pi GUI?

Python is popular in Pi projects, so I decided to stick with it and find out what GUI toolkits are ready to go. “Ready to go” means they install easily on Raspian and work well on the Pi.

Here is how I got Qt5 for Python up and running to create a Raspberry Pi GUI.