Adding WiFi to any project can be difficult. There are a few off the shelf options that make it easier. One option is the official Arduino WiFi shield. This full-featured shield uses its integrated microcontroller to handle the WiFi protocol, security, and the TCP/IP stack for you. From “plug it in and go” perspective, this is an awesome option for Arduino-based projects. Plenty of example code supports the nicely designed hardware. The main downside to some people is the price.
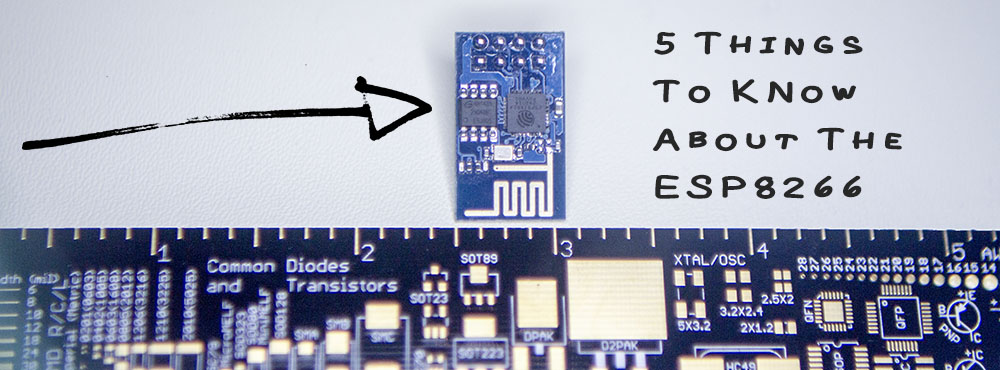
The more popular option these days is the ESP8266, typically advertised around $5US. They are about the size of a TO-220 packaged transistor. How do they get so small? Using a technology known as “System On a Chip”, or SOC, these tiny modules pack everything on the Arduino WiFi shield inside of a single chip! SOCs are great when space is limited. If production volumes are high enough, there can even be a cost advantage.
After spending some time with an ESP8266 I bought on eBay (which I don’t recommend..), I’ve found some things you need to know before building your ESP8266 based project.


