Category

EAGLE

Category

Autodesk released EAGLE 9. This new version continues the improvement that Autodesk has been providing since acquiring the infamous ECAD tool. There are three areas I look at in this AddOhms Livestream.

How I looked at EAGLE 9

In the beginning, I use an old training class I wrote about five years ago when I was using EAGLE daily. It shows how to design a 555 flashing circuit from schematic to PCB. A follow-on class taught how to mill the PCB on a Shopbot. I might update the course and release it if I have time. The exercise class helps me find some surprises with EAGLE’s incremental improvements.

After that, I check out three new features. I also looked at the “Design Blocks” stuff which is a way to incorporate completed schematics like the Adafruit PowerBoost circuit. I need to come back and look at that function again later. Also, I am not positive, but I think that feature was introduced before 9.

1. Quick Routing

The quick routing reminds of the old “follow me” option. You can select individual airwires, entire nets, or multiple signals to route interactively. Unlike the Autorouter, which routes the board as the whole. In the video, I build a simple 555-based PCB. I couldn’t try out routing multiple signals, like address and data for DDR memory. The value I see most from this feature is selectively routing your critical signals and then quick routing the remaining non-critical nets.

2. Device Manager

This informational window provides a clean break-down of many pieces of data. Need to know what layers a footprint use? How about the length of an entire net? In the video, I show that you can use this feature to verify all of your passive components have the same package style. The information is all there, Device Manager brings it to your attention.

3. Breakout

Spoiler Alert: I really like the Breakout Feature. (For those that say I don’t smile in videos, I did this time.) Long story short, this is a shortcut to expand all of the pins for an IC. A great example is in the AddOhms Pyramiduino DIY PCB episode. In the beginning, you can see my time lapse as I break out each of the GPIO pins. That can happen in EAGLE now with a single click.

Check it out

Have you had a chance to check out EAGLE 9 yet? If so, what are your thoughts?

Watch EAGLE 9 First Look on YouTube
2018-JULY-18 UPDATE: It appears Peter has shut down his rendering tool. It is no longer available.
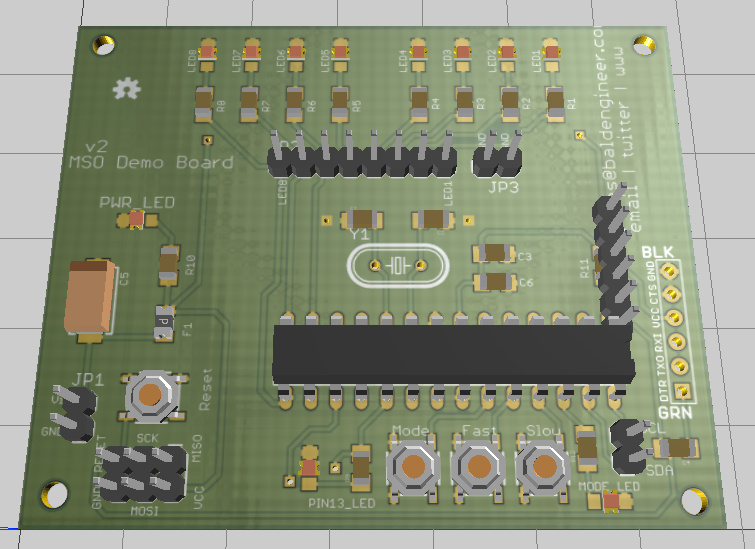
3D Render of MSO Demo Board

Earlier I posted a PCB Checklist of items to double-check when sending your board out to a fab. The Dangerous Prototypes blog pointed to a 3D EAGLE PCB tool from a Bulgarian-based developer called Cytec that takes an EAGLE BRD file and renders it in 3D for you.

The example board I have above is a render of my MSO Demo Board. And I have to be honest, it looks much like that one!

Recently I’ve been expanding my retro game collection to include game cartridges imported from Japan. The problem is that I don’t have Japanese game systems (yet). So I’m creating an open source adapter to convert Famicom carts to the NES. Before I submit the PCB to OSH Park, I’m going to run through this PCB Checklist to make sure I don’t forget something silly.

This PCB checklist is something I’ve built over my years of creating boards. If you’ve got tips from your own list, don’t forget to leave a comment letting us know.

PCB Production Checklist

The concepts on this list will apply to almost any PCB software. The tips I give relate to EAGLE, since that is what I use most often. Feel free to comment to add tips for other design software like upverter.com or KiCad.

Keep reading to see the list.

Make sure you also check out the comments, some really great suggestions there too!

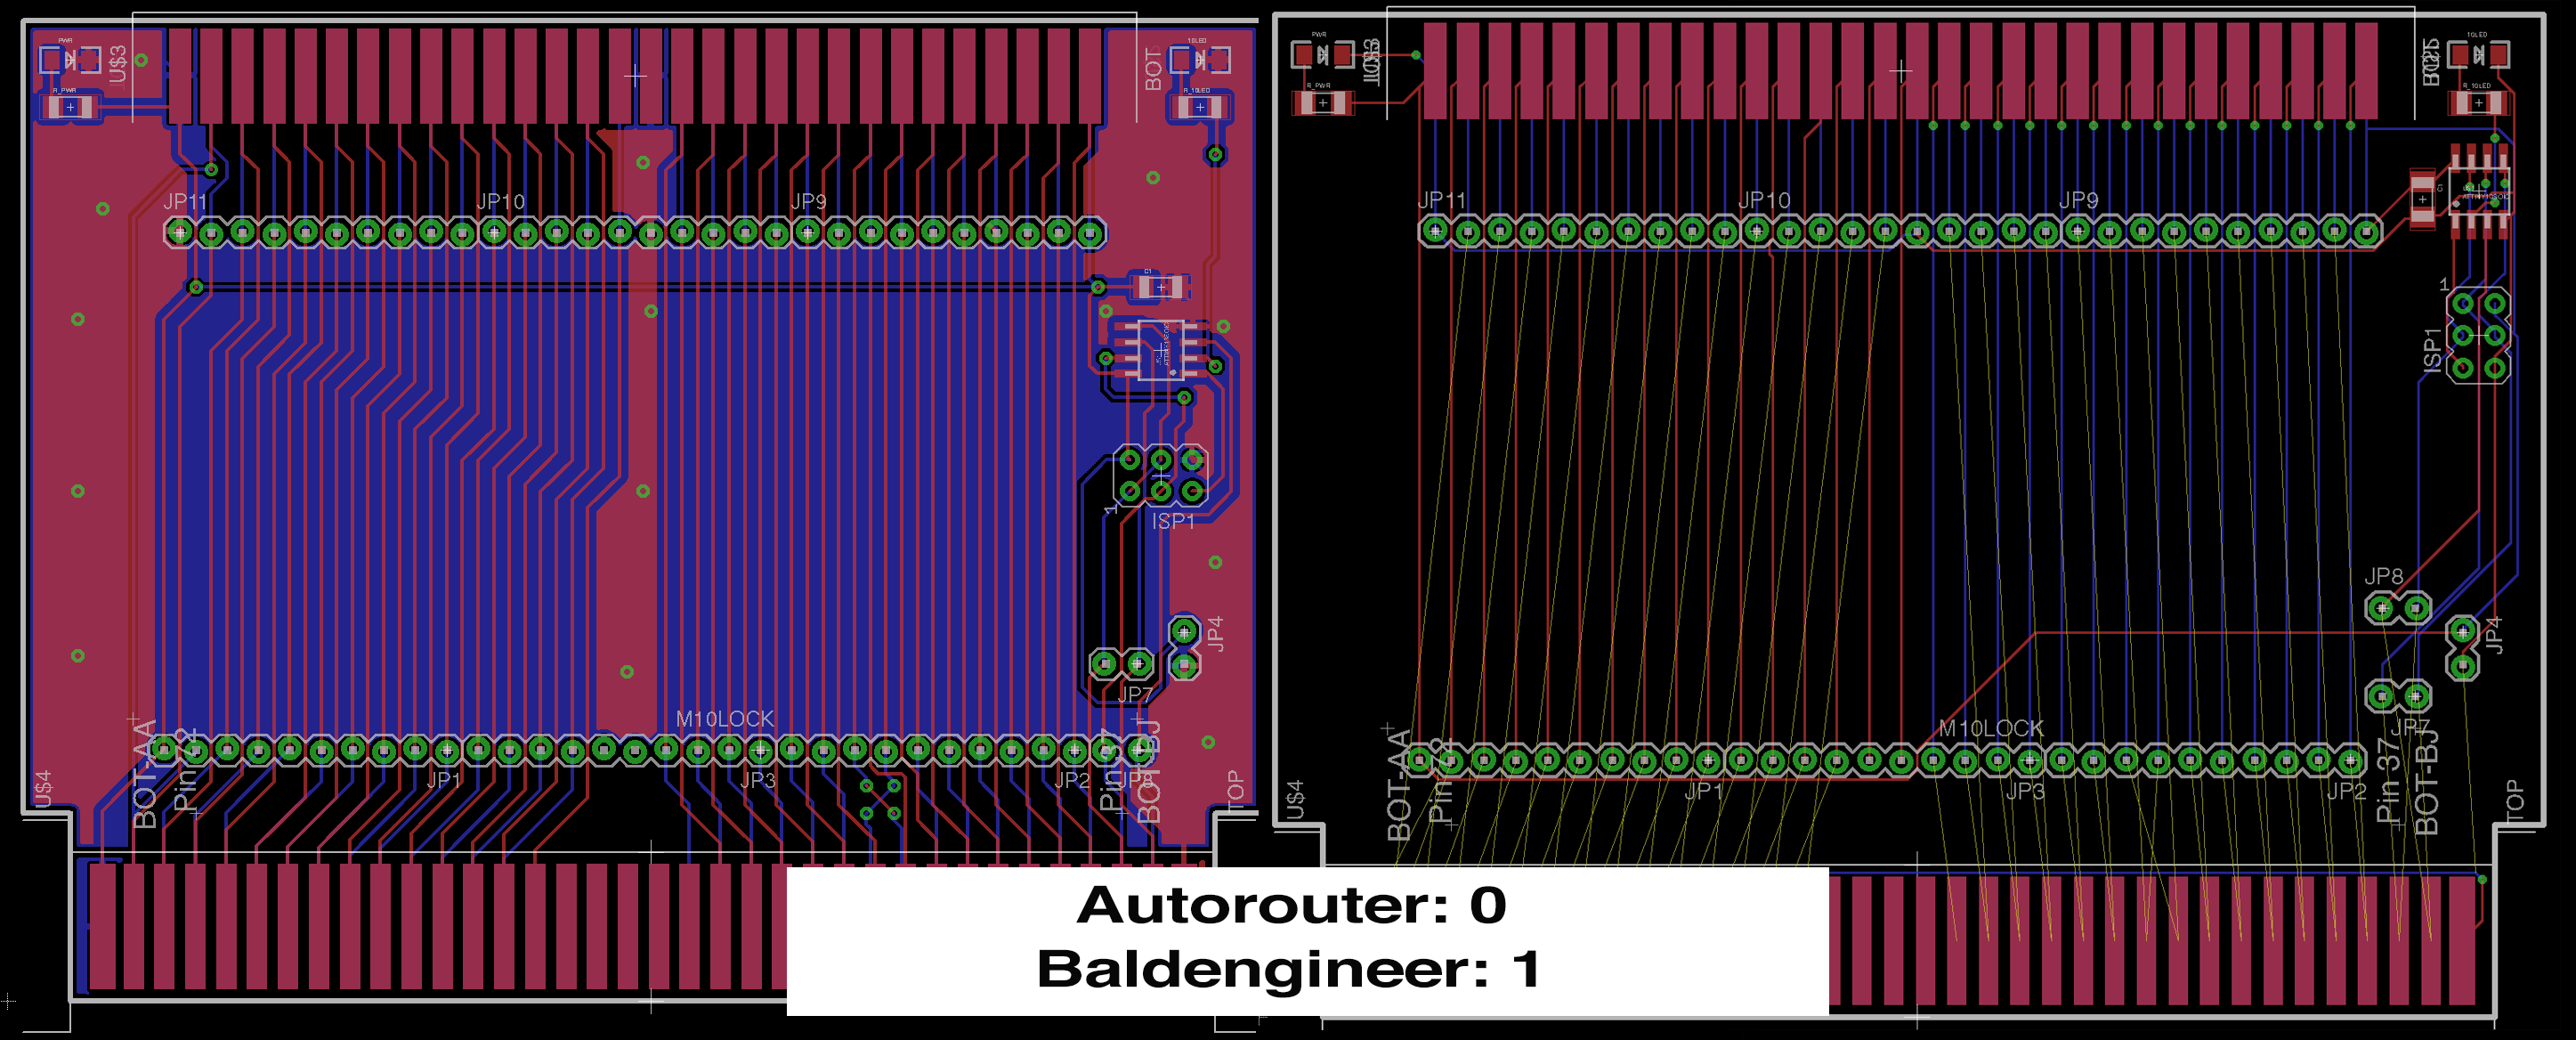
I am not a fan of relying on the Autorouter in EAGLE — or any PCB CAD software for that matter. When laying out a board, I’ll use the autorouter to get an idea if the part placement is going to work or not. In this case, I was reminded how much autorouters suck! Even after running for while, the autorouter could only route up 50% of the nets (signals).

Never Trust The Autorouter

As Chris Gammell‘s T-Shirt Says, Never Trust The Autorouter.

It only took me about 20 minutes to start over and finish the manual layout. I still want to clean it up a little, but over all, I beat the Autorouter.

What is the board anyway?

In January I visited Tokyo on my annual work trip. While there, I ran over to Akihabara to check out a used media store called Traders. The multi-level store (like all those in Tokyo) sold used video games and movies. Each floor featured different platforms. My favorite was the 2nd floor which was all retro 8, 16, and 32 bit systems. Piles of Famicoms (NES), Super Famicoms (SNES), Mega Drives (Genesis), and other systems were all around. In the middle of the floor were racks of cartridges.

While there I picked up a couple of Rockman (Mega Man) carts, Super Mario brothers, and even Adventure island.

A US-based NES can play Famicom games since the basic hardware is the same. However, the pin outs are slightly different. Also, US-based NES systems look for a lock-out ship (CIC) that Famicoms don’t have. Fortunately I ran across a project that uses the ATtiny (AVRCICZZ) to emulate the lockout chip. So armed with that and some pinouts, I’ve created an adapter.

Keep subscribed, after a few more touches, I’ll post the EAGLE files as an Open Source Hardware (OSH) project.

Having good libraries in EAGLE is critical to making schematic capture and PCB design fast.  Dave at element14 put together a top 10 library link, which includes the list below.

Remember, if you’re having trouble Add Parts, you might want to look at this tutorial on enabling EAGLE libraries.

  1. element14’s RIoTBoard
  2. element14’s Raspberry Pi Compute Module Development Kit
  3. element14’s BeagleBone Black
  4. Linear Technology
  5. Molex
  6. Vishay
  7. Microchip
  8. Atmel
  9. Arduino
  10. Texas Instruments